Телескопы Levenhuk Strike 100 PLUS - инструкция пользователя по применению, эксплуатации и установке на русском языке. Мы надеемся, она поможет вам решить возникшие у вас вопросы при эксплуатации техники.
Если остались вопросы, задайте их в комментариях после инструкции.
"Загружаем инструкцию", означает, что нужно подождать пока файл загрузится и можно будет его читать онлайн. Некоторые инструкции очень большие и время их появления зависит от вашей скорости интернета.


5
EN
Levenhuk Strike PLUS Telescopes
EN
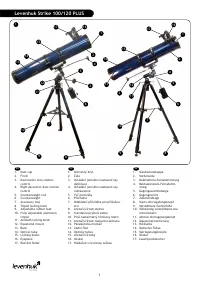
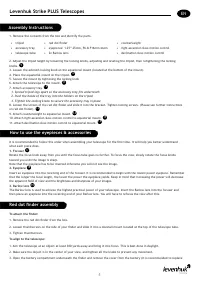
1. Remove the contents from the box and identify the parts.
•
tripod
• red dot finder
•
counterweight
•
accessory tray
•
eyepieces: 1.25” 25mm, F6.8-F16mm zoom
•
right ascension slow-motion control
•
telescope tube
•
2x Barlow lens
•
declination slow-motion control
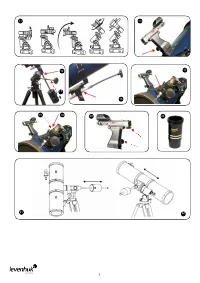
2. Adjust the tripod height by loosening the locking knobs, adjusting and leveling the tripod, then retightening the locking
knobs.
9
3. Loosen the azimuth locking knob on the equatorial mount (located at the bottom of the mount).
4. Place the equatorial mount on the tripod.
10
5. Secure the mount by tightening the locking knob
6. Attach the telescope to the mount.
11
7. Attach accessory tray.
12
1. Spread tripod legs apart so the accessory tray fits underneath
2. Push the hooks of the tray into the holders on the tripod
3. Tighten the locking knobs to secure the accessory tray in place
8. Loosen the screws of the red dot finder and slide it into the bracket. Tighten locking screws. (Please see further instructions
on red dot finder).
13
9. Attach counterweight to equatorial mount.
14
10. Attach right ascension slow-motion control to equatorial mount.
15
11. Attach declination slow-motion control to equatorial mount.
16
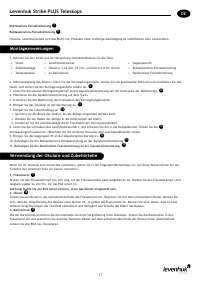
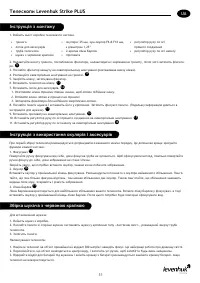
Assembly Instructions
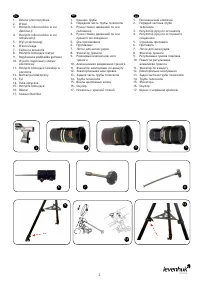
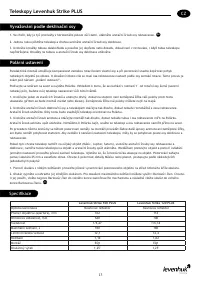
How to use the eyepieces & accessories
It is recommended to follow this order when assembling your telescope for the first time. It will help you better understand
what each piece does.
1. Focuser
17
Rotate the focus knob away from you until the focus tube goes no further. To focus the view, slowly rotate the focus knobs
toward you until the image is sharp.
Note that the eyepiece has to be inserted otherwise you will not see the image.
2. Eyepiece
18
Insert an eyepiece into the receiving end of the focuser. It is recommended to begin with the lowest power eyepiece. Remember
that the longer the focal length, the lower the power the eyepiece yields. Keep in mind that increasing the power will decrease
the apparent field of view and the brightness and sharpness of your images.
3. Barlow lens
19
The Barlow lens is used to achieve the highest practical power of your telescope. Insert the Barlow lens into the focuser and
then place an eyepiece into the receiving end of your Barlow lens. You will have to refocus the view after this.
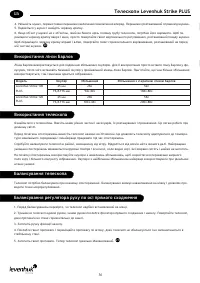
Red dot finder assembly
To attach the finder:
1. Remove the red dot finder from the box.
2. Loosen thumbscrews on the side of your finder and slide it into a dovetail mount located at the top of the telescope tube.
3. Tighten thumbscrews.
To align to the telescope:
1. Aim the telescope at an object at least 300 yards away and bring it into focus. This is best done in daylight.
2. Make sure the object is in the center of your view, and tighten all the knobs to prevent any movement.
3. Open the battery compartment underneath the finder and remove the cover from the battery (it is recommended to replace
Levenhuk Strike PLUS Telescopes
Содержание
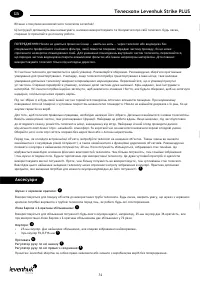
- 30 ) Электронный искатель с красной точкой; Аксессуары; Телескопы Levenhuk Strike PLUS
- 31 ) Ручка тонких движений по оси склонения; Сборка
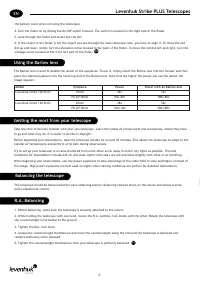
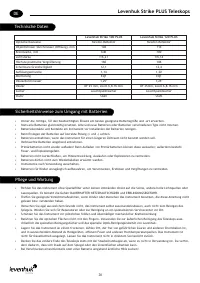
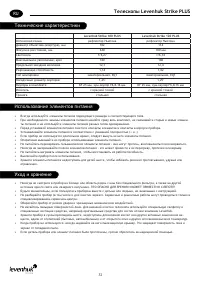
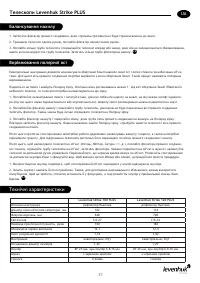
- 32 Модель; Использование линзы Барлоу; Балансировка трубы
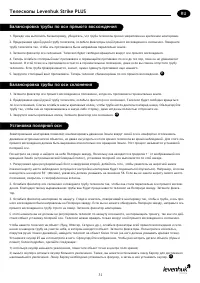
- 33 Балансировка трубы по оси прямого восхождения; Установка полярной оси
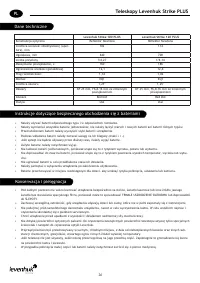
- 34 Технические характеристики
- 35 пожизненная гарантия; Международная гарантия
- 44 оптическими приборами.; Засоби догляду за оптикою Levenhuk; оптичними пристроями.; Radost zaostřit


