
Строительные пылесосы Makita DCL281FZ - инструкция пользователя по применению, эксплуатации и установке на русском языке. Мы надеемся, она поможет вам решить возникшие у вас вопросы при эксплуатации техники.
Если остались вопросы, задайте их в комментариях после инструкции.
"Загружаем инструкцию", означает, что нужно подождать пока файл загрузится и можно будет его читать онлайн. Некоторые инструкции очень большие и время их появления зависит от вашей скорости интернета.


11 ENGLISH
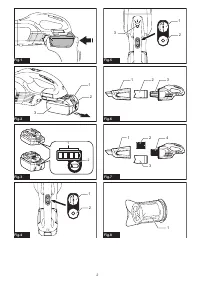
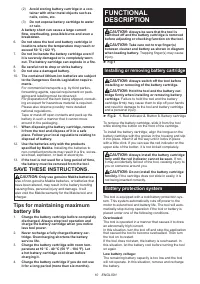
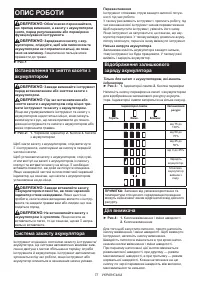
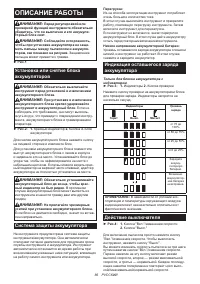
Indicating the remaining battery
capacity
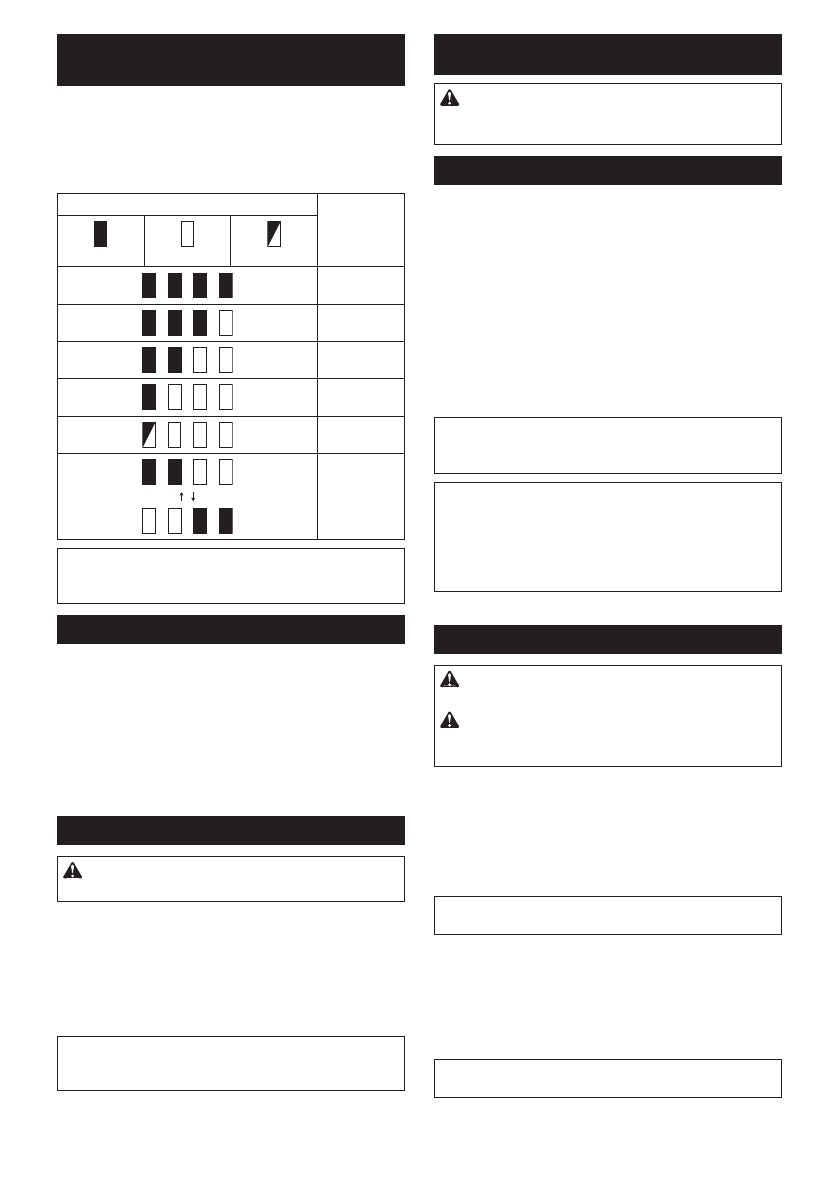
Only for battery cartridges with the indicator
►
Fig.3:
1.
Indicator lamps
2.
Check button
Press the check button on the battery cartridge to indi-
cate the remaining battery capacity. The indicator lamps
light up for a few seconds.
Indicator lamps
Remaining
capacity
Lighted
Off
Blinking
75% to 100%
50% to 75%
25% to 50%
0% to 25%
Charge the
battery.
The battery
may have
malfunctioned.
NOTE:
Depending on the conditions of use and the
ambient temperature, the indication may differ slightly
from the actual capacity.
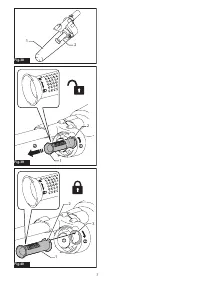
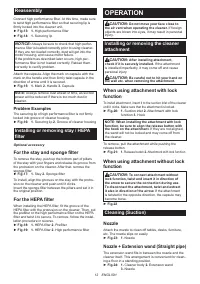
Switch action
►
Fig.4:
1.
ON/speed change button
2.
OFF button
To start the cleaner, simply push the ON/speed change
button. To switch off, push the OFF button.
You can change the cleaner speed in three steps by
pushing the ON/speed change button.
The first push on this button is for high speed mode, the
second push for max speed mode and the third push for
normal speed mode. Each push on this button repeats
the high/max/normal speed cycle alternatively.
Lighting up the lamp
CAUTION:
Do not look in the light or see the
source of light directly.
To turn on the lamp, push the ON/speed change button.
Push the OFF button to turn off the lamp. During the
tool actuating, the lamp turns on.
When the remaining battery capacity gets low, the lamp
starts blinking.
►
Fig.5:
1.
ON/speed change button
2.
OFF button
3.
Lamp
NOTE:
The timing, at which the lamp starts blinking,
depends on the temperature at work place and the
battery cartridge conditions.
ASSEMBLY
CAUTION:
Always be sure that the tool is
switched off and the battery cartridge is removed
before carrying out any work on the tool.
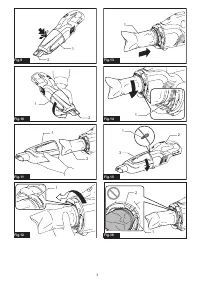
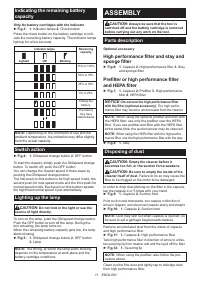
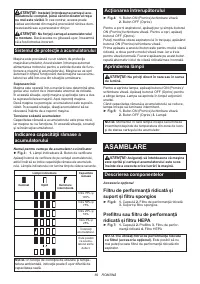
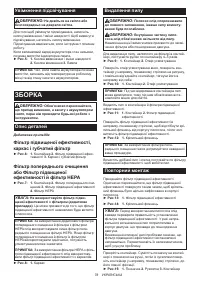
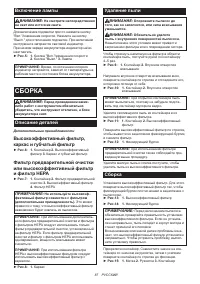
Parts description
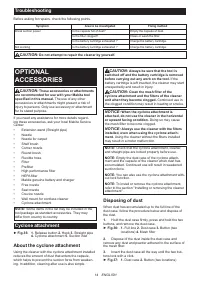
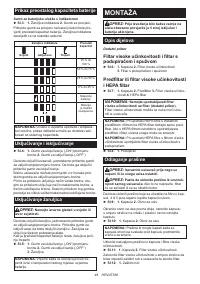
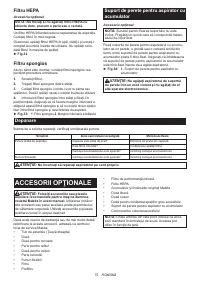
Optional accessory
High performance filter and stay and
sponge filter
►
Fig.6:
1.
Capsule
2.
High performance filter
3.
Stay
and sponge filter
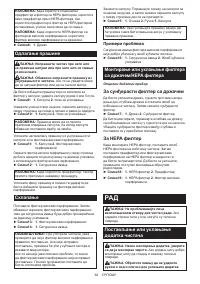
Prefilter or high performance filter
and HEPA filter
►
Fig.7:
1.
Capsule
2.
Prefilter
3.
High performance
filter
4.
HEPA filter
NOTICE:
Do not use the high performance filter
with the filter (optional accessory).
The high perfor-
mance filter may become unremovable from the cleaner.
NOTE:
When using the optional prefilter and filter with
the HEPA filter, use only the prefilter over the HEPA
filter. If you use prefilter and filter with the HEPA filter
at the same time, the suction power may be reduced.
NOTE:
When using the HEPA filter with the high perfor
-
mance filter, use the high performance filter with the stay.
►
Fig.8:
1.
Stay
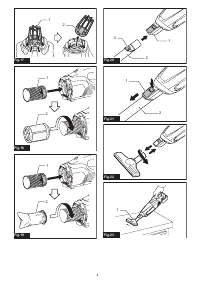
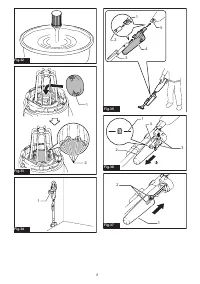
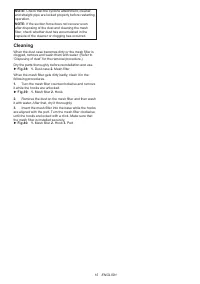
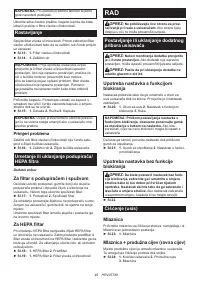
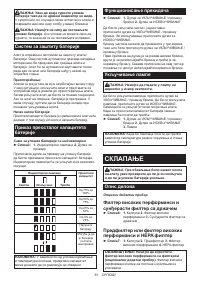
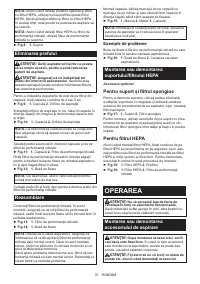
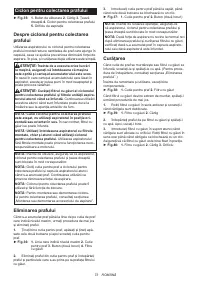
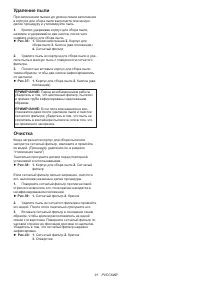
Disposing of dust
CAUTION:
Empty the cleaner before it
becomes too full, or the suction force weakens.
CAUTION:
Be sure to empty the inside of the
cleaner itself of dust.
Failure to do so may cause the
filter to be clogged or the motor to be damaged.
In order to drop dust sticking on the filter in the capsule,
tap the capsule 4 or 5 times with your hand.
►
Fig.9:
1.
Capsule
2.
Suction inlet
Point suction inlet downwards, turn capsule in direction of
arrow in diagram, and disconnect capsule slowly and straight.
►
Fig.10:
1.
Capsule
2.
Suction inlet
NOTE:
Dust may spill out when capsule is opened, so
be sure to set a garbage bag beneath capsule.
Remove accumulated dust from the inside of capsule
and high performance filter.
►
Fig.11:
1.
Capsule
2.
High performance filter
Twist high performance filter in direction of arrow to unfas
-
ten securing lip from cleaner unit and then pull off the filter.
►
Fig.12:
1.
Securing lip
NOTE:
When using the prefilter, also follow the pro
-
cedure above.
Clean out the fine dust and lightly tap to dislodge dust
from high performance filter.
Содержание
- 84 Назначение; МЕРЫ БЕЗОПАСНОСТИ; Правила техники безопасности; СОХРАНИТЕ ДАННЫЕ
- 85 Важные правила техники
- 86 ОПИСАНИЕ РАБОТЫ
- 87 Включение лампы; СБОРКА; Описание деталей; Высокоэффективный фильтр,
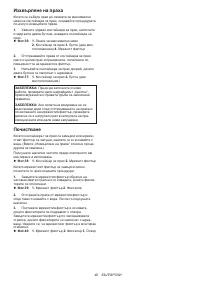
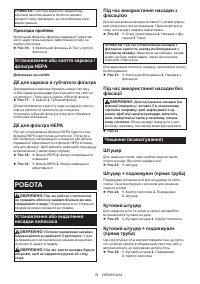
- 88 Примеры проблем; Установка и демонтаж каркаса /; ЭКСПЛУАТАЦИЯ; Установка или удаление насадки
- 89 Чистка без насадки; ОБСЛУЖИВАНИЕ; После использования; Губчатый фильтр
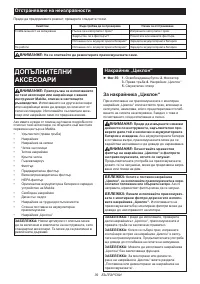
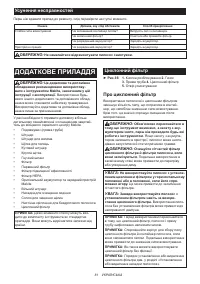
- 90 Устранение неполадок; ДОПОЛНИТЕЛЬНЫЕ; Циклонный фильтр
Характеристики

Остались вопросы?Не нашли свой ответ в руководстве или возникли другие проблемы? Задайте свой вопрос в форме ниже с подробным описанием вашей ситуации, чтобы другие люди и специалисты смогли дать на него ответ. Если вы знаете как решить проблему другого человека, пожалуйста, подскажите ему :)


