
Строительные пылесосы Makita CL121DWA - инструкция пользователя по применению, эксплуатации и установке на русском языке. Мы надеемся, она поможет вам решить возникшие у вас вопросы при эксплуатации техники.
Если остались вопросы, задайте их в комментариях после инструкции.
"Загружаем инструкцию", означает, что нужно подождать пока файл загрузится и можно будет его читать онлайн. Некоторые инструкции очень большие и время их появления зависит от вашей скорости интернета.


12 ENGLISH
5.
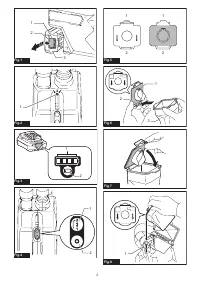
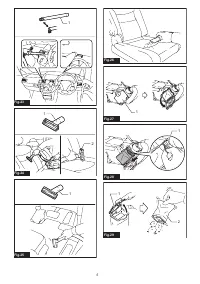
Close the dust case cover completely.
►
Fig.10:
1.
Dust case cover
NOTE:
When the dust bag is not installed in
the cleaner, the dust case cover does not close
completely.
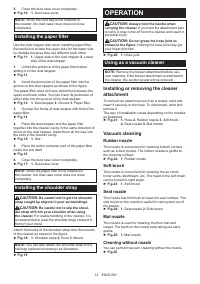
Installing the paper filter
Use the dust stopper also when installing paper filter.
Be careful not to take the upper side for the lower side
by mistake because they are different each other.
►
Fig.11:
1.
Upper side of the dust stopper
2.
Lower
side of the dust stopper
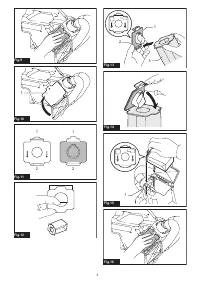
1.
Unfold the entrance of the paper filter before
setting it on the dust stopper.
►
Fig.12
2.
Insert the protrusion of the paper filter into the
groove on the dust stopper as shown in the figure.
The paper filter does not have distinction between the
upper and lower sides. You can insert its protrusion of
either side into the groove of the dust stopper.
►
Fig.13:
1.
Dust stopper
2.
Groove
3.
Paper filter
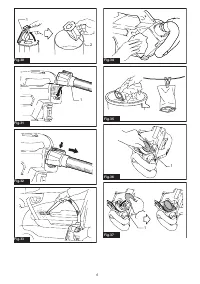
3.
Overlap the frame of dust stopper with that of the
paper filter.
►
Fig.14
4.
Place the dust stopper and the paper filter
together into the cleaner cavity in the same direction of
arrow on the dust stopper. Insert them all the way into
the slots in the cleaner cavity.
►
Fig.15:
1.
Slot
5.
Place the entire container part of the paper filter
inside the tool itself.
►
Fig.16
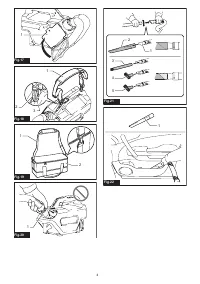
6.
Close the dust case cover completely.
►
Fig.17:
1.
Dust case cover
NOTE:
When the paper filter is not installed in
the cleaner, the dust case cover does not close
completely.
Installing the shoulder strap
CAUTION:
Be careful not to get the shoulder
strap caught by objects in your surroundings.
CAUTION:
Be careful not to slip the shoul-
der strap off from your shoulder when using
the cleaner.
For stable handling of the cleaner, it is
recommended to wear the shoulder strap crossed in
front of your chest.
Attach the hooks of the shoulder strap onto the mounts
of the cleaner as shown in the figure.
►
Fig.18:
1.
Shoulder strap
2.
Hook
3.
Mount
NOTE:
You can also attach the shoulder strap to the
soft bag (optional accessory) as illustrated.
►
Fig.19
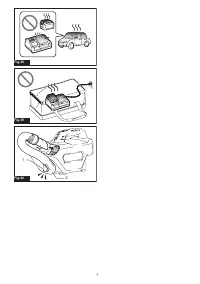
OPERATION
CAUTION:
Always hold the handle when
carrying the cleaner.
If you hold the attachment part
to carry, it may come off from the cleaner and result in
personal injury.
CAUTION:
Do not grasp the hose joint as
shown in the figure.
Holding the hose joint may get
your finger pinched.
►
Fig.20:
1.
Hose joint
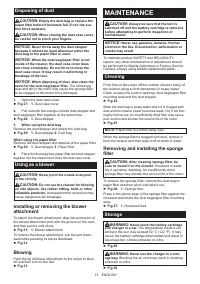
Using as a vacuum cleaner
NOTE:
Remove the blower attachment before vac-
uum cleaning. If the blower attachment is attached to
the cleaner, the suction power will be reduced.
Installing or removing the cleaner
attachment
To connect an attachment such as a nozzle, twist and
insert it securely to the hose. To disconnect, twist and
remove it.
The way of installation varies depending on the nozzles
as illustrated.
►
Fig.21:
1.
Hose
2.
Rubber nozzle
3.
Soft brush
4.
Seat nozzle
5.
Mat nozzle
Vacuum cleaning
Rubber nozzle
This nozzle is convenient for cleaning bottom corners
such as a door pocket. The rubber nozzle is gentle to
the cleaning surface.
►
Fig.22:
1.
Rubber nozzle
Soft brush
This nozzle is convenient for cleaning the air condi-
tioner vents, dashboard, etc. The head of the soft brush
can be turned to right angle.
►
Fig.23:
1.
Soft brush
Seat nozzle
This nozzle has lint brush to clean the seat surface. The
side brush on the nozzle is useful for raking dust out of
the seams.
►
Fig.24:
1.
Seat nozzle
2.
Side brush
Mat nozzle
This nozzle is used for cleaning the floor mat and
carpet. The teeth on the nozzle help raking out sand
grains.
►
Fig.25:
1.
Mat nozzle
Cleaning without nozzle
You can perform vacuum cleaning without the nozzle.
►
Fig.26
Содержание
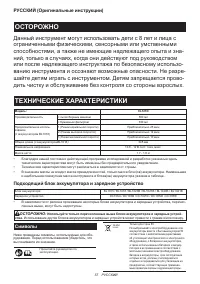
- 57 Подходящий блок аккумулятора и зарядное устройство
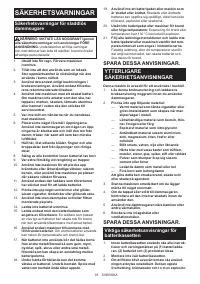
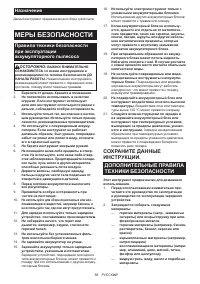
- 58 Назначение; МЕРЫ БЕЗОПАСНОСТИ; Правила техники безопасности; СОХРАНИТЕ ДАННЫЕ
- 59 Важные правила техники
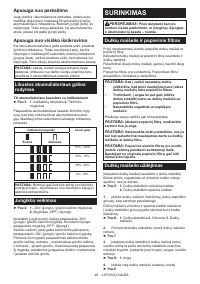
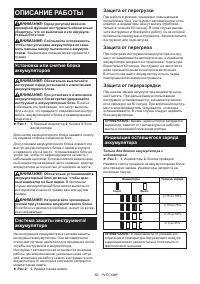
- 60 ОПИСАНИЕ РАБОТЫ; Защита от перегрузки
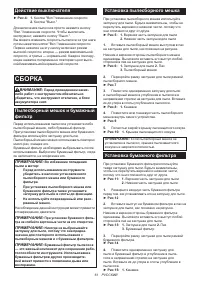
- 61 Действие выключателя; СБОРКА; Пылесборный мешок и бумажный
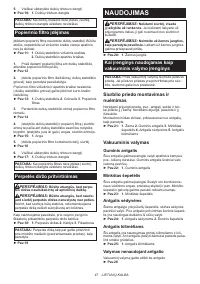
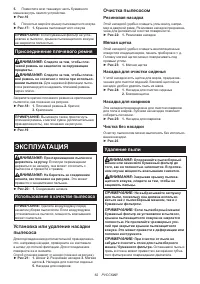
- 62 Присоединение плечевого ремня; ЭКСПЛУАТАЦИЯ; Использование в качестве пылесоса; Резиновая насадка; Удаление пыли
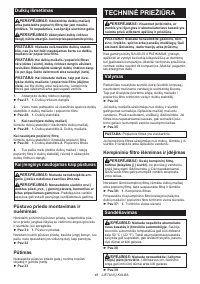
- 63 ОБСЛУЖИВАНИЕ; Очистка
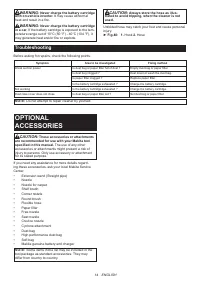
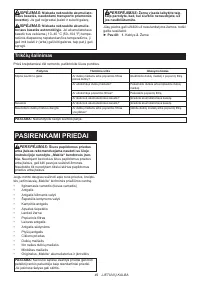
- 64 Устранение неполадок; ДОПОЛНИТЕЛЬНЫЕ
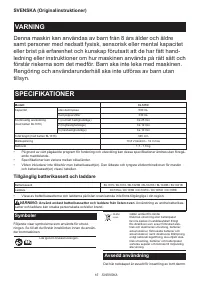
Характеристики

Остались вопросы?Не нашли свой ответ в руководстве или возникли другие проблемы? Задайте свой вопрос в форме ниже с подробным описанием вашей ситуации, чтобы другие люди и специалисты смогли дать на него ответ. Если вы знаете как решить проблему другого человека, пожалуйста, подскажите ему :)


