
Строительные пылесосы Makita CL121DWA - инструкция пользователя по применению, эксплуатации и установке на русском языке. Мы надеемся, она поможет вам решить возникшие у вас вопросы при эксплуатации техники.
Если остались вопросы, задайте их в комментариях после инструкции.
"Загружаем инструкцию", означает, что нужно подождать пока файл загрузится и можно будет его читать онлайн. Некоторые инструкции очень большие и время их появления зависит от вашей скорости интернета.


11 ENGLISH
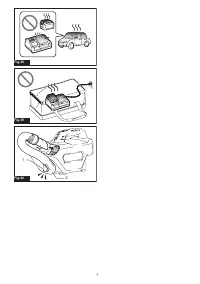
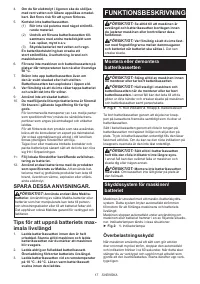
Overheat protection
When the tool/battery is overheated, the tool stops auto-
matically and the battery indicator lights up for about 60
seconds. The tool does not start even if you turn the tool
on. In this situation, let the battery cool before turning
the tool on again.
Overdischarge protection
When the remaining battery capacity gets low, the
indicator blinks. By further use, the tool stops and the
indicator lights up for about 60 seconds. If you turn the
tool on, the motor runs again but stops soon. In this
situation, charge the battery cartridge.
NOTE:
The timing, at which the lamp lights up,
depends on the temperature at work place and the
battery cartridge conditions.
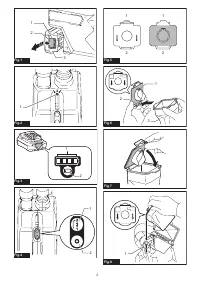
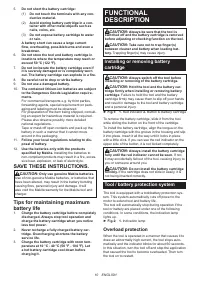
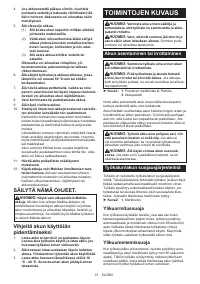
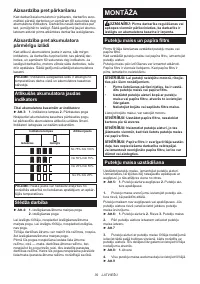
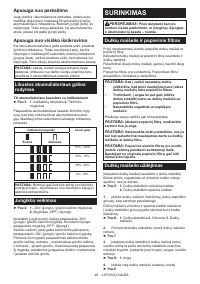
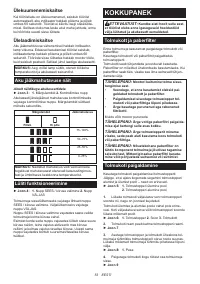
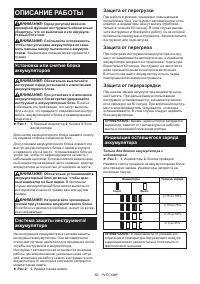
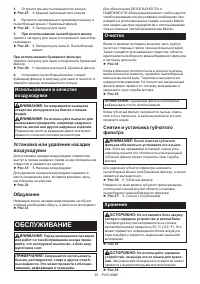
Indicating the remaining battery
capacity
Only for battery cartridges with the indicator
►
Fig.3:
1.
Indicator lamps
2.
Check button
Press the check button on the battery cartridge to indi-
cate the remaining battery capacity. The indicator lamps
light up for a few seconds.
Indicator lamps
Remaining
capacity
Lighted
Off
75% to 100%
50% to 75%
25% to 50%
0% to 25%
NOTE:
Depending on the conditions of use and the
ambient temperature, the indication may differ slightly
from the actual capacity.
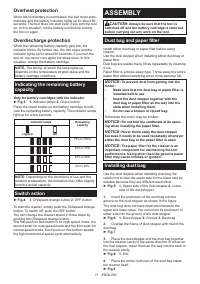
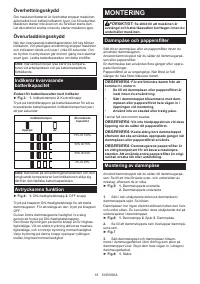
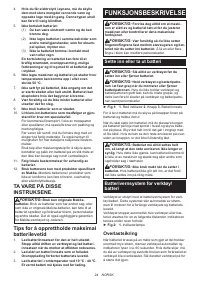
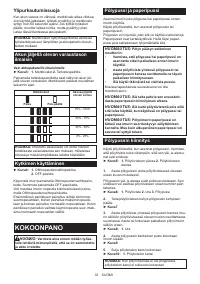
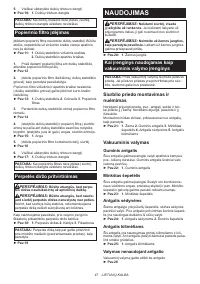
Switch action
►
Fig.4:
1.
ON/speed change button
2.
OFF button
To start the cleaner, simply push the ON/speed change
button. To switch off, push the OFF button.
You can change the cleaner speed in three steps by
pushing the ON/speed change button.
The first push on this button is for high speed mode, the
second push for max speed mode and the third push for
normal speed mode. Each push on this button repeats
the high/max/normal speed cycle alternatively.
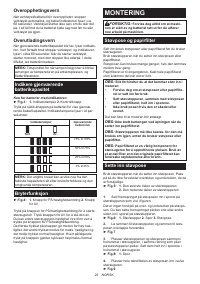
ASSEMBLY
CAUTION:
Always be sure that the tool is
switched off and the battery cartridge is removed
before carrying out any work on the tool.
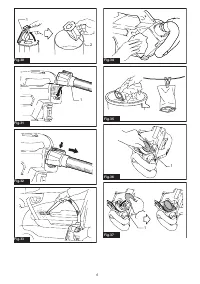
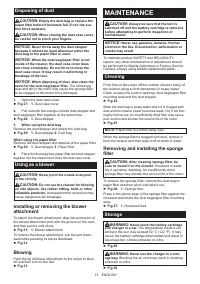
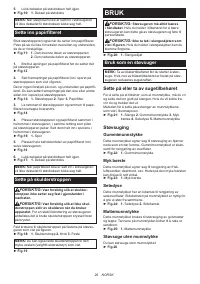
Dust bag and paper filter
Install either dust bag or paper filter before using
cleaner.
Use the dust stopper when installing either dust bag or
paper filter.
Dust bag are usable many times repeatedly by cleaning
it out.
Paper filter is a throw-away type. Throw away the entire
paper filter without emptying when it has become full.
NOTICE:
To prevent dust from getting into the
motor:
•
Make sure that the dust bag or paper filter is
installed before use.
•
Insert the dust stopper together with the
dust bag or paper filter all the way into the
slots when installing them.
•
Do not use a broken or ripped bag.
Otherwise the motor may be broken.
NOTICE:
Do not fold the cardboard at its open-
ing when installing the paper filter.
NOTICE:
Never throw away the dust stopper
because it needs to be used repeatedly whenever
either the dust bag or the paper filter is used.
NOTICE:
The paper filter for the cleaner is an
important component for maintaining the tool
performance. Using other than the genuine paper
filter may cause smokes or ignition.
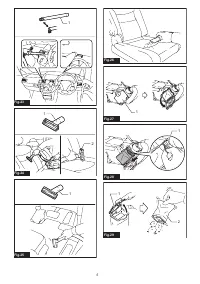
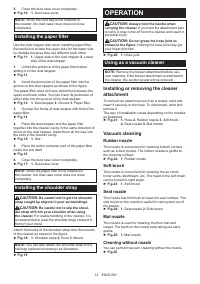
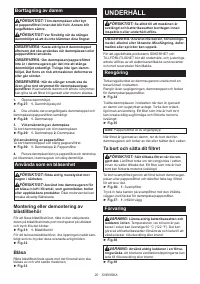
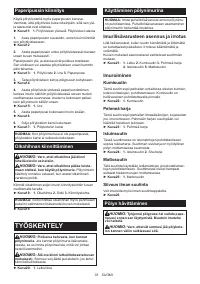
Installing dust bag
Use the dust stopper when installing dust bag. Be
careful not to take the upper side for the lower side by
mistake because they are different each other.
►
Fig.5:
1.
Upper side of the dust stopper
2.
Lower
side of the dust stopper
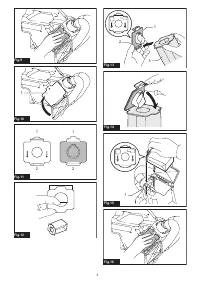
1.
Insert the protrusion of the dust bag into the
groove on the dust stopper as shown in the figure.
The dust bag does not have distinction between the
upper and lower sides. You can insert its protrusion of
either side into the groove of the dust stopper.
►
Fig.6:
1.
Dust stopper
2.
Groove
3.
Dust bag
2.
Overlap the frame of dust stopper with that of the
dust bag.
►
Fig.7
3.
Place the dust stopper and the dust bag together
into the cleaner cavity in the same direction of arrow on
the dust stopper. Insert them all the way into the slots in
the cleaner cavity.
►
Fig.8:
1.
Slot
4.
Place the entire cloth part of the dust bag inside
the cleaner itself.
►
Fig.9
Содержание
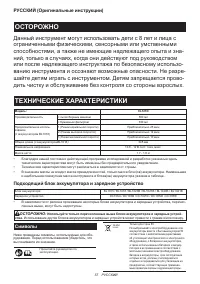
- 57 Подходящий блок аккумулятора и зарядное устройство
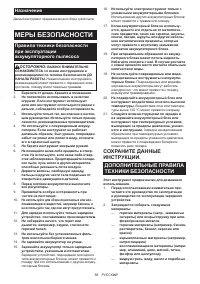
- 58 Назначение; МЕРЫ БЕЗОПАСНОСТИ; Правила техники безопасности; СОХРАНИТЕ ДАННЫЕ
- 59 Важные правила техники
- 60 ОПИСАНИЕ РАБОТЫ; Защита от перегрузки
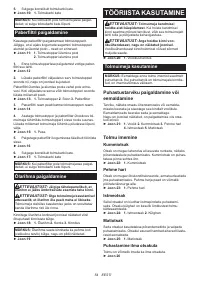
- 61 Действие выключателя; СБОРКА; Пылесборный мешок и бумажный
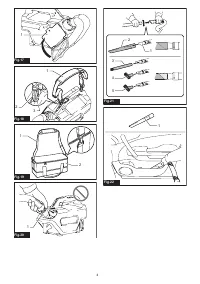
- 62 Присоединение плечевого ремня; ЭКСПЛУАТАЦИЯ; Использование в качестве пылесоса; Резиновая насадка; Удаление пыли
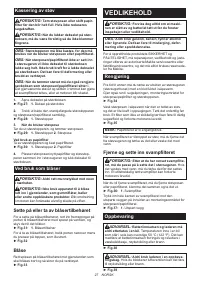
- 63 ОБСЛУЖИВАНИЕ; Очистка
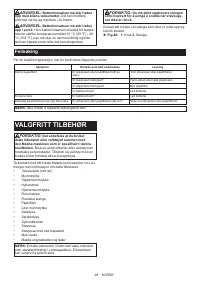
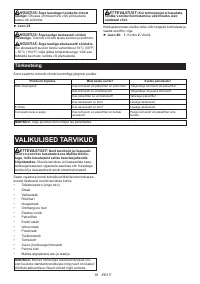
- 64 Устранение неполадок; ДОПОЛНИТЕЛЬНЫЕ
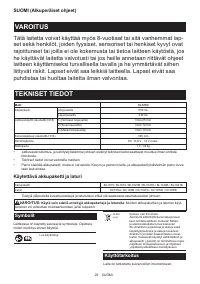
Характеристики

Остались вопросы?Не нашли свой ответ в руководстве или возникли другие проблемы? Задайте свой вопрос в форме ниже с подробным описанием вашей ситуации, чтобы другие люди и специалисты смогли дать на него ответ. Если вы знаете как решить проблему другого человека, пожалуйста, подскажите ему :)


