
Строительные пылесосы Bosch GAS 12-25 PL - инструкция пользователя по применению, эксплуатации и установке на русском языке. Мы надеемся, она поможет вам решить возникшие у вас вопросы при эксплуатации техники.
Если остались вопросы, задайте их в комментариях после инструкции.
"Загружаем инструкцию", означает, что нужно подождать пока файл загрузится и можно будет его читать онлайн. Некоторые инструкции очень большие и время их появления зависит от вашей скорости интернета.


English |
19
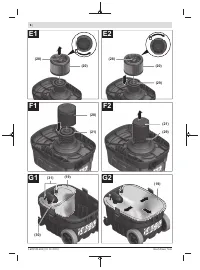
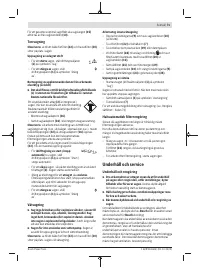
– Turn the filter holder
(28)
as far as possible in the direc-
tion of rotation
and take the filter holder, together with
the main filter
(20)
, out of the top part of the dust
extractor
(10)
.
– Place the wet filter
(21)
completely over the filter basket
(29)
.
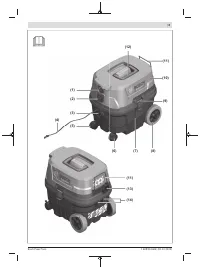
– Put the top part of the vacuum cleaner
(10)
on and close
the catches
(9)
.
Removing the wet filter (see figure F2)
– Open the catches
(9)
and remove the top part of the va-
cuum cleaner
(10)
(see figure
C
).
– Pull the wet filter
(21)
out of the filter basket
(29)
.
– Place the filter holder
(28)
, together with the main
filter
(20)
, over the filter basket
(29)
and turn the filter
holder
(28)
as far as possible in the direction of rotation
.
– Put the top part of the vacuum cleaner
(10)
on and close
the catches
(9)
.
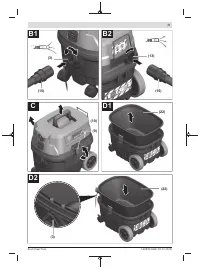
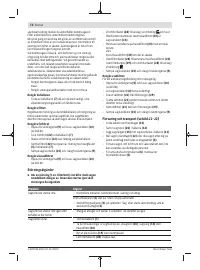
Inserting/removing the plastic bag or dust bag
(dry vacuuming)
For dry vacuuming, you can insert a plastic bag
(19)
or a
dust bag (accessory) into the container
(7)
. This makes it
easier to dispose of coarse dirt.
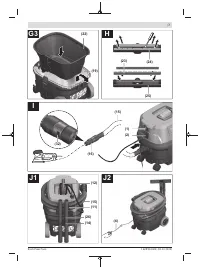
Inserting the plastic bag (see figures G1–G3)
– Open the catches
(9)
and remove the top part of the va-
cuum cleaner
(10)
(see figure
C
).
– Remove the pre-filter
(22)
from the container
(7)
.
– Insert the plastic bag
(19)
into the container
(7)
with the
inlet facing upwards. Secure the plastic bag under the
suction hole
(30)
using the clips
(31)
.
– Make sure that the plastic bag
(19)
touches all the inside
walls of the container
(7)
.
– Fold the rest of the plastic bag
(19)
over the edge of the
container
(7)
.
– Insert the pre-filter
(22)
in the container
(7)
, making sure
that the arrows are pointing towards the hose connection
piece
(3)
.
– Put the top part of the vacuum cleaner
(10)
on and close
the catches
(9)
.
Removing and sealing the plastic bag
– Open the catches
(9)
and remove the top part of the va-
cuum cleaner
(10)
(see figure
C
).
– Remove the pre-filter
(22)
from the container
(7)
.
– Pull the edge of the full plastic bag
(19)
backwards out of
the clips
(31)
.
– Carefully take the plastic bag
(19)
out of the container
(7)
without damaging it.
– When doing so, make sure that the plastic bag does not
scrape against the intake port
(30)
or other sharp ob-
jects.
Changing/inserting the dust bag (accessory)
– Open the catches
(9)
and remove the top part of the va-
cuum cleaner
(10)
(see figure
C
).
– Remove the pre-filter
(22)
from the container
(7)
.
– Pull the full dust bag
(19)
backwards off the connection
flange. Close the opening of the dust bag by folding the lid
over. Take the closed dust bag out of the container
(7)
.
– Place the new dust bag over the vacuum cleaner's con-
nection flange. Make sure that the entire length of the
dust bag touches the inside wall of the container
(7)
.
– Insert the pre-filter
(22)
in the container
(7)
, making sure
that the arrows are pointing towards the hose connection
piece
(3)
.
– Put the top part of the vacuum cleaner
(10)
on and close
the catches
(9)
.
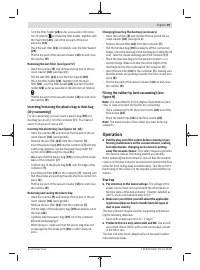
Fitting the rubber lip (wet vacuuming) (see
figure H)
Note:
The requirements for the degree of penetration (dust
class L) have only been verified for dry vacuuming.
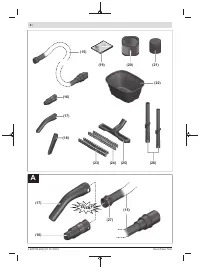
– Use a suitable tool to lift the brush inserts
(24)
out of the
floor nozzle
(25)
.
– Place the rubber lips
(23)
in the floor nozzle
(25)
.
Note:
The textured side of the rubber lips must be facing
outwards.
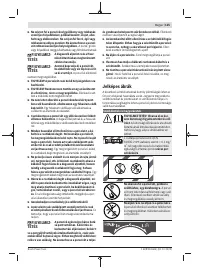
Operation
u
Pull the plug out of the socket before cleaning or per-
forming maintenance on the vacuum cleaner, making
tool adjustments, changing accessories or putting
away the vacuum cleaner.
This safety measure prevents
the vacuum cleaner from being started accidentally.
When operating the dust extractor, ensure that the lockable
castors on the dust extractor are blocked to prevent the dust
extractor from rolling away unintentionally. Test the correct
functioning of the castors on the relevant surface before op-
eration.
Start-up
u
Pay attention to the mains voltage.
The voltage of the
power source must correspond with the information on
the type plate of the dust extractor. Chargers labelled as
230 V can also be operated with 220 V.
u
Make sure you inform yourself about the applicable
regulations/laws on how to handle harmful types of
dust in your country.
The dust extractor may be used for vacuuming and extract-
ing the following materials:
– Dusts with an exposure limit of > 1 mg/m
3
u
Products that are only sold in AUS and NZ:
Use a resid-
ual current device (RCD) with a nominal residual current
of 30 mA or less.
The dust extractor must categorically not be used in poten-
tially explosive areas.
Bosch Power Tools
1 609 92A 60E | (01.10.2020)
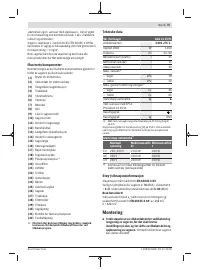
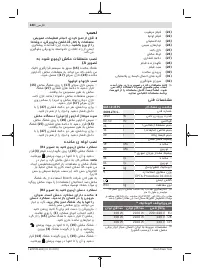
Содержание
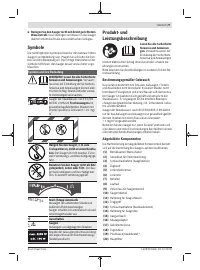
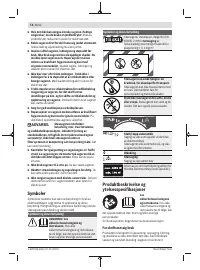
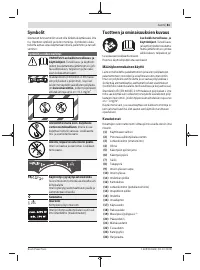
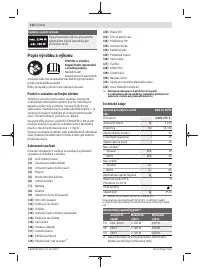
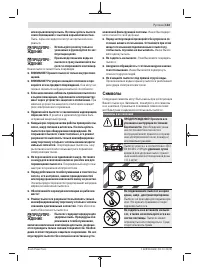
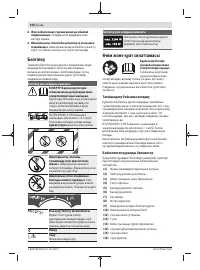
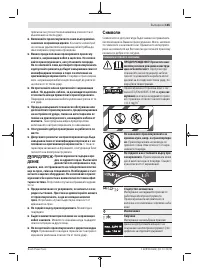
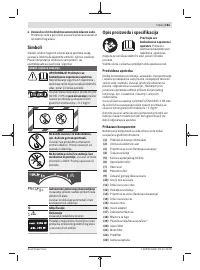
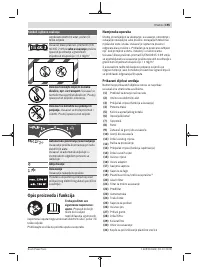
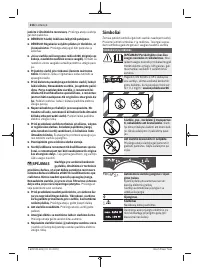
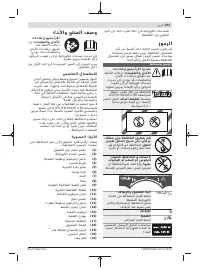
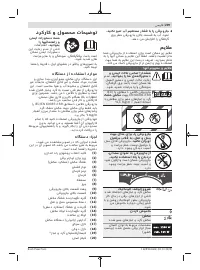
- 133 новленной фильтрующей системы.; Символы; Символы и их значение
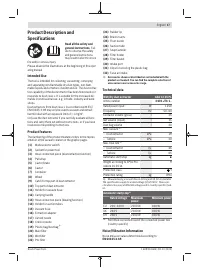
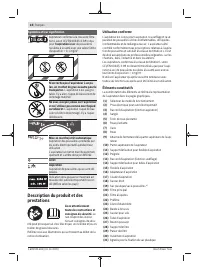
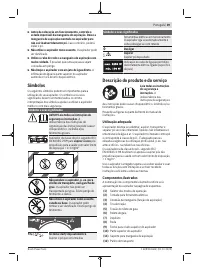
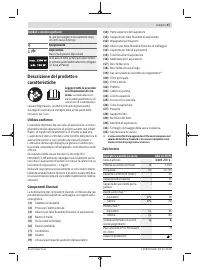
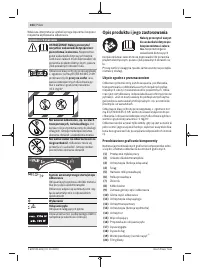
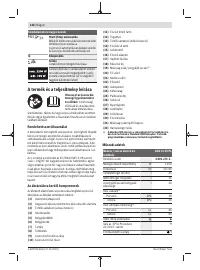
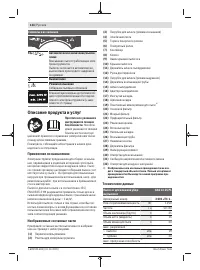
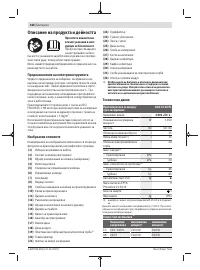
- 134 Описание продукта и услуг; Применение по назначению
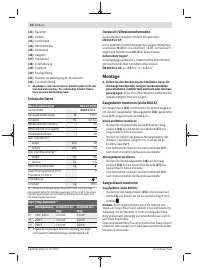
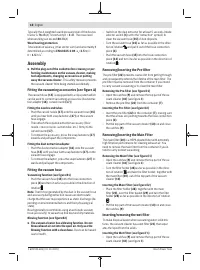
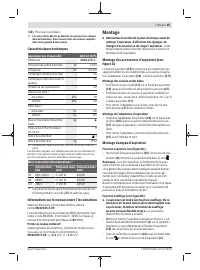
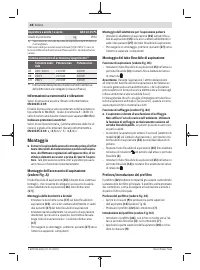
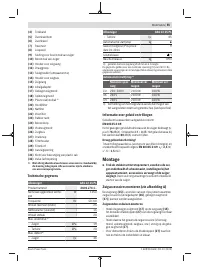
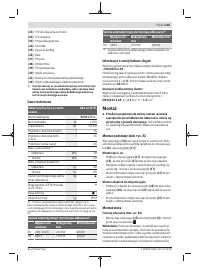
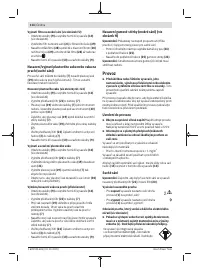
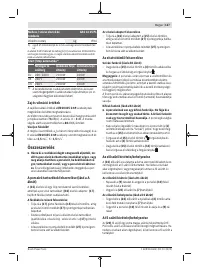
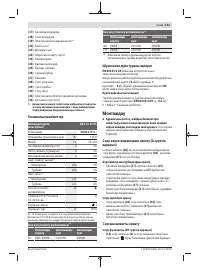
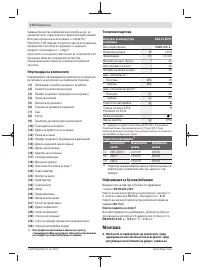
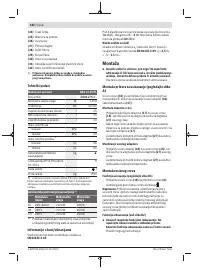
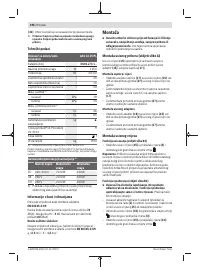
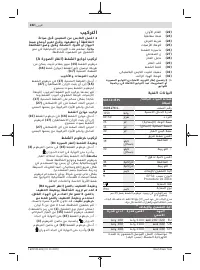
- 135 Автоматическое включение/выключение; Данные по шуму и вибрации; Используйте средства защиты органов слуха!; Сборка; Монтаж насадок и труб; Подключение шланга всасывания
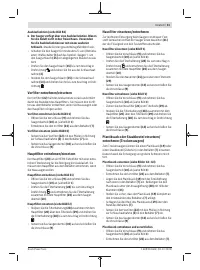
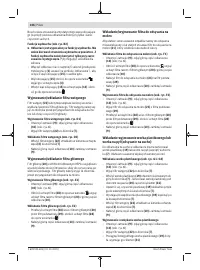
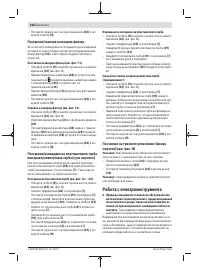
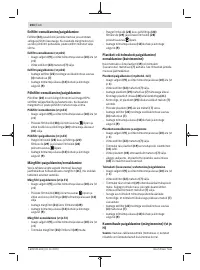
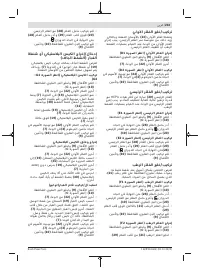
- 136 Извлечение и запечатывание пластикового мешка
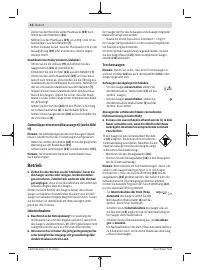
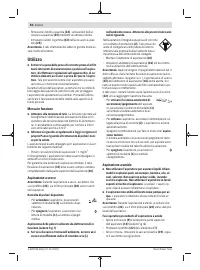
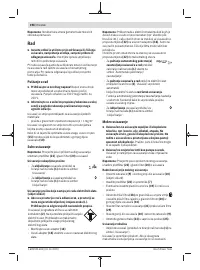
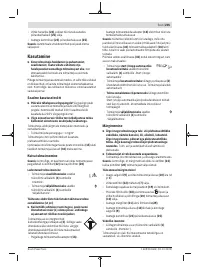
- 137 Работа с инструментом; Включение электроинструмента
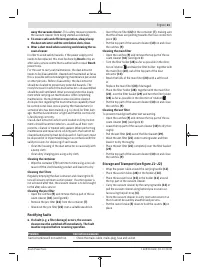
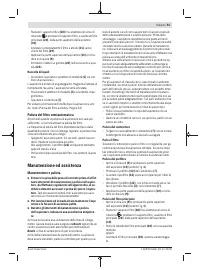
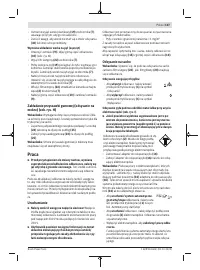
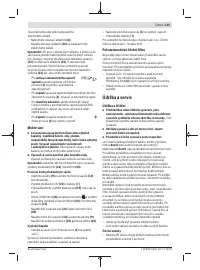
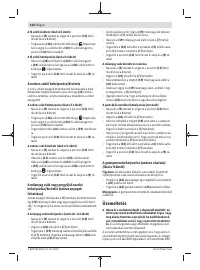
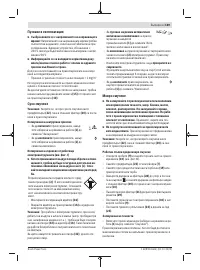
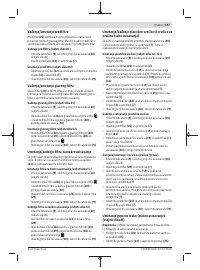
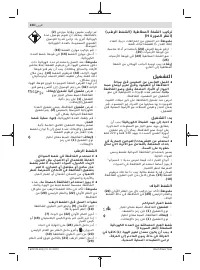
- 138 Полуавтоматическая очистка фильтра; Техобслуживание и сервис; Техобслуживание и очистка
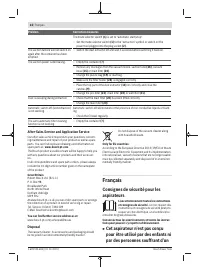
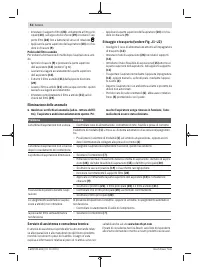
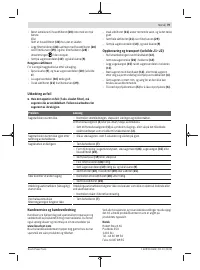
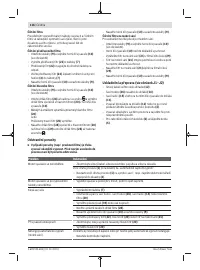
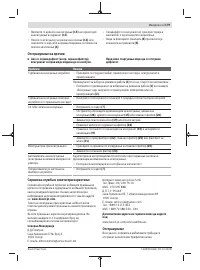
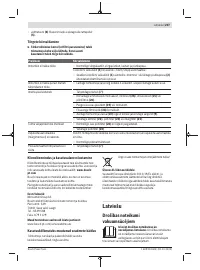
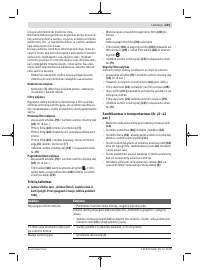
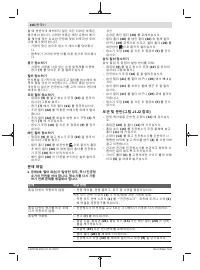
- 139 Очистка основного фильтра; Очистка мокрого фильтра; Устранение неисправностей; Проблема
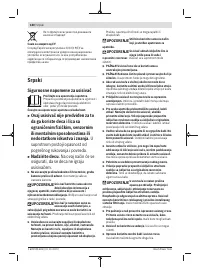
- 140 Утилизация; Українська; Прочитайте всі застереження і вказівки.; Інакше можливе; ДЖЕННЯ; також для всмоктування рідин.
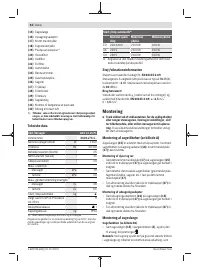
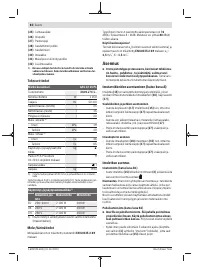
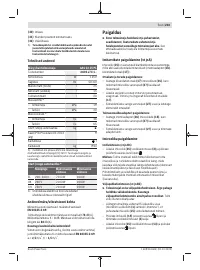
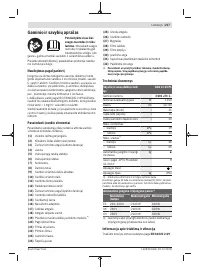
Характеристики

Остались вопросы?Не нашли свой ответ в руководстве или возникли другие проблемы? Задайте свой вопрос в форме ниже с подробным описанием вашей ситуации, чтобы другие люди и специалисты смогли дать на него ответ. Если вы знаете как решить проблему другого человека, пожалуйста, подскажите ему :)


