
Швейная машина Janome HD1023 - инструкция пользователя по применению, эксплуатации и установке на русском языке. Мы надеемся, она поможет вам решить возникшие у вас вопросы при эксплуатации техники.
Если остались вопросы, задайте их в комментариях после инструкции.
"Загружаем инструкцию", означает, что нужно подождать пока файл загрузится и можно будет его читать онлайн. Некоторые инструкции очень большие и время их появления зависит от вашей скорости интернета.


3
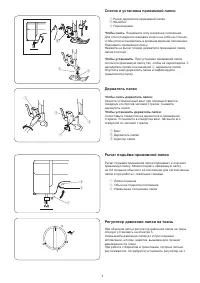
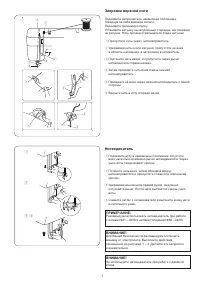
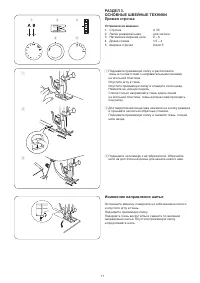
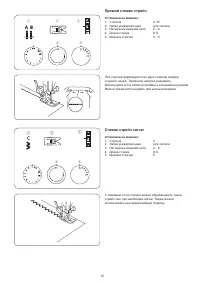
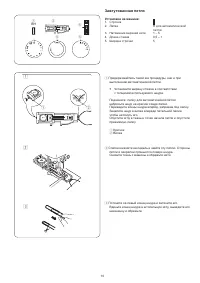
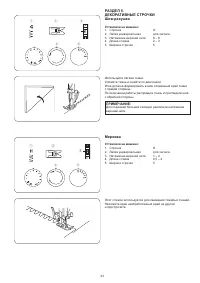
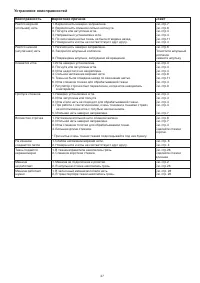
Снятие и установка прижимной лапки
q
Рычаг держателя прижимной лапки
w
Желобок
e
Перекладина
Чтобы снять.
Поднимите иглу в верхнее положение.
Для этого поверните маховое колесо на себя на столько,
чтобы игла остановилась в крайнем верхнем положении.
Поднимите прижимную лапку.
Нажмите на рычаг позади держателя прижимной лапки,
лапка отскочит.
Чтобы установить.
При установке прижимной лапки
положите прижимную лапку так, чтобы её перекладина
e
находилась прямо под выемкой
w
держателя лапки.
Опустите вниз держатель лапки и зафиксируйте
(защёлкните) лапку.
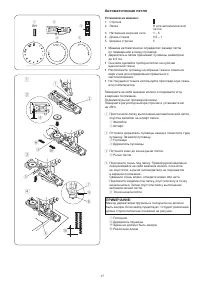
Держатель лапки
Чтобы снять держатель лапки:
Удалите установочный винт при помощи отвёртки,
повернув его против часовой стрелки. Снимите
держатель лапки.
Чтобы установить держатель лапки:
Сопоставьте отверстия на держателе и прижимном
стержне. Установите в отверстие винт. Затяните его
отвёрткой по часовой стрелке.
q
Винт
w
Держатель лапки
e
Адаптер лапки
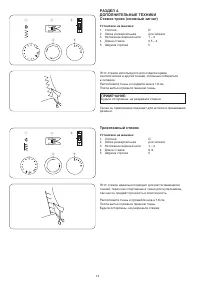
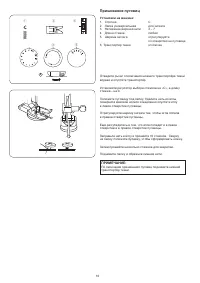
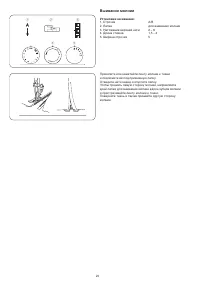
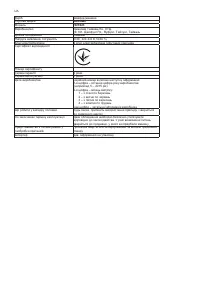
Рычаг подъёма прижимной лапки
Рычаг подъёма прижимной лапки поднимает и опускает
прижимную лапку. Можно поднять прижимную лапку
на 0.6 см выше обычного её положения для лёгкой смены
лапки и при работе с тяжёлыми тканями.
q
Лапка опущена
w
Обычное поднятое положение
e
Наивысшее положение лапки
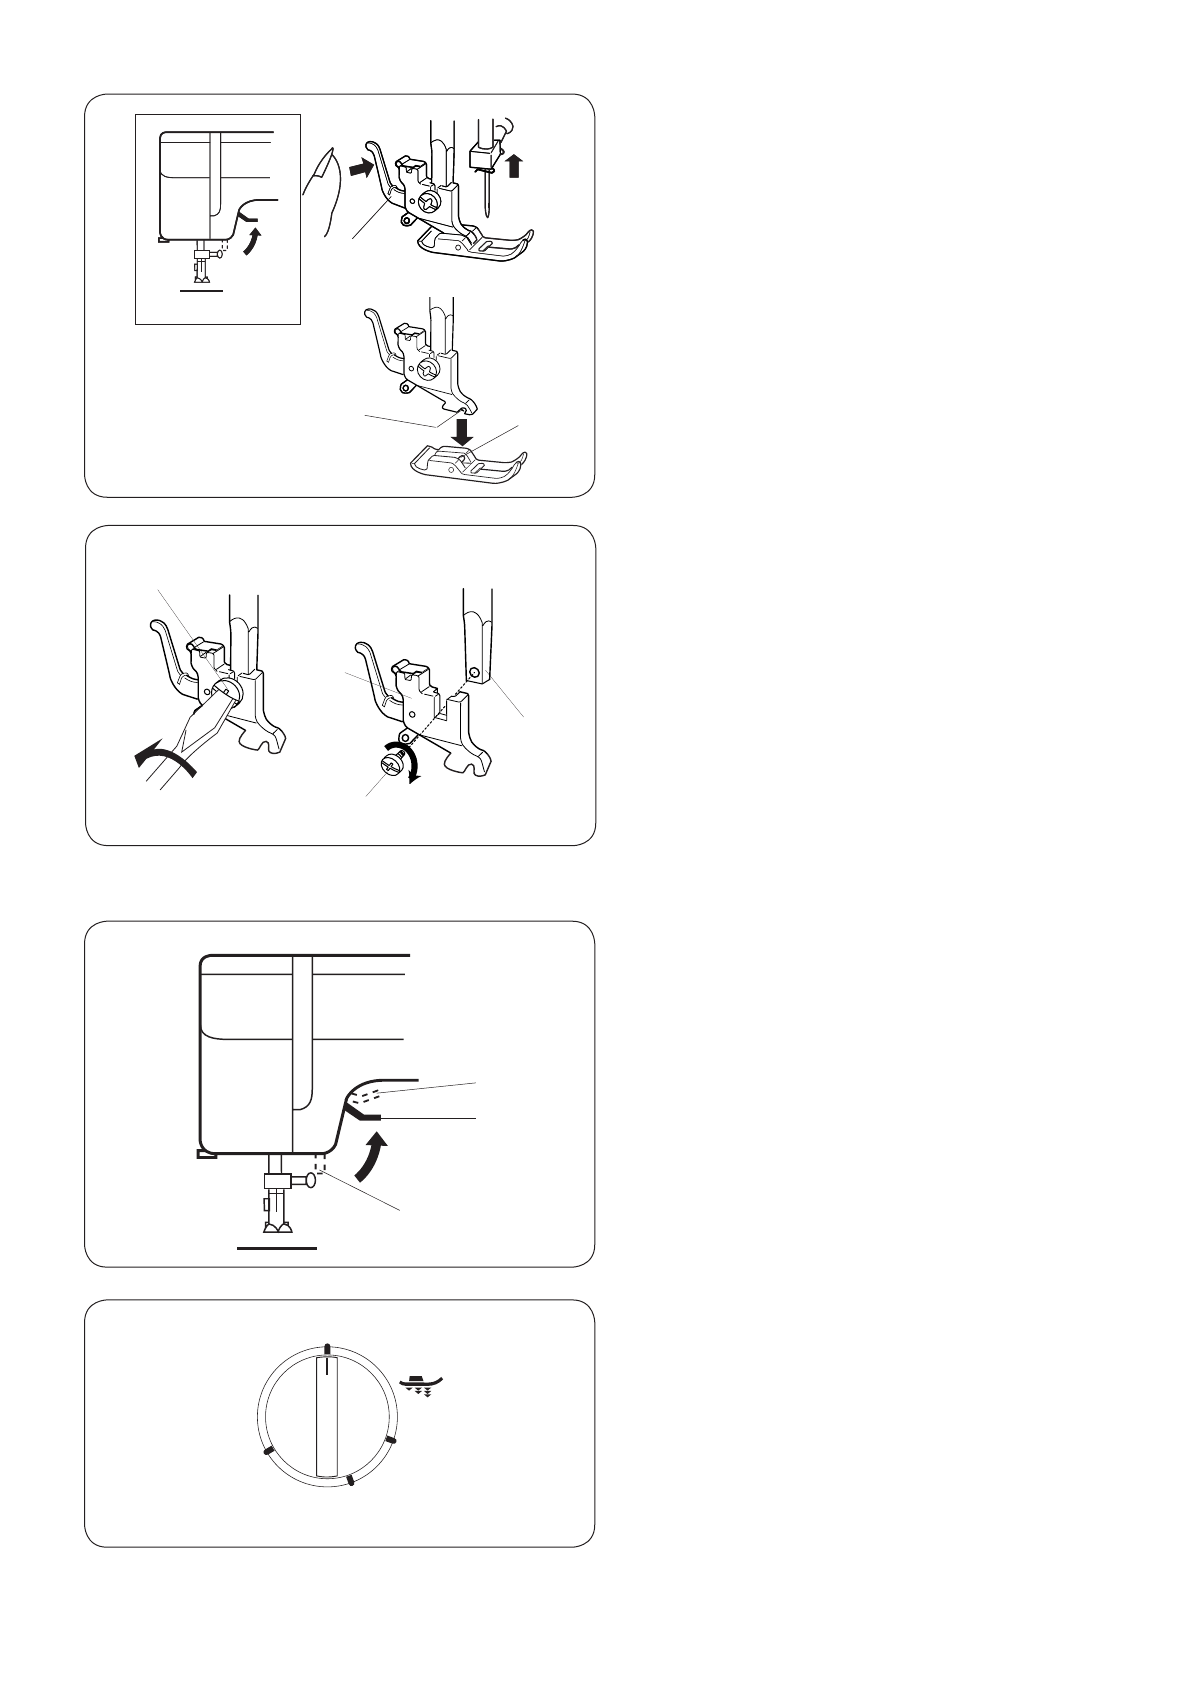
Регулятор давления лапки на ткань
При обычном шитье регулятор давления лапки на ткань
следует установить на отметке 3.
Уменьшайте давление лапки до 2 при создании
аппликации, штопке, намётке, вышивке для лучшей
манёвренности ткани.
При работе с бархатом и трикотажем, которые сильно
растягиваются, потребуется установить регулятор на 1.
5
w
e
q
To Attach and Remove the Presser Foot
To remove
Turn the handwheel toward you to raise the
needle to its highest position. Raise the presser
foot. Press the lever on the back of the foot
holder.
The presser foot will drop off.
q
Lever
To attach
Place the presser foot so the pin on the foot
lines up just under the groove of the foot holder.
Lower the foot holder to lock the foot in place.
w
Groove
e
Pin
To Attach and Remove the Foot Holder
q
Setscrew
w
Foot holder
e
Presser bar
To remove
Remove the setscrew
q
by turning it
counterclockwise with a screwdriver.
To attach
Match the hole in the foot holder
w
with the
threaded hole in the presser bar
e
.
Fit the screw
q
into the hole.
Tighten the screw
q
by turning it clockwise with
screwdriver.
q
q
w
e
CAUTION:
Turn off the power switch when changing the
presser foot.
CAUTION:
Turn off the power switch when attaching/
removing the foot holder.
6
Presser Foot Lifter
The presser foot lifter raises and lowers your
presser foot.
You can raise it about 0.6 cm (1/4˝) higher than
the normal up position for easy removal of the
presser foot or to help you to place heavy fabric
under the foot.
q
Lowest position
w
Normal up position
e
Highest position
e
w
q
Presser Foot Pressure Dial
The presser foot pressure dial should be set at 3
for regular sewing.
Reduce the pressure to 2 for applique, cutwork,
drawnwork, basting and embroidery for better
maneuverability of fabric.
Velours and knit with a lot of stretch may require
a 1 setting.
0
1
2
3
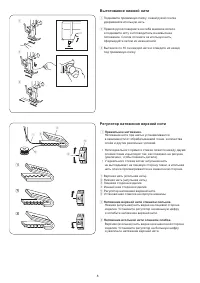
Содержание
- 4 СОДЕРЖАНИЕ
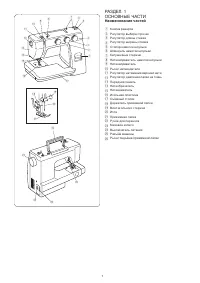
- 5 ОСНОВНЫЕ ЧАСТИ; Наименование частей; SECTION 1. ESSENTIAL PARTS; Names of Parts; Stitch selector dial
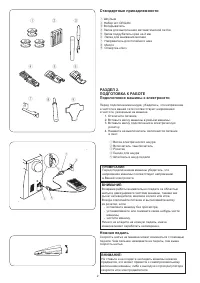
- 6 SECTION 2. GETTING READY TO; SECTION 2. GETTING READY TO
- 7 Рычаг подъёма прижимной лапки; Reduce the pressure to 2 for applique, cutwork,
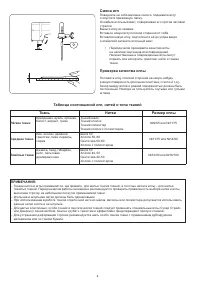
- 8 Changing Needle; the flat side away from you.; To check the needle; Fabric, Thread and Needle Chart; Fabric
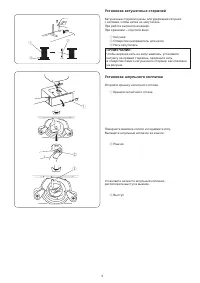
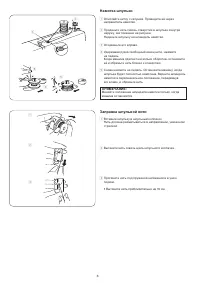
- 9 Removing or Inserting the Bobbin Case; Spool
- 10 Winding the Bobbin; Threading Bobbin Case; Threading Bobbin Case
- 11 Needle Threader; Needle Threader
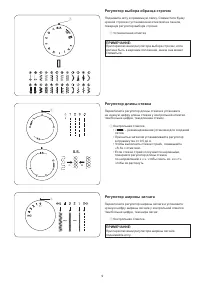
- 12 Thread Tension Dial
- 13 CAUTION; Setting mark
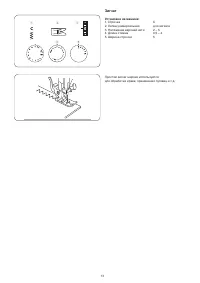
- 15 Изменение направления шитья; SECTION 3. BASIC SEWING
- 17 Зигзаг; Zigzag foot; Zigzag foot
- 18 ДОПОЛНИТЕЛЬНЫЕ ТЕХНИКИ; Трикотажный стежок; SECTION 4. UTILITY STITCHING; SECTION 4. UTILITY STITCHING; This stitch is used to finish the raw edge on; SECTION 4. UTILITY STITCHING; This stitch is used to finish the raw edge on; SECTION 4. UTILITY STITCHING
- 19 Прямой стежок стрейч; Стежок стрейч зигзаг; Straight Stretch
- 20 Пришивание пуговиц; Sewing Buttons
- 21 Автоматическая петля
- 22 n m
- 23 Зажгутованная петля; Corded Buttonhole
- 24 Вшивание молнии; Smooth the threads toward the back and lower; Smooth the threads toward the back and lower
- 25 Blind Hem Stitch; Screw
- 26 Роликовый шов
- 27 ДЕКОРАТИВНЫЕ СТРОЧКИ; Мережка; SECTION 5. DECORATIVE STITCHING
- 28 Сборки; Аппликация
- 29 Образцы стежков стрейч; Образцы декоративных сатиновых стежков
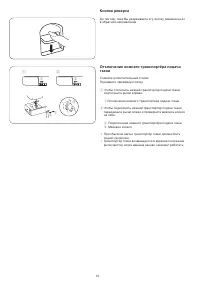
- 30 Чистка нижнего транспортёра ткани
- 31 Устранение неисправностей; Неисправность
Характеристики

Остались вопросы?Не нашли свой ответ в руководстве или возникли другие проблемы? Задайте свой вопрос в форме ниже с подробным описанием вашей ситуации, чтобы другие люди и специалисты смогли дать на него ответ. Если вы знаете как решить проблему другого человека, пожалуйста, подскажите ему :)


