
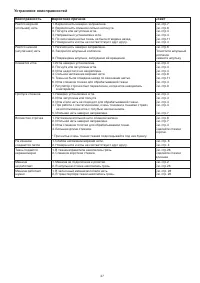
Швейная машина Janome HD1023 - инструкция пользователя по применению, эксплуатации и установке на русском языке. Мы надеемся, она поможет вам решить возникшие у вас вопросы при эксплуатации техники.
Если остались вопросы, задайте их в комментариях после инструкции.
"Загружаем инструкцию", означает, что нужно подождать пока файл загрузится и можно будет его читать онлайн. Некоторые инструкции очень большие и время их появления зависит от вашей скорости интернета.


9
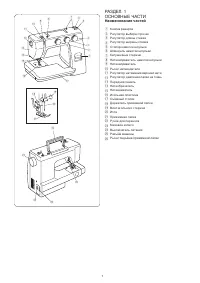
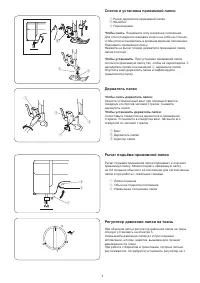
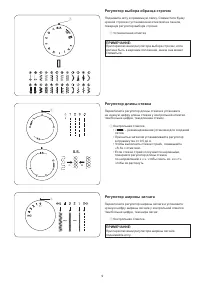
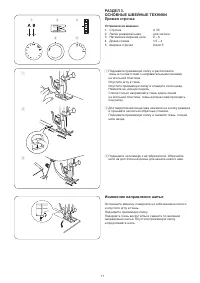
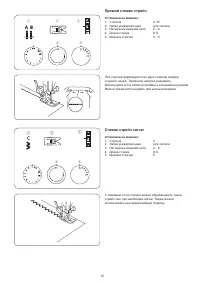
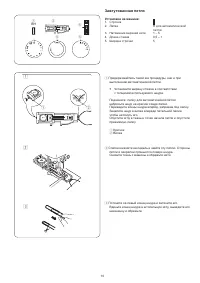
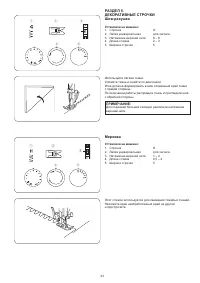
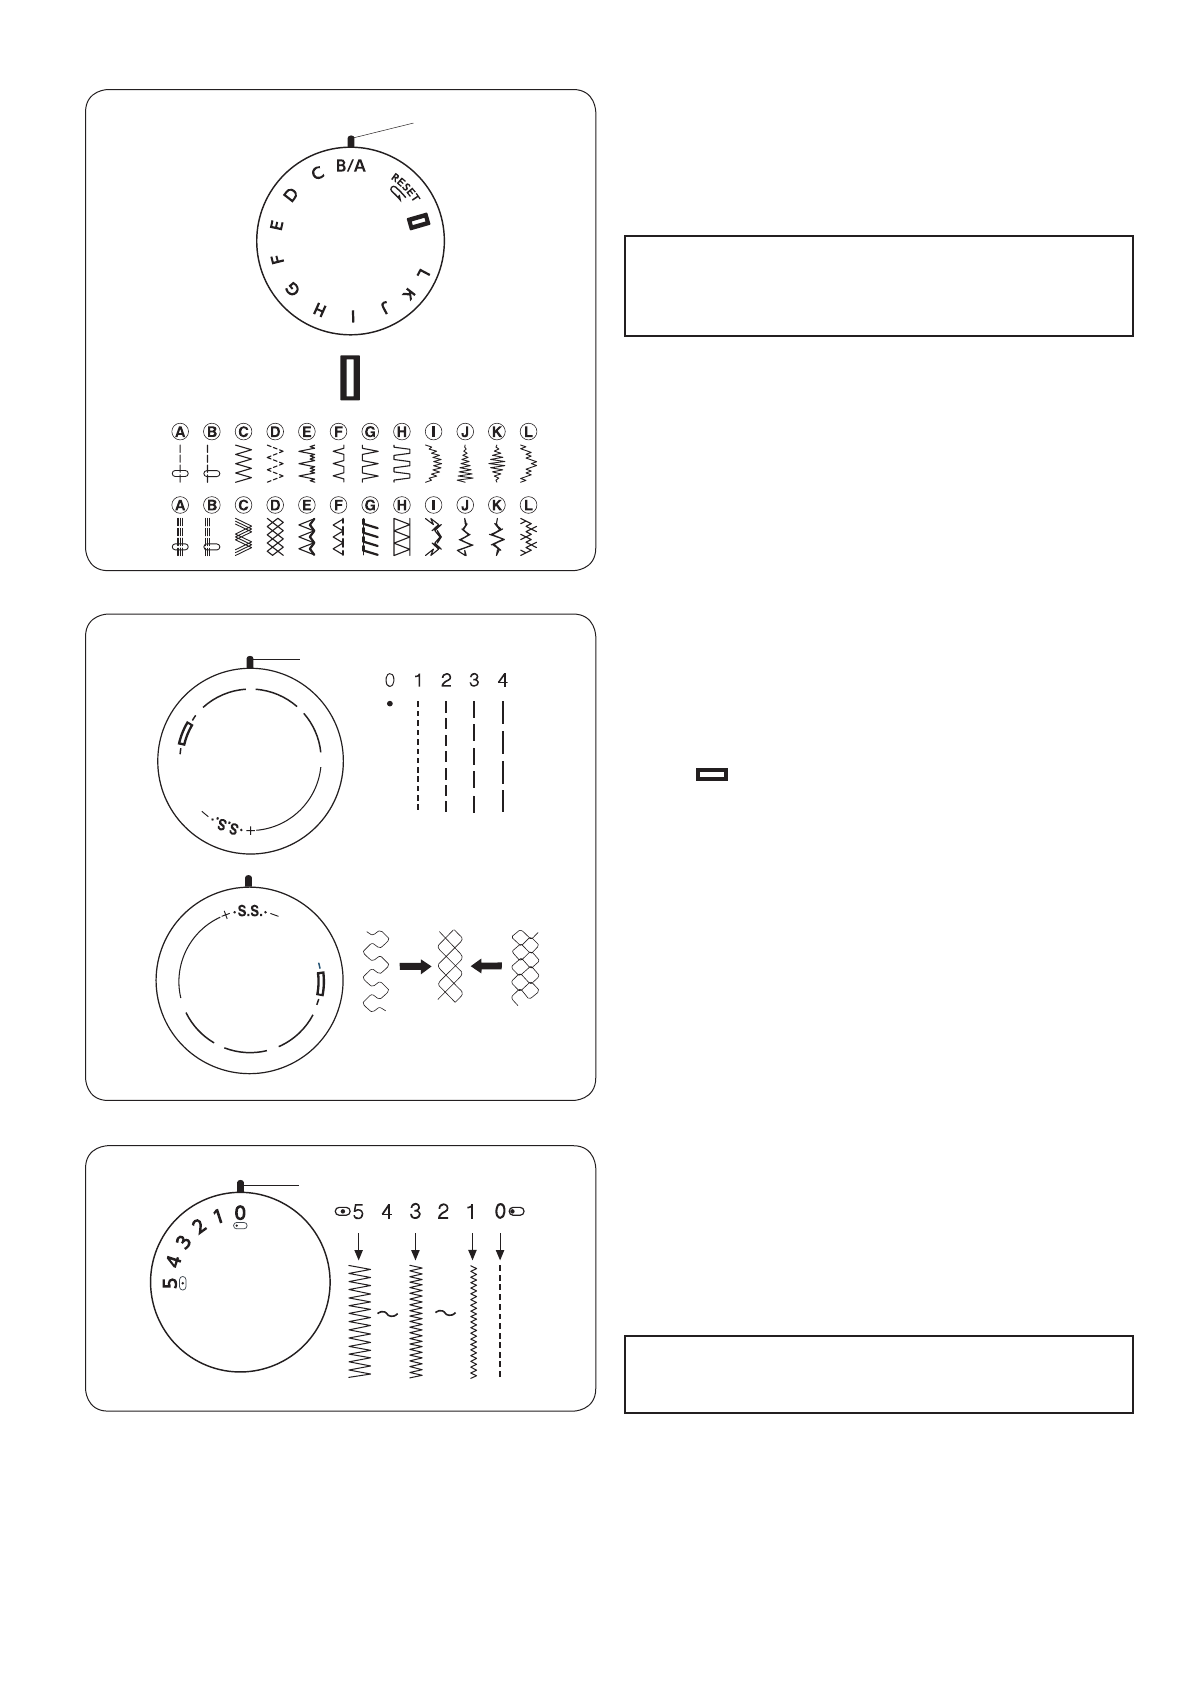
Регулятор выбора образца строчек
Поднимите иглу и прижимную лапку. Совместите букву
нужной строчки с установочной отметкой на панели,
повернув регулятор выбора строчек.
q
Установочная отметка
Регулятор длины стежка
Переключите регулятор длины стежка и установите
на нужную цифру длины стежка у контрольной отметки.
Чем больше цифра, тем длиннее стежок.
q
Контрольная отметка
• «
» – рекомендованная установка для создания
петли.
• При шитье зигзагом устанавливайте регулятор
в промежутке от 0.5 до 4.
• Чтобы выполнить стежки стрейч, совмещайте
«S.S» с отметкой.
• Если стежки стрейч получаются неровными,
поверните регулятор длины стежка
по направлению к «-», чтобы сжать их, и к «+»,
чтобы их растянуть.
Регулятор ширины зигзага
Переключите регулятор ширины зигзага и установите
нужную цифру ширины зигзага у контрольной отметки.
Чем больше цифра, тем шире зигзаг.
q
Контрольная отметка
При переключении регулятора выбора строчек, игла
должна быть в верхнем положении, иначе она может
сломаться.
При переключении регулятора ширины зигзага
поднимайте иглу.
ПРИМЕЧАНИЕ:
ПРИМЕЧАНИЕ:
12
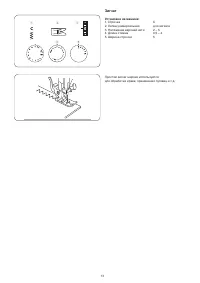
q
Stitch Selector Dial
Turn the stitch selector dial to set the setting
mark with the symbol corresponding to the
desired pattern.
q
Setting mark
CAUTION
To avoid needle or fabric damage, make sure
the needle is up and out of the fabric while
selecting a stitch.
Stitch Length Dial
Turn the stitch length dial to set the setting mark
with the desired stitch length.
The higher the number, the longer the stitch
length.
q
Setting mark
• Adjust the dial in the 0.5–4 range when you
sew the zigzag stitch.
• Set the dial at “S.S.” to sew the stretch stitch
pattern sewing.
• If the stretch stitch pattern is uneven, turn
the stitch length dial in the direction of “–” to
compress it, or “+” to expand it.
S.S.
q
+
–
1
2
3
4
0
1
2
3
4
0
12
q
Stitch Selector Dial
Turn the stitch selector dial to set the setting
mark with the symbol corresponding to the
desired pattern.
q
Setting mark
CAUTION
To avoid needle or fabric damage, make sure
the needle is up and out of the fabric while
selecting a stitch.
Stitch Length Dial
Turn the stitch length dial to set the setting mark
with the desired stitch length.
The higher the number, the longer the stitch
length.
q
Setting mark
• Adjust the dial in the 0.5–4 range when you
sew the zigzag stitch.
• Set the dial at “S.S.” to sew the stretch stitch
pattern sewing.
• If the stretch stitch pattern is uneven, turn
the stitch length dial in the direction of “–” to
compress it, or “+” to expand it.
S.S.
q
+
–
1
2
3
4
0
1
2
3
4
0
13
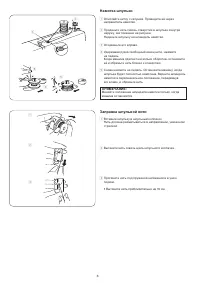
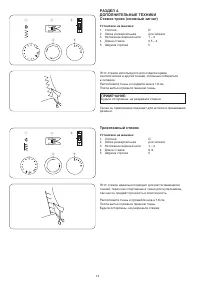
Reverse Stitch Button
As long as you keep the reverse stitch button
depressed, the machine will sew in reverse.
Dropping or Raising the Feed Dog
The drop feed lever is located underneath the
free arm bed on the front of the machine.
z
To drop the feed dog, push the lever in the
direction of the arrow
q
.
x
To raise the feed dog, push the lever in the
direction of the arrow
w
, as illustrated, and
turn the handwheel
e
toward you.
The feed dog must be up for normal sewing.
q
Stitch Width Dial
Turn the stitch width dial to set the desired stitch
width at the setting mark .
The higher the number, the wider the stitch width
q
Setting mark
NOTE:
Raise the needle above the fabric, when you
turn the stitch width dial.
q
z
x
q
w
w
e
Содержание
- 4 СОДЕРЖАНИЕ
- 5 ОСНОВНЫЕ ЧАСТИ; Наименование частей; SECTION 1. ESSENTIAL PARTS; Names of Parts; Stitch selector dial
- 6 SECTION 2. GETTING READY TO; SECTION 2. GETTING READY TO
- 7 Рычаг подъёма прижимной лапки; Reduce the pressure to 2 for applique, cutwork,
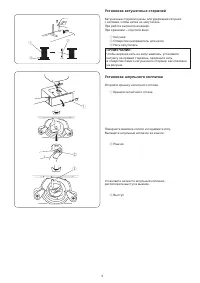
- 8 Changing Needle; the flat side away from you.; To check the needle; Fabric, Thread and Needle Chart; Fabric
- 9 Removing or Inserting the Bobbin Case; Spool
- 10 Winding the Bobbin; Threading Bobbin Case; Threading Bobbin Case
- 11 Needle Threader; Needle Threader
- 12 Thread Tension Dial
- 13 CAUTION; Setting mark
- 15 Изменение направления шитья; SECTION 3. BASIC SEWING
- 17 Зигзаг; Zigzag foot; Zigzag foot
- 18 ДОПОЛНИТЕЛЬНЫЕ ТЕХНИКИ; Трикотажный стежок; SECTION 4. UTILITY STITCHING; SECTION 4. UTILITY STITCHING; This stitch is used to finish the raw edge on; SECTION 4. UTILITY STITCHING; This stitch is used to finish the raw edge on; SECTION 4. UTILITY STITCHING
- 19 Прямой стежок стрейч; Стежок стрейч зигзаг; Straight Stretch
- 20 Пришивание пуговиц; Sewing Buttons
- 21 Автоматическая петля
- 22 n m
- 23 Зажгутованная петля; Corded Buttonhole
- 24 Вшивание молнии; Smooth the threads toward the back and lower; Smooth the threads toward the back and lower
- 25 Blind Hem Stitch; Screw
- 26 Роликовый шов
- 27 ДЕКОРАТИВНЫЕ СТРОЧКИ; Мережка; SECTION 5. DECORATIVE STITCHING
- 28 Сборки; Аппликация
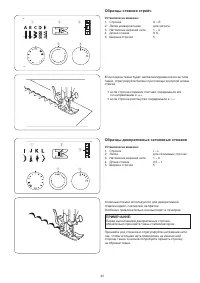
- 29 Образцы стежков стрейч; Образцы декоративных сатиновых стежков
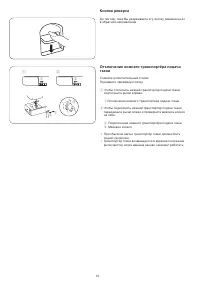
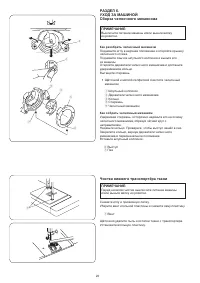
- 30 Чистка нижнего транспортёра ткани
- 31 Устранение неисправностей; Неисправность
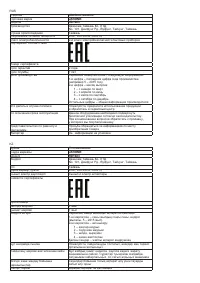
Характеристики

Остались вопросы?Не нашли свой ответ в руководстве или возникли другие проблемы? Задайте свой вопрос в форме ниже с подробным описанием вашей ситуации, чтобы другие люди и специалисты смогли дать на него ответ. Если вы знаете как решить проблему другого человека, пожалуйста, подскажите ему :)


