
Шуруповерты DEWALT 12 В XR DCF801D2 - инструкция пользователя по применению, эксплуатации и установке на русском языке. Мы надеемся, она поможет вам решить возникшие у вас вопросы при эксплуатации техники.
Если остались вопросы, задайте их в комментариях после инструкции.
"Загружаем инструкцию", означает, что нужно подождать пока файл загрузится и можно будет его читать онлайн. Некоторые инструкции очень большие и время их появления зависит от вашей скорости интернета.


31
EnGLIsh
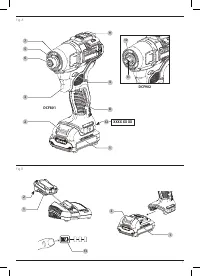
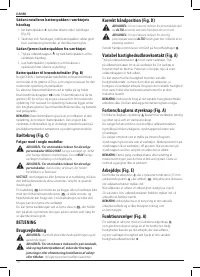
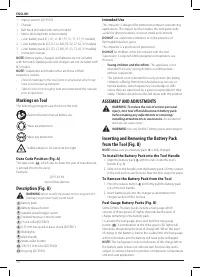
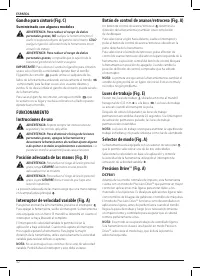
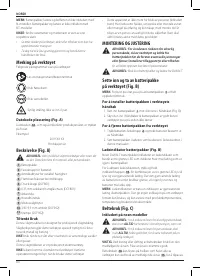
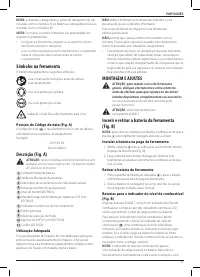
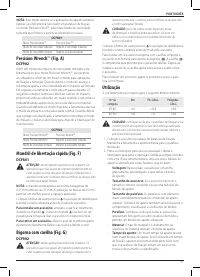
Belt Hook (Fig. C)
Included with Some Models
WARNING: To reduce the risk of serious personal
injury, DO NOT
suspend tool overhead or suspend
objects from the belt hook.
ONLY
hang tool’s belt hook
from a work belt.
WARNING: To reduce the risk of serious personal
injury,
ensure the screw holding the belt hook is secure.
IMPORTanT:
When attaching or replacing a belt hook, use only
the screw that is provided. Be sure to securely tighten the screw.
A belt hook
14
can be be attached to either side of the tool
using only the screw
15
provided, to accommodate left- or
right-handed users. If the belt hook is not desired at all, it can be
removed from the tool.
To move the belt hook, remove the screw
15
that holds it in
place then reassemble on the opposite side. Be sure to securely
tighten the screw.
OPERATION
Instructions for Use
WARNING:
Always observe the safety instructions and
applicable regulations.
WARNING: To reduce the risk of serious personal
injury, turn tool off and disconnect battery pack
before making any adjustments or removing/
installing attachments or accessories.
An accidental
start-up can cause injury.
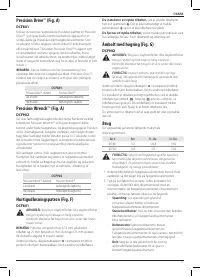
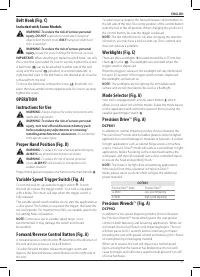
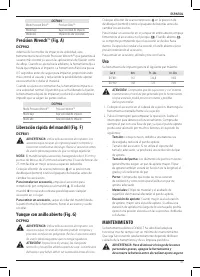
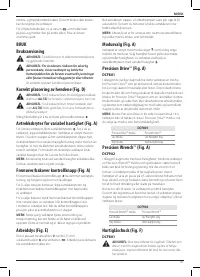
Proper Hand Position (Fig. D)
WARNING:
To reduce the risk of serious personal injury,
ALWAYS
use proper hand position as shown.
WARNING:
To reduce the risk of serious personal
injury,
ALWAYS
hold securely in anticipation of a
sudden reaction.
Proper hand position requires one hand on the main handle
8
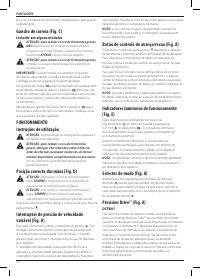
Variable Speed Trigger Switch (Fig. A)
To turn the tool on, squeeze the trigger switch
3
. To turn
the tool off, release the trigger switch. Your tool is equipped
with a brake. The chuck will stop when the trigger switch is
fully released.
The variable speed switch enables you to start the application at
a slow speed. The further you squeeze the trigger, the faster the
tool will operate. For maximum tool life, use variable speed only
for starting holes or fasteners.
nOTE:
Continuous use in variable speed range is not
recommended. It may damage the switch and should
be avoided.
Forward/Reverse Control Button (Fig. A)
A forward/reverse control button
4
determines the direction of
the tool and also serves as a lock-off button.
To select forward rotation, release the trigger switch and
depress the forward/reverse control button on the right side of
the tool.
To select reverse, depress the forward/reverse control button on
the left side of the tool. The centre position of the control button
locks the tool in the off position. When changing the position of
the control button, be sure the trigger is released.
nOTE:
The first time the tool is run after changing the direction
of rotation, you may hear a click on start up. This is normal and
does not indicate a problem.
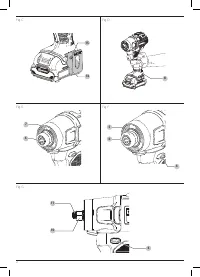
Worklights (Fig. E)
There are three worklights
7
located around the 6.35 mm hex
chuck
6
or anvil
10
. The worklights are activated when the
trigger switch is depressed.
When the trigger is released, the worklight will stay illuminated
for up to 20 seconds. If the trigger switch remains depressed,
the worklights will remain on.
nOTE:
The worklights are for lighting the immediate work
surface and are not intended to be used as a flashlight.
Mode Selector (Fig. A)
Your tool is equipped with a mode select button
9
which
allows you to select one of three modes. Select the mode based
on the application and control the speed of the tool using the
variable speed trigger switch
3
.
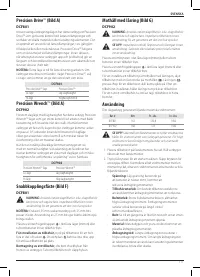
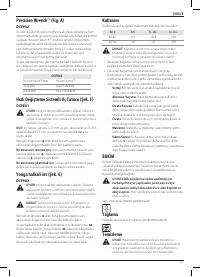
Precision Drive
™
(Fig. A)
DCF801
In addition to normal impacting modes, this tool features the
Precision Drive™ mode which enables greater control in lighter
applications to avoid damage to materials or fasteners. It is ideal
for light applications such as cabinet hinge screws or machine
screws. Precision Drive™ mode will work as a screwdriver in light
applications, before hesitating as the screw head reaches the
work piece, and then (if required) start a slow controlled impact
to ensure the head ends perfectly flush.
nOTE:
This mode is for light duty screwdriving applications.
If the tool will not drive a fastener in Precision Drive™
Mode, please select Lo Mode which will give the additional
power required.
DCF801
Precision Drive™ mode
Precision Drive
™
Lo Mode
Low speed impacting
Hi Mode
High Speed Impacting
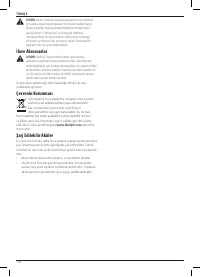
Precision Wrench
™
(Fig. A)
DCF902
In addition to low speed impacting modes, this tool features
the Precision Wrench™ mode which grants the user greater
control in both fastening and loosening applications. When set
in forward, the tool will fasten until impacting begins. The tool
will then pause for 0.5 seconds before continuing to impact,
providing the user with greater control and reducing the chance
of overtightening or damaging material.
When set in reverse, the tool will impact at a normal speed.
Upon sensing that the fastener has broken free, the tool will
cease to impact and will reduce speed to help prevent “run-off”
of loose hardware.


