
Шуруповерты DEWALT 12 В XR DCF801D2 - инструкция пользователя по применению, эксплуатации и установке на русском языке. Мы надеемся, она поможет вам решить возникшие у вас вопросы при эксплуатации техники.
Если остались вопросы, задайте их в комментариях после инструкции.
"Загружаем инструкцию", означает, что нужно подождать пока файл загрузится и можно будет его читать онлайн. Некоторые инструкции очень большие и время их появления зависит от вашей скорости интернета.


30
EnGLIsh
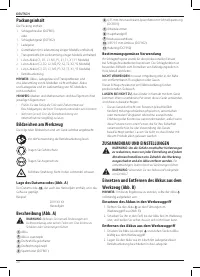
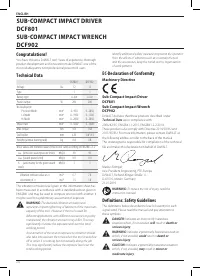
1 Impact wrench (DCF902)
1 Charger
1 Belt hook (included with some models)
1 Kitbox (included with some models)
1 Li-Ion battery pack (C1, D1, L1, M1, P1, S1, T1, X1, Y1 models)
2 Li-Ion battery packs (C2, D2, L2, M2, P2, S2, T2, X2, Y2 models)
3 Li-Ion battery packs (C3, D3, L3, M3, P3, S3, T3, X3, Y3 models)
1 Instruction manual
nOTE:
Battery packs, chargers and kitboxes are not included
with N models. Battery packs and chargers are not included with
NT models.
nOTE:
Trademarks and trade names are those of their
respective owners.
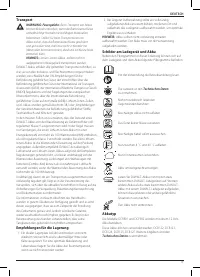
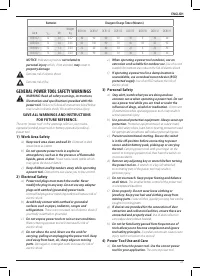
• Check for damage to the tool, parts or accessories which may
have occurred during transport.
• Take the time to thoroughly read and understand this manual
prior to operation.
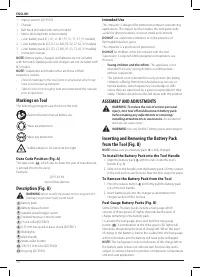
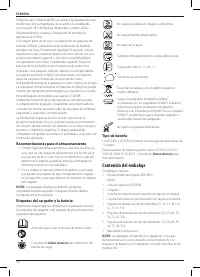
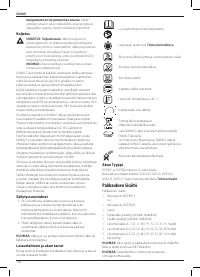
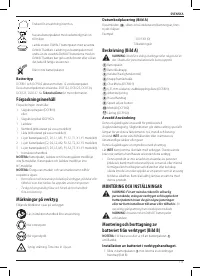
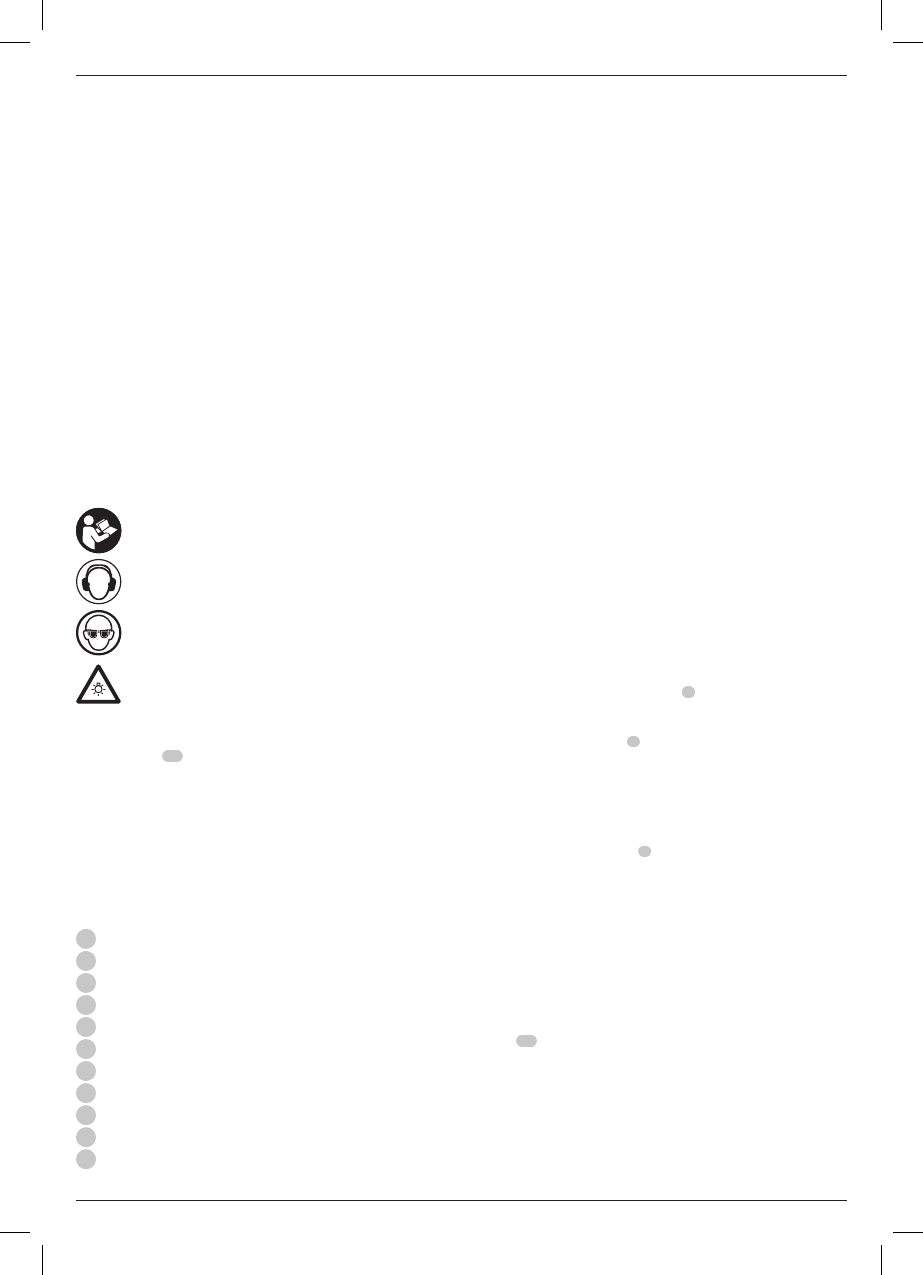
Markings on Tool
The following pictograms are shown on the tool:
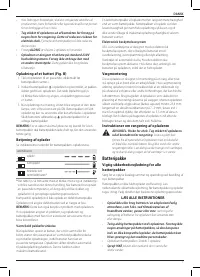
Read instruction manual before use.
Wear ear protection.
Wear eye protection.
Visible radiation. Do not stare into light.
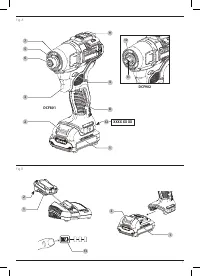
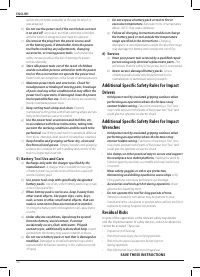
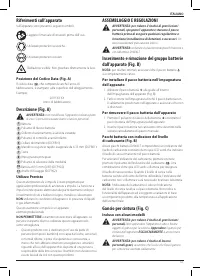
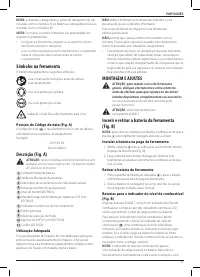
Date Code Position (Fig. A)
The date code
12
, which also includes
the year of manufacture,
is printed into the housing.
Example:
2019 XX XX
Year of Manufacture
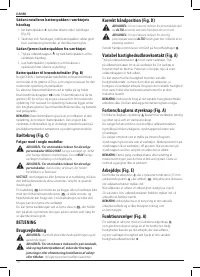
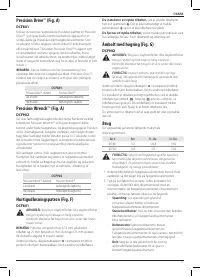
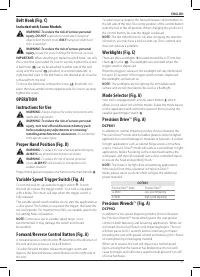
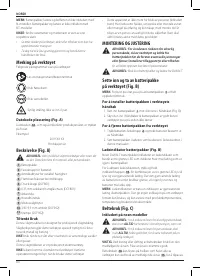
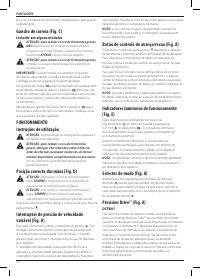
Description (Fig. A)
WARNING:
Never modify the power tool or any part of it.
Damage or personal injury could result.
1
Battery pack
2
Battery release button
3
Variable speed trigger switch
4
Forward/reverse control button
5
Chuck collar (DCF801)
6
6.35 mm hex quick-release chuck (DCF801)
7
Worklights
8
Main handle
9
Mode select button
10
3/8"/9.5 mm Anvil (DCF902)
11
Hog ring (DCF902)
Intended Use
This impactor is designed for professional impact screwdriving
applications. The impact function makes this tool particularly
useful for driving fasteners in wood, metal and concrete.
DO nOT
use under wet conditions or in the presence of
flammable liquids or gases.
This impactor is a professional power tool.
DO nOT
let children come into contact with the tool.
Supervision is required when inexperienced operators use
this tool.
•
Young children and the infirm.
This appliance is not
intended for use by young children or infirm persons
without supervision.
• This product is not intended for use by persons (including
children) suffering from diminished physical, sensory or
mental abilities; lack of experience, knowledge or skills
unless they are supervised by a person responsible for their
safety. Children should never be left alone with this product.
ASSEMBLY AND ADJUSTMENTS
WARNING: To reduce the risk of serious personal
injury, turn tool off and disconnect battery pack
before making any adjustments or removing/
installing attachments or accessories.
An accidental
start-up can cause injury.
WARNING:
Use only
D
e
WALT
battery packs and chargers.
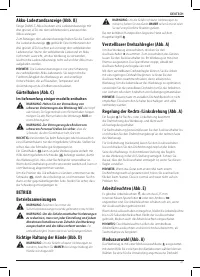
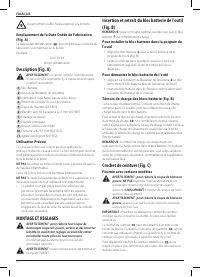
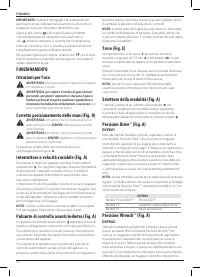
Inserting and Removing the Battery Pack
from the Tool (Fig. B)
nOTE:
Make sure your battery pack
1
is fully charged.
To Install the Battery Pack into the Tool Handle
1. Align the battery pack
1
with the rails inside the tool’s
handle (Fig. B).
2. Slide it into the handle until the battery pack is firmly seated
in the tool and ensure that you hear the lock snap into place.
To Remove the Battery Pack from the Tool
1. Press the release button
2
and firmly pull the battery pack
out of the tool handle.
2. Insert battery pack into the charger as described in the
charger section of this manual.
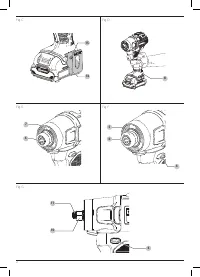
Fuel Gauge Battery Packs (Fig. B)
Some
D
e
WALT
battery packs include a fuel gauge which
consists of three green LED lights that indicate the level of
charge remaining in the battery pack.
To actuate the fuel gauge, press and hold the fuel gauge
button
13
. A combination of the three green LED lights will
illuminate designating the level of charge left. When the level
of charge in the battery is below the usable limit, the fuel gauge
will not illuminate and the battery will need to be recharged.
nOTE:
The fuel gauge is only an indication of the charge left on
the battery pack. It does not indicate tool functionality and is
subject to variation based on product components, temperature
and end-user application.


