
Шуруповерты Bosch GSR 18V-60 C - инструкция пользователя по применению, эксплуатации и установке на русском языке. Мы надеемся, она поможет вам решить возникшие у вас вопросы при эксплуатации техники.
Если остались вопросы, задайте их в комментариях после инструкции.
"Загружаем инструкцию", означает, что нужно подождать пока файл загрузится и можно будет его читать онлайн. Некоторые инструкции очень большие и время их появления зависит от вашей скорости интернета.


English |
17
Bosch Power Tools
1 609 92A 2SJ | (3.8.16)
Identify additional safety measures to protect the operator
from the effects of vibration such as: maintain the tool and the
accessories, keep the hands warm, organisation of work pat-
terns.
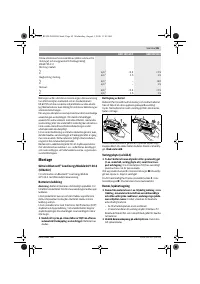
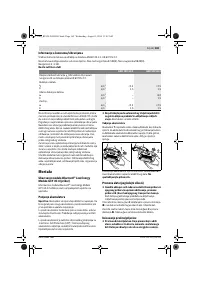
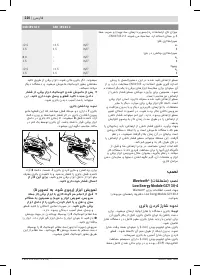
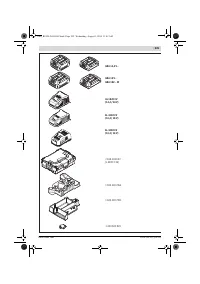
Assembly
Inserting the
Bluetooth
®
Low Energy Module
GCY 30-4 (accessory)
Read the corresponding operating instructions for informa-
tion about the
Bluetooth
®
Low Energy Module GCY 30-4.
Battery Charging
Note:
The battery supplied is partially charged. To ensure full
capacity of the battery, completely charge the battery in the
battery charger before using your power tool for the first time.
The lithium-ion battery can be charged at any time without re-
ducing its service life. Interrupting the charging procedure
does not damage the battery.
The lithium-ion battery is protected against deep discharging
by the “Electronic Cell Protection (ECP)”. When the battery is
empty, the machine is switched off by means of a protective
circuit: The inserted tool no longer rotates.
Do not continue to press the On/Off switch after the
machine has been automatically switched off.
The bat-
tery can be damaged.
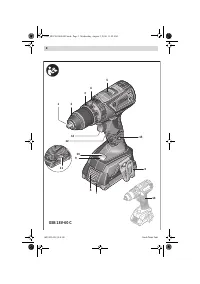
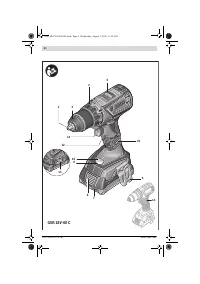
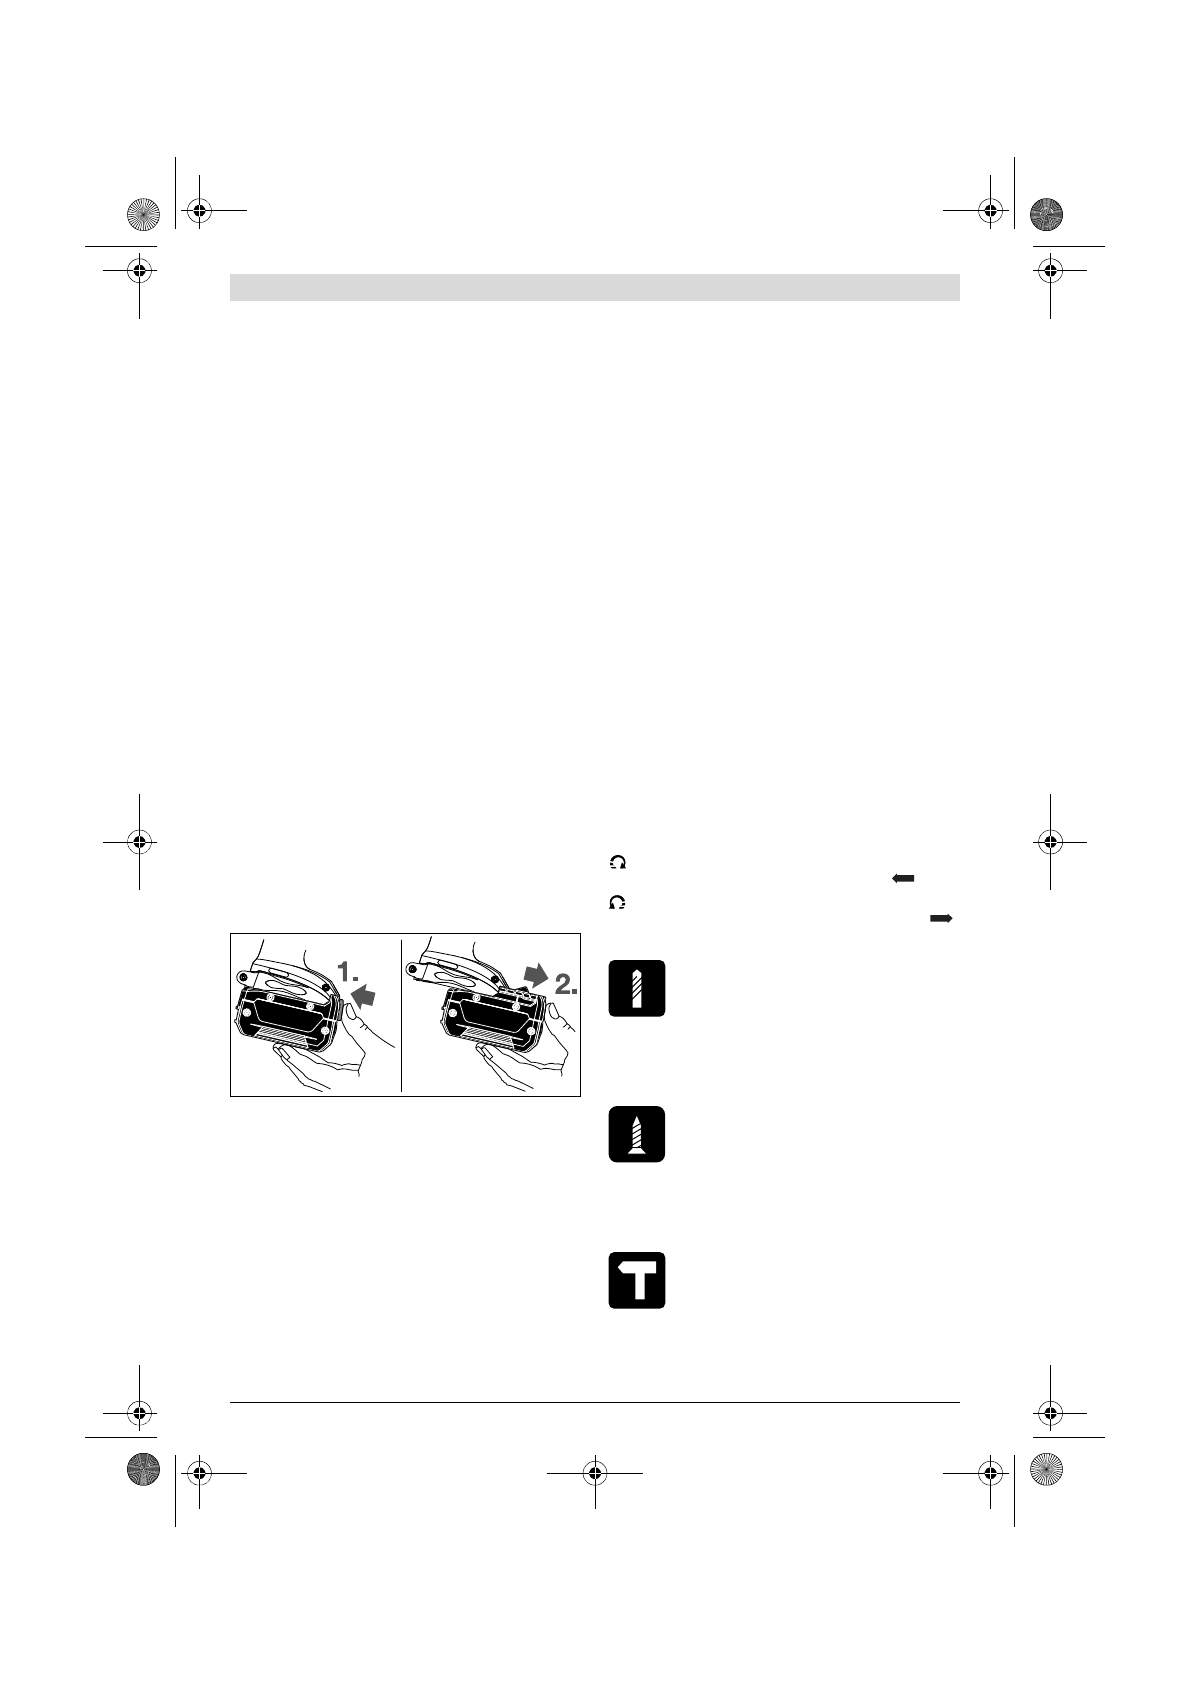
Removing the battery
The battery
7
is equipped with two locking levels that should
prevent the battery from falling out when pushing the battery
unlocking button
8
unintentionally. As long as the battery is
inserted in the power tool, it is held in position by means of a
spring.
To remove the battery
7
, press the unlocking button
8
and
pull out the battery toward the front.
Do not exert any force.
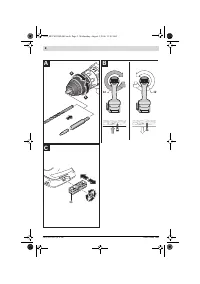
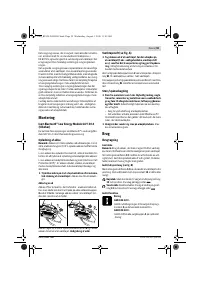
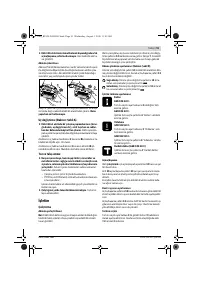
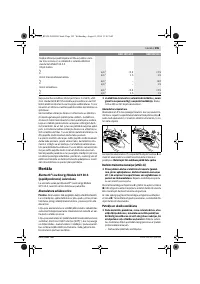
Changing the Tool (see figure A)
Before any work on the machine itself (e. g. mainte-
nance, tool change, etc.) as well as during transport
and storage, remove the battery from the power tool.
There is danger of injury when unintentionally actuating
the On/Off switch.
Open the keyless chuck
2
by turning in rotation direction
,
until the tool can be inserted. Insert the tool.
Firmly tighten the collar of the keyless chuck
2
by hand in ro-
tation direction
. This automatically locks the drill chuck.
Dust/Chip Extraction
Dust from materials such as lead-containing coatings,
some wood types, minerals and metal can be harmful to
one’s health and cause allergic reactions, lead to res-
piratory infections and/or cancer.
Materials containing
asbestos may only be worked by specialists.
–
Provide for good ventilation of the working place.
–
It is recommended to wear a P2 filter-class respirator.
Observe the relevant regulations in your country for the
materials to be worked.
Prevent dust accumulation at the workplace.
Dust can
easily ignite.
Operation
Starting Operation
Inserting the battery
Note:
Use of batteries not suitable for the machine can lead to
malfunctions of or cause damage to the power tool.
Set the rotational direction switch
12
to the centre position in
order to avoid unintentional starting. Insert the charged bat-
tery
7
into the handle so that it can be felt to engage and faces
flush against the handle.
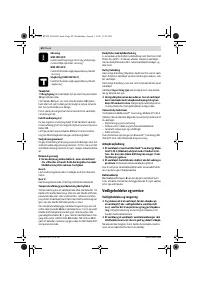
Reversing the rotational direction (see figure B)
The rotational direction switch
12
is used to reverse the rota-
tional direction of the machine. However, this is not possible
with the On/Off switch
13
actuated.
Rotate clockwise:
Move the rotational direction switch
12
on both sides up to the stop into position
.
Rotate anticlockwise:
Move the rotational direction
switch
12
on both sides up to the stop into position
.
Setting the operating mode
Drilling
GSR 18V-60 C:
Set the torque selector setting ring
3
to the re-
quired torque.
GSB 18V-60 C:
Set the operating mode selector switch
4
to the
“drilling” symbol.
Screwdriving
GSR 18V-60 C:
Set the torque selector setting ring
3
to the
“screwdriving” symbol.
GSB 18V-60 C:
Set the operating mode selector switch
4
to the
“screwdriving” symbol.
Impact drilling (GSB 18V-60 C)
Set the operating mode selector switch
4
to the
“impact drilling” symbol.
OBJ_BUCH-2884-001.book Page 17 Wednesday, August 3, 2016 11:42 AM
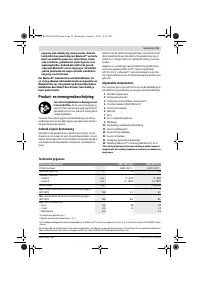
Содержание
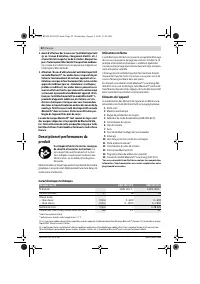
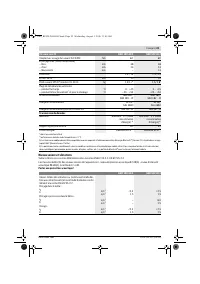
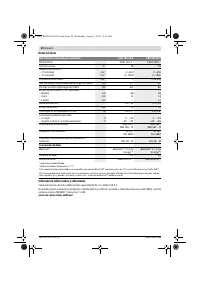
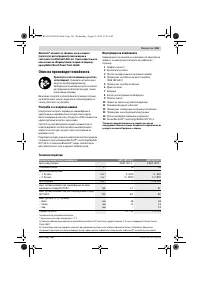
- 124 Описание продукта и услуг; Применение по назначению; Изображенные составные части; Технические данные
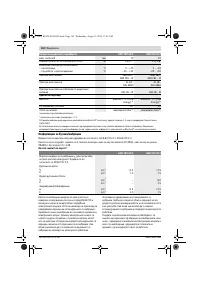
- 125 Данные по шуму и вибрации
- 126 Сборка; Монтаж; Зарядка аккумулятора; Отсос пыли и стружки; Работа с инструментом; Включение электроинструмента
- 127 Указания по применению
- 128 Техобслуживание и сервис; Техобслуживание и очистка; Транспортировка
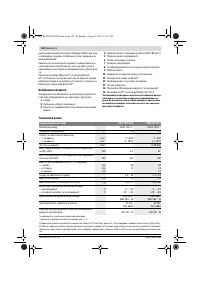
Характеристики

Остались вопросы?Не нашли свой ответ в руководстве или возникли другие проблемы? Задайте свой вопрос в форме ниже с подробным описанием вашей ситуации, чтобы другие люди и специалисты смогли дать на него ответ. Если вы знаете как решить проблему другого человека, пожалуйста, подскажите ему :)


