
Шлифмашины Makita GA5050R - инструкция пользователя по применению, эксплуатации и установке на русском языке. Мы надеемся, она поможет вам решить возникшие у вас вопросы при эксплуатации техники.
Если остались вопросы, задайте их в комментариях после инструкции.
"Загружаем инструкцию", означает, что нужно подождать пока файл загрузится и можно будет его читать онлайн. Некоторые инструкции очень большие и время их появления зависит от вашей скорости интернета.


13 ENGLISH
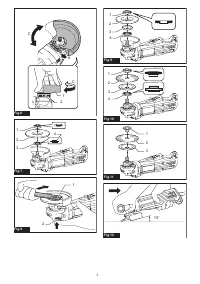
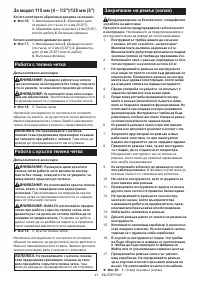
Operation with wire cup brush
Optional accessory
CAUTION:
Check operation of brush by run-
ning tool with no load, insuring that no one is in
front of or in line with brush.
CAUTION:
Do not use brush that is damaged,
or which is out of balance.
Use of damaged brush
could increase potential for injury from contact with
broken brush wires.
►
Fig.18:
1.
Wire cup brush
Unplug tool and place it upside down allowing easy
access to spindle.
Remove any accessories on spindle. Thread wire cup
brush onto spindle and tighten with supplied wrench.
NOTICE:
Avoid applying too much pressure
which causes over bending of wires when using
brush.
It may lead to premature breakage.
Operation with wire wheel brush
Optional accessory
CAUTION:
Check operation of wire wheel
brush by running tool with no load, insuring that
no one is in front of or in line with the wire wheel
brush.
CAUTION:
Do not use wire wheel brush that
is damaged, or which is out of balance.
Use of
damaged wire wheel brush could increase potential
for injury from contact with broken wires.
CAUTION:
ALWAYS use guard with wire
wheel brushes, assuring diameter of wheel fits
inside guard.
Wheel can shatter during use and
guard helps to reduce chances of personal injury.
►
Fig.19:
1.
Wire wheel brush
Unplug tool and place it upside down allowing easy
access to spindle.
Remove any accessories on spindle. Thread wire wheel
brush onto spindle and tighten with the wrenches.
NOTICE:
Avoid applying too much pressure
which causes over bending of wires when
using wire wheel brush.
It may lead to premature
breakage.
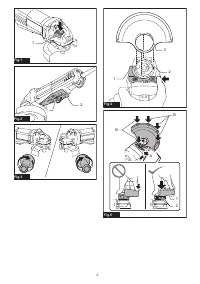
Lanyard (tether strap) connection
Safety warnings specific for use at height
Read all safety warnings and instructions.
Failure to follow
the warnings and instructions may result in serious injury.
1.
Always keep the tool tethered when working
"at height". Maximum lanyard length is 2 m.
The maximum permissible fall height for lan-
yard (tether strap) must not exceed 2 m.
2.
Use only with lanyards appropriate for this tool
type and rated for at least 4.0 kg.
3.
Do not anchor the tool lanyard to anything on
your body or on movable components. Anchor
the tool lanyard to a rigid structure that can
withstand the forces of a dropped tool.
4.
Make sure the lanyard is properly secured at
each end prior to use.
5.
Inspect the tool and lanyard before each use
for damage and proper function (including
fabric and stitching). Do not use if damaged
or not functioning properly. The tool must be
repaired especially when a crack or a red line
appears around the hole for the lanyard.
6.
Do not wrap lanyards around or allow them to
come in contact with sharp or rough edges.
7.
Fasten the other end of the lanyard outside the
working area so that a falling tool is held securely.
8.
Attach the lanyard so that the tool will move
away from the operator if it falls.
Dropped tools
will swing on the lanyard, which could cause injury
or loss of balance.
9.
Do not use near moving parts or running
machinery.
Failure to do so may result in a crush
or entanglement hazard.
10.
Do not carry the tool by the attachment device
or the lanyard.
11.
Only transfer the tool between your hands
while you are properly balanced.
12.
Do not attach lanyards to the tool in a way that
keeps guards, switches or lock-offs from oper
-
ating properly.
13.
Avoid getting tangled in the lanyard.
14.
Keep lanyard away from the cutting area of the tool.
15.
Use a locking carabiner (multi-action and
screw gate type). Do not use single action
spring clip carabiners.
16.
In the event the tool is dropped, it must be
tagged and removed from service, and should
be inspected by a Makita Factory or Authorized
Service Center.
17.
Only attach the lanyard with a locking cara-
biner. Do not attach the lanyard by looping
or knotting the lanyard. Do not use ropes or
cords.
►
Fig.20:
1.
Hole for lanyard (tether strap)
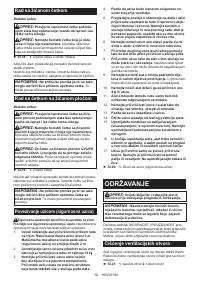
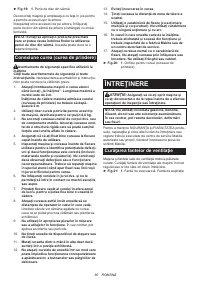
MAINTENANCE
CAUTION:
Always be sure that the tool is
switched off and unplugged before attempting to
perform inspection or maintenance.
NOTICE:
Never use gasoline, benzine, thinner,
alcohol or the like. Discoloration, deformation or
cracks may result.
To maintain product SAFETY and RELIABILITY,
repairs, any other maintenance or adjustment should
be performed by Makita Authorized or Factory Service
Centers, always using Makita replacement parts.
Air vent cleaning
The tool and its air vents have to be kept clean.
Regularly clean the tool's air vents or whenever the
vents start to become obstructed.
►
Fig.21:
1.
Exhaust vent
2.
Inhalation vent
Содержание
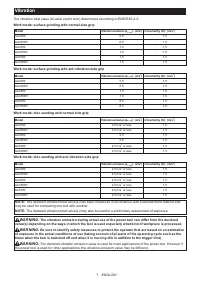
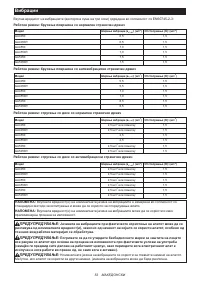
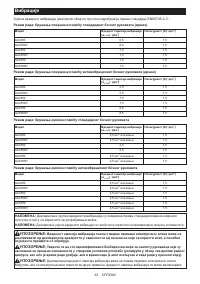
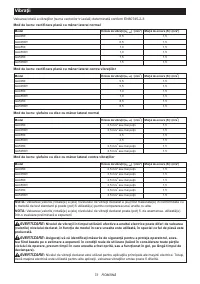
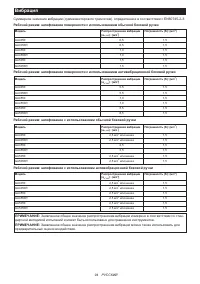
- 94 Вибрация
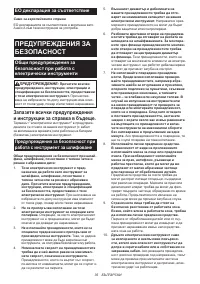
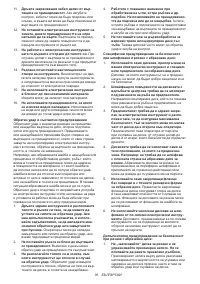
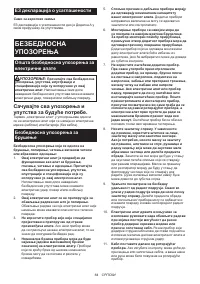
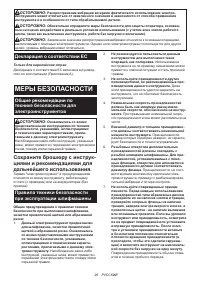
- 95 МЕРЫ БЕЗОПАСНОСТИ; Сохраните брошюру с инструк
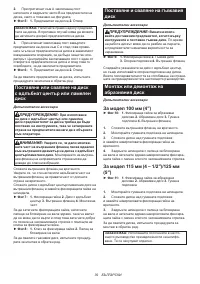
- 98 СОХРАНИТЕ ДАННЫЕ; ОПИСАНИЕ РАБОТЫ; Фиксатор вала
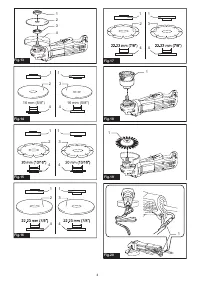
- 99 СБОРКА; Установка или снятие кожуха диска; Установка и снятие гибкого диска; Установка или снятие абразивного круга
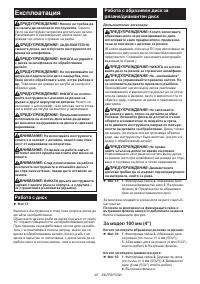
- 100 ЭКСПЛУАТАЦИЯ; Выполнение работ с диском / кругом
- 101 Операции с чашечной; Работа с дисковой проволочной; Подсоединение стропа
- 102 ОБСЛУЖИВАНИЕ; Очистка вентиляционного
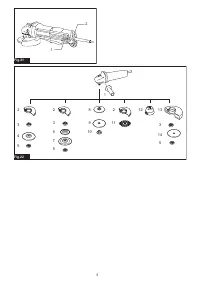
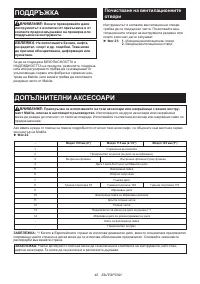
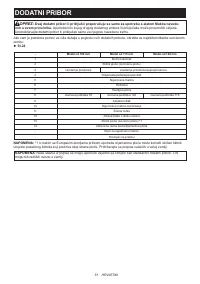
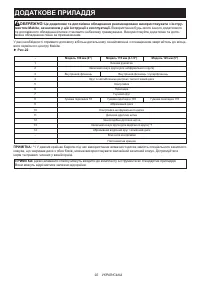
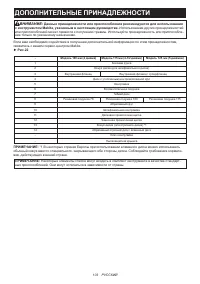
- 103 ДОПОЛНИТЕЛЬНЫЕ ПРИНАДЛЕЖНОСТИ
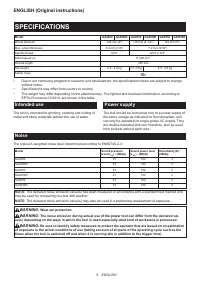
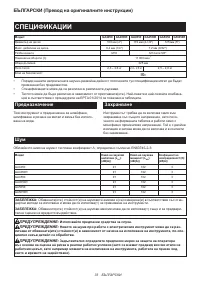
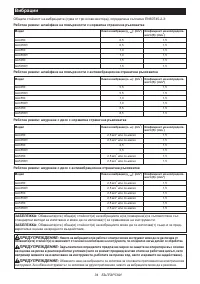
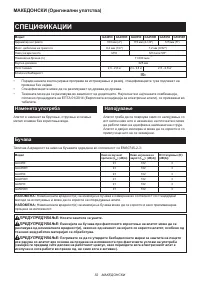
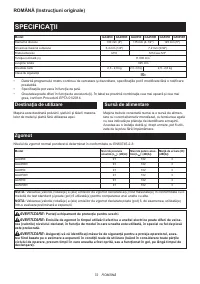
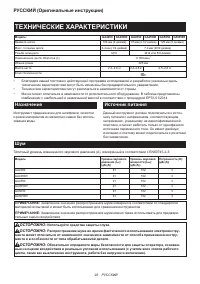
Характеристики

Остались вопросы?Не нашли свой ответ в руководстве или возникли другие проблемы? Задайте свой вопрос в форме ниже с подробным описанием вашей ситуации, чтобы другие люди и специалисты смогли дать на него ответ. Если вы знаете как решить проблему другого человека, пожалуйста, подскажите ему :)


