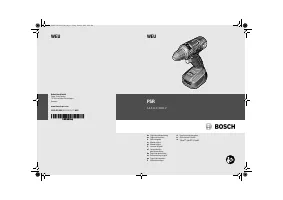
Шлифмашины Bosch PSM 160 A - инструкция пользователя по применению, эксплуатации и установке на русском языке. Мы надеемся, она поможет вам решить возникшие у вас вопросы при эксплуатации техники.
Если остались вопросы, задайте их в комментариях после инструкции.
"Загружаем инструкцию", означает, что нужно подождать пока файл загрузится и можно будет его читать онлайн. Некоторые инструкции очень большие и время их появления зависит от вашей скорости интернета.


English |
9
Bosch Power Tools
2 609 005 062 | (22.6.12)
Safety Warnings for Drills and Screw-
driver
f
Hold power tool by insulated gripping surfaces, when
performing an operation where the cutting accessory
or fastener may contact hidden wiring.
Cutting accesso-
ry and fasteners contacting a “live” wire may make ex-
posed metal parts of the power tool “live” and could give
the operator an electric shock.
f
Use appropriate detectors to determine if utility lines
are hidden in the work area or call the local utility com-
pany for assistance.
Contact with electric lines can lead
to fire and electric shock. Damaging a gas line can lead to
explosion. Penetrating a water line causes property dam-
age.
f
Switch off the power tool immediately when the tool in-
sert jams. Be prepared for high reaction torque that
can cause kickback.
The tool insert jams when:
— the power tool is subject to overload or
— it becomes wedged in the workpiece.
f
Hold the machine with a firm grip.
High reaction torque
can briefly occur while driving in and loosening screws.
f
Secure the workpiece.
A workpiece clamped with clamp-
ing devices or in a vice is held more secure than by hand.
f
Do not open the battery.
Danger of short-circuiting.
Protect the battery against heat, e. g., against
continuous intense sunlight, fire, water, and
moisture.
Danger of explosion.
f
In case of damage and improper use of the battery, va-
pours may be emitted. Provide for fresh air and seek
medical help in case of complaints.
The vapours can irri-
tate the respiratory system.
f
Use the battery only in conjunction with your Bosch
power tool.
This measure alone protects the battery
against dangerous overload.
f
Use only original Bosch batteries with the voltage list-
ed on the nameplate of your power tool.
When using oth-
er batteries, e. g. imitations, reconditioned batteries or
other brands, there is danger of injury as well as property
damage through exploding batteries.
Additional Safety and Working In-
structions
f
Dusts from materials such as lead-containing coatings,
some wood types, minerals and metal can be harmful to
one’s health and cause allergic reactions, lead to respi-
ratory infections and/or cancer.
Materials containing as-
bestos may only be worked by specialists.
– Provide for good ventilation of the working place.
– It is recommended to wear a P2 filter-class respirator.
Observe the relevant regulations in your country for the
materials to be worked.
f
When not using the power tool, switch it off in order to save
energy.
f
Prevent dust accumulation at the workplace.
Dusts can
easily ignite.
f
Before any work on the machine (e. g., maintenance,
tool change, etc.) as well as during transport and stor-
age, set the rotational direction switch to the centre
position.
Unintentional actuation of the On/Off switch can
lead to injuries.
f
The battery is supplied partially charged. To ensure full
battery capacity, completely charge the battery in the
battery charger before using for the first time.
f
Read the operating instructions of the battery charger.
f
Apply the power tool to the screw only when it is
switched off.
Rotating tool inserts can slip off.
f
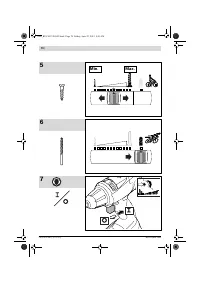
During the driving-in procedure, the LED indicator dis-
plays the currently effective torque – see figure 5,
page 70.
f
The power tool switches off automatically as soon as
the set torque is reached. The LED indicator flashes 3 x.
f
After releasing the On/Off switch, the LED indicator in-
dicates the last effective torque. For serial screwdriv-
ing applications, set the torque slide to this value.
f
When the On/Off switch is pressed halfway or com-
pletely, the battery charge-control indicator indicates
the charge condition of the battery for several sec-
onds. It consists of 3 green LEDs.
f
The 3 LEDs of the battery charge-control indicator
flash rapidly when the battery temperature is not with-
in the operating temperature range of –30 to +65 ° C,
and/or when the overload protection has responded.
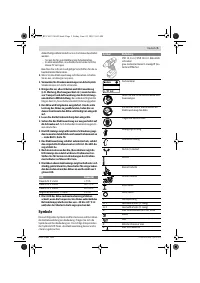
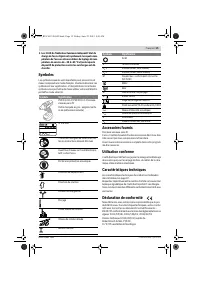
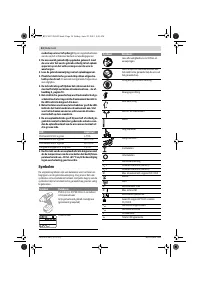
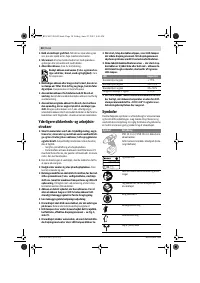
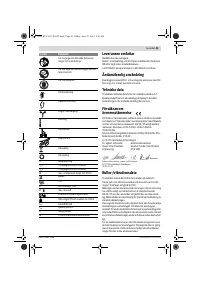
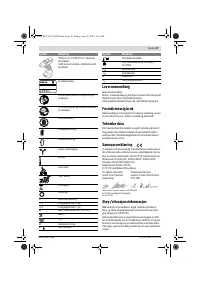
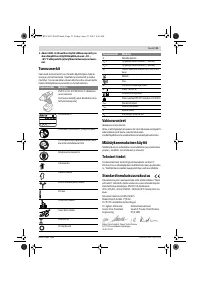
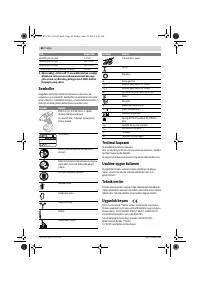
Symbols
The following symbols are important for reading and under-
standing the operating instructions. Please take note of the
symbols and their meaning. The correct interpretation of the
symbols will help you to use the machine in a better and safer
manner.
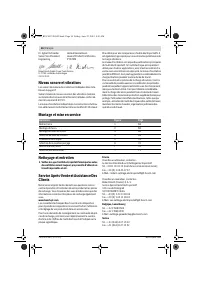
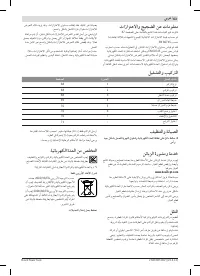
LED
Capacity
Continuous lighting 3 x green
≥
75 %
Continuous lighting 2 x green
50 — 75 %
Continuous lighting 1 x green
26 — 50 %
Slow flashing 1 x green
≤
25 %
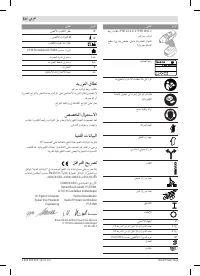
Symbol
Meaning
PSR 14,4 LI-2 / PSR 18 LI-2: Cordless
Drill/Driver
Grey-marked area: Handle (insulated
gripping surface)
Article number
OBJ_BUCH-1338-003.book Page 9 Friday, June 22, 2012 8:01 AM


