
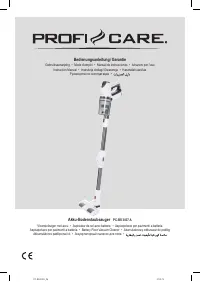
Пылесос ProfiCare PC-BS 3037 A - инструкция пользователя по применению, эксплуатации и установке на русском языке. Мы надеемся, она поможет вам решить возникшие у вас вопросы при эксплуатации техники.
Если остались вопросы, задайте их в комментариях после инструкции.
"Загружаем инструкцию", означает, что нужно подождать пока файл загрузится и можно будет его читать онлайн. Некоторые инструкции очень большие и время их появления зависит от вашей скорости интернета.


PC-BS3037A_IM
27.05.19
48
•
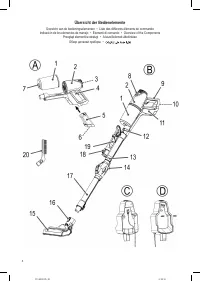
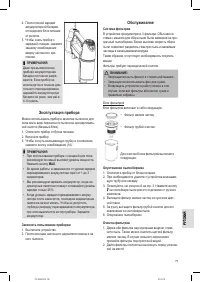
During operation, the LEDs on the floor nozzle light up
for better visibility in dark areas.
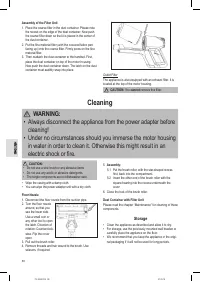
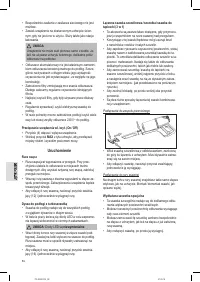
CAUTION:
You
cannot
replace the LEDs.
• Stick the lower end of the suction pipe onto the connec-
tor on the floor nozzle. Note the contact pins on the floor
nozzle. The suction pipe must audibly s snap into place.
•
To disconnect the suction pipe, press the release (16)
and pull out the pipe at the same time.
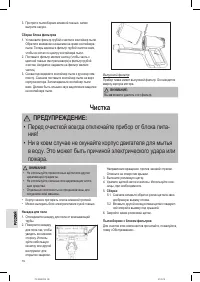
Combined Gap / Brush / Upholstery Nozzle (3 in 1)
•
These accessories are always readily available when
you keep them attached to the suction pipe above the
hinge joint, using the bracket.
• While using this nozzle as a gap nozzle, you will be able
to suck dirt out of corners, grooves and small gaps.
•
To prevent scratching of the surface to be cleaned, use
the gap nozzle along with the locked brush / upholstery
nozzle. This enables you to gently remove dirt from slits
in upholstery and mattresses. Also suitable for removing
dust from sensitive surfaces such as furniture or curtains.
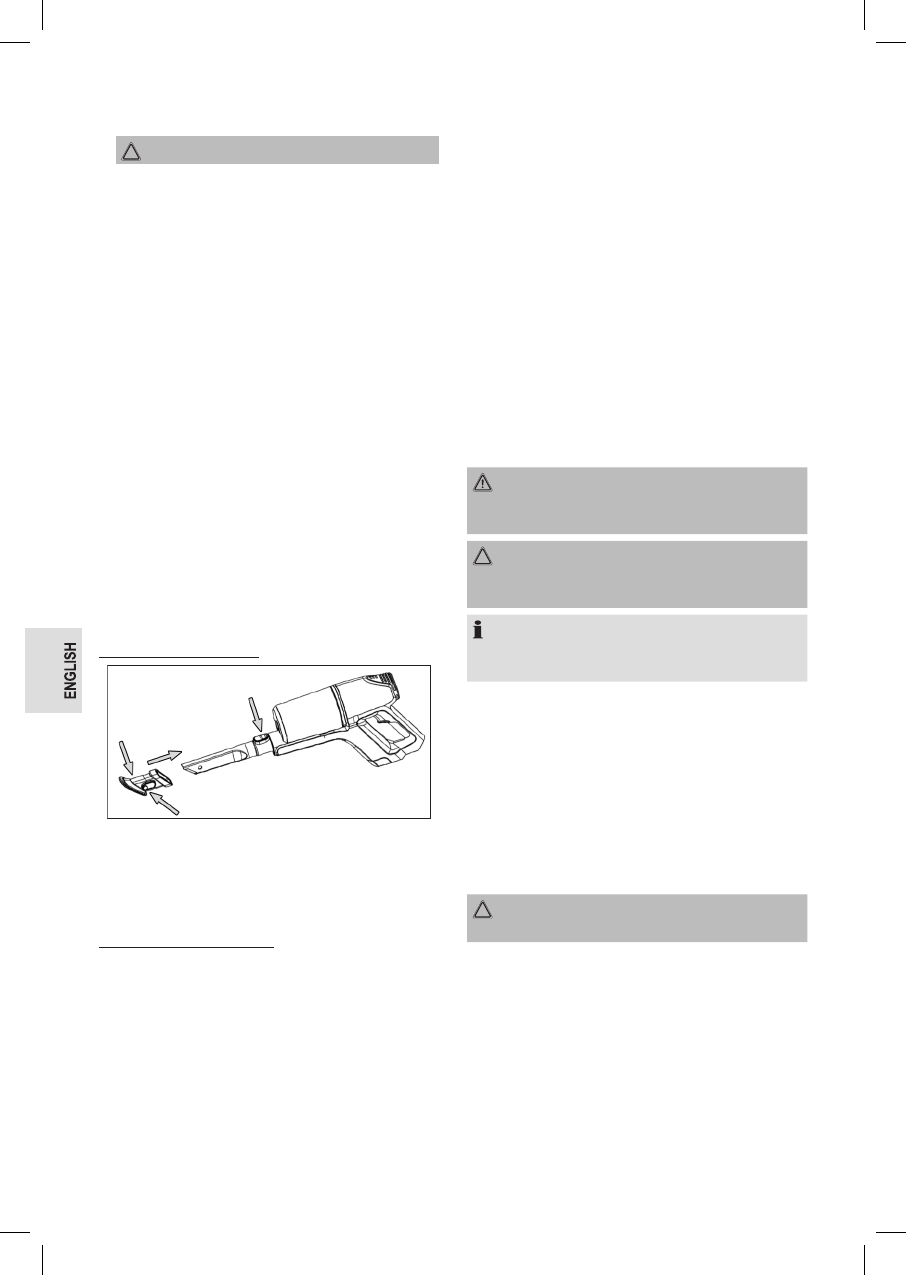
•
To attach the brush / upholstery nozzle to the gap nozzle,
first press the buttons on the side and then slide the noz
-
zle onto it, letting it audibly snap into place. (as shown in
the following picture)
•
To release the lock, simply press both buttons again.
•
There are two different ways for connecting this com
-
bined nozzle attachment to the appliance:
Connection at the Hand Unit
• Insert the gap nozzle with the unlocking facing up into
the connection on the handset. It must audibly snap into
place.
•
To release the nozzle, press the release button and pull it
out at the same time.
Connection to the Suction Pipe
At the lower end of the suction pipe, you will find the same
plug connection as on the handset. Mount / dismount the
nozzle as described above.
Extendable Special Brush
•
This nozzle is particularly well suited for gentle cleaning
of larger sensitive surfaces.
•
You may enlarge the dirt receiving surface by pulling the
brush component all the way out.
•
You may attach this brush both directly onto the connec
-
tion on the handset as well as onto the connection of the
already mounted suction pipe.
•
To release the nozzle, simply pull it off.
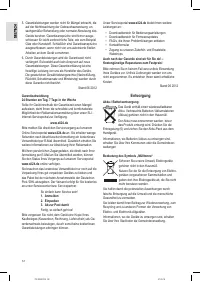
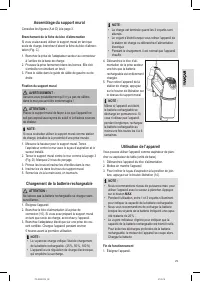
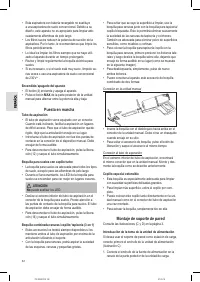
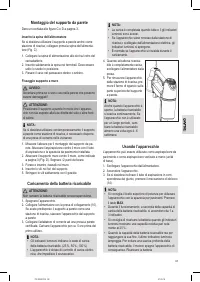
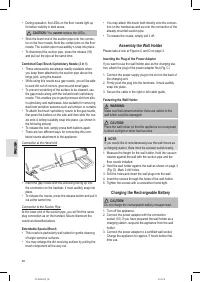
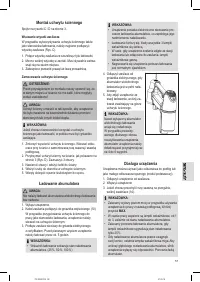
Assembly the Wall Holder
Please take a look at Figures C and D on page 3.
Inserting the Plug of the Power Adapter
If you want to use the wall holder also as the charging sta-
tion, attach the plug of the power adapter first (Fig. C)
1. Connect the power supply plug to the slot on the back of
the charging unit.
2. Firmly push the plug into the terminals. It must audibly
snap into place.
3. Secure the cable in the right or left cable guide.
Fastening the Wall Holder
WARNING:
Make sure beforehand whether there are cables in the
wall which could be damaged!
CAUTION:
Place the wall holder so that the appliance is not exposed
to direct sunlight or other heat sources.
NOTE:
If you would like to simultaneously use the wall mount as
a charging station, there must be a power outlet nearby.
1.
Measure the height for the wall holder. Hold the vacuum
cleaner against the wall with the suction pipe and the
floor nozzle installed.
2.
Hold the wall holder against the wall as shown on page 3
(Fig. D). Mark 2 drill holes.
3. Drill the holes and insert the wall plugs into the wall.
4.
Insert the screws through the holes of the wall holder.
5.
Tighten the screws with a screwdriver hand-tight.
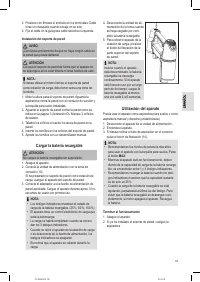
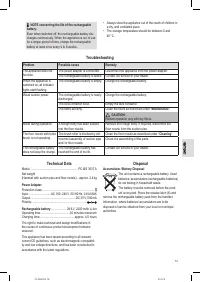
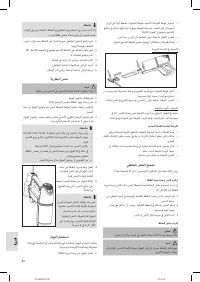
Charging the Rechargeable Battery
CAUTION:
Do not charge the rechargeable battery unsupervised.
1.
Turn off the appliance.
2. Connect the power adapter with the connection
socket (10). If you have prepared the wall holder as a
charging station, suspend the appliance from the wall
holder.
3.
Connect the power adapter to a certified wall socket.
Charge the appliance for approx. 5 hours before first-
time use.
Содержание
- 72 Распаковка устройства
- 73 Примечания по использования; Начало работы
- 74 Удлиняющая специальная щетка; Монтаж настенного держателя; Вставка вилки в блок питания; Заряд аккумуляторов
- 75 Обслуживание; Система фильтров; Опустошение пылесборника
- 76 Сборка блока фильтров; не; Чистка; Перед очисткой всегда отключайте прибор от блока пита; Насадка для пола
- 78 Утилизация; Утилизация батарей / аккумуляторных батареек


