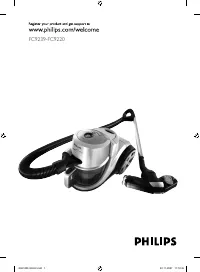
Пылесос Philips FC9239_01 - инструкция пользователя по применению, эксплуатации и установке на русском языке. Мы надеемся, она поможет вам решить возникшие у вас вопросы при эксплуатации техники.
Если остались вопросы, задайте их в комментариях после инструкции.
"Загружаем инструкцию", означает, что нужно подождать пока файл загрузится и можно будет его читать онлайн. Некоторые инструкции очень большие и время их появления зависит от вашей скорости интернета.
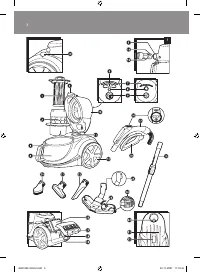

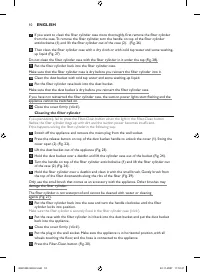


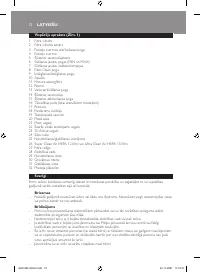


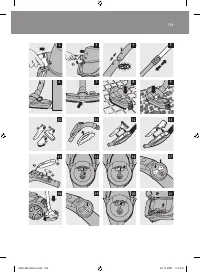


Crevice tool, small nozzle and small brush
1
Connect the crevice tool (1), the small nozzle (2) or the small brush (3) directly to the
handgrip or to the tube (Fig. 10).
accessory holder
1
Snap the accessory holder onto the handgrip (Fig. 11).
Snap two accessories into the accessory holder:
Crevice tool and small nozzle (Fig. 12).
Note: Make sure the suction opening of the small nozzle points away from the holder.
Crevice tool and small brush (Fig. 13).
Note: Make sure the suction opening of the small brush points towards the holder.
infrared remote control (speciic types only)
1
Remove the lid of the battery compartment (1) and insert two AAA 1.5-volt batteries (2).
Reattach the lid of the battery compartment (3). (Fig. 14)
Make sure that the - and + poles point in the right direction.
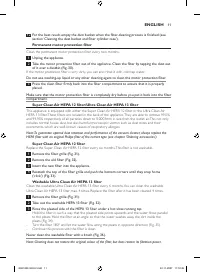
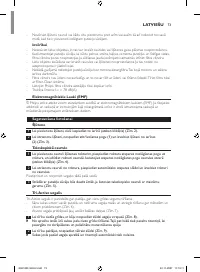
using the appliance
1
Pull the cord out of the appliance and put the mains plug in the wall socket.
Press the on/off button on top of the appliance to switch on the appliance (Fig. 15).
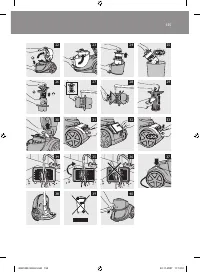
adjusting suction power
During vacuum cleaning, you can adjust the suction power to one of 5 different settings.
You can adjust the suction power with the MIN and MAX buttons (speciic types only) on top
of the appliance (Fig. 16).
If the appliance is equipped with an infrared remote control (speciic types only), you can adjust
the suction power with the – and + buttons on the infrared remote control (Fig. 17).
1
When you switch on the appliance, it starts running at the last selected suction power
setting. If your appliance is equipped with an infrared remote control (speciic types only), it
starts running at the highest suction power setting (Fig. 15).
Adjust the suction power with the buttons on top of the appliance (speciic types only) or on
the remote control (speciic types only). (Fig. 17)
Use maximum suction power to vacuum ver y dir ty carpets and hard loors.
Use minimum suction power to vacuum cur tains, table carpets, etc.
The blue suction power lights show the selected suction power level.
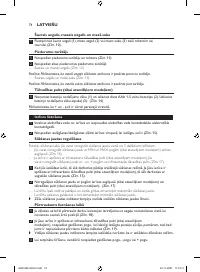
Pausing during use
1
If you want to pause for a moment, insert the ridge on the nozzle into the parking slot to
park the tube in a convenient position (Fig. 18).
If the appliance is equipped with an infrared remote control (speciic types only), press the
standby button to switch off the vacuum cleaner temporarily, for instance when you have to
move some furniture (Fig. 19).
The middle suction power light goes on to indicate that the vacuum cleaner is in standby
mode.
To continue vacuum cleaning, simply press the standby button, - button or + button.
-
-
-
-
-
-
,
,
English
8
4222.003.3334.2.indd 8
22-11-2007 11:12:47
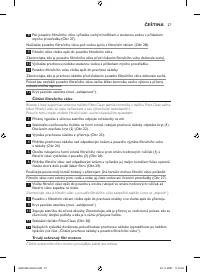
Содержание
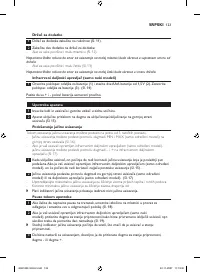
- 97 выньте рукоятку из трубки.
- 98 маневренность пылесоса.; Щелевая насадка, маленькая насадка и маленькая щётка.; Закрепите две насадки в держателе для насадок:; инфракрасный пульт Ду (только у некоторых моделей); значение мощности всасывания.
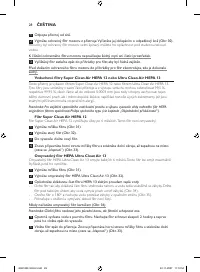
- 100 Очистка цилиндрического фильтра; пылью и всасывающая мощность существенно снизится.
- 101 стационарный фильтр защиты электродвигателя; Фильтр защиты электродвигателя следует очищать раз в два месяца.; Фильтр super Clean air HePa 12/фильтр ultra Clean air HePa 13; реакций дыхательных путей.; Фильтр super Clean air HePa 12
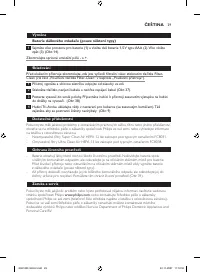
- 102 Установите в прибор новый фильтр.; Моющийся фильтр ultra Clean air HePa 13; после четырех очисток.; замена
- 103 заказ принадлежностей; внимательно ознакомьтесь с гарантийным талоном.; защита окружающей среды
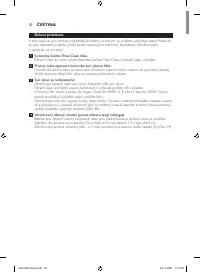
- 104 Поиск и устранение неисправностей; поддержки покупателей вашей страны.


