Пылесос Philips FC9071 - инструкция пользователя по применению, эксплуатации и установке на русском языке. Мы надеемся, она поможет вам решить возникшие у вас вопросы при эксплуатации техники.
Если остались вопросы, задайте их в комментариях после инструкции.
"Загружаем инструкцию", означает, что нужно подождать пока файл загрузится и можно будет его читать онлайн. Некоторые инструкции очень большие и время их появления зависит от вашей скорости интернета.


In case of eye contact, flush immediately with plenty of water.
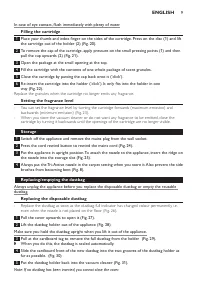
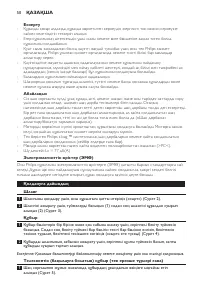
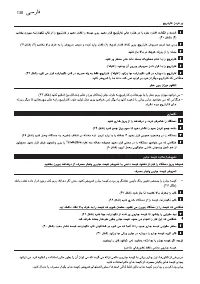
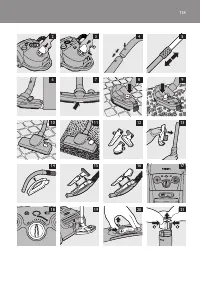
Filling the cartridge
1
Place your thumb and index finger on the sides of the cartridge. Press on the disc (1) and lift
the cartridge out of the holder (2) (Fig. 20).
2
To remove the cap of the cartridge, apply pressure on the small pressing points (1) and then
pull the cap upwards (2) (Fig. 21).
3
Open the package at the small opening at the top.
4
Fill the cartridge with the contents of one whole package of scent granules.
5
Close the cartridge by putting the cap back onto it (‘click’).
6
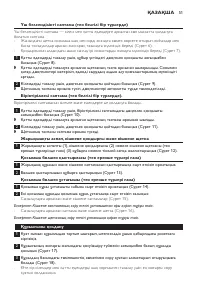
Re-insert the cartridge into the holder (‘click’). It only fits into the holder in one
way (Fig. 22).
Replace the granules when the car tridge no longer emits any fragrance.
setting the fragrance level
- You can set the fragrance level by turning the car tridge forwards (maximum emission) and
backwards (minimum emission) (Fig. 23).
- When you store the vacuum cleaner or do not want any fragrance to be emitted, close the
car tridge by turning it backwards until the openings of the car tridge are no longer visible.
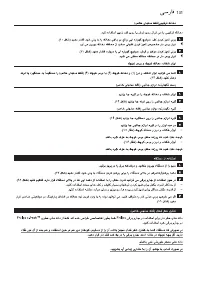
storage
1
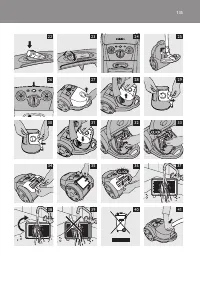
Switch off the appliance and remove the mains plug from the wall socket.
2
Press the cord rewind button to rewind the mains cord (Fig. 24).
3
Put the appliance in upright position. To attach the nozzle to the appliance, insert the ridge on
the nozzle into the storage slot (Fig. 25).
4
Always put the Tri-Active nozzle in the carpet setting when you store it. Also prevent the side
brushes from becoming bent (Fig. 8).
replacing/emptying the dustbag
Always unplug the appliance before you replace the disposable dustbag or empty the reusable
dustbag.
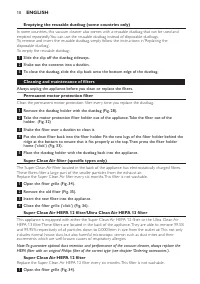
replacing the disposable dustbag
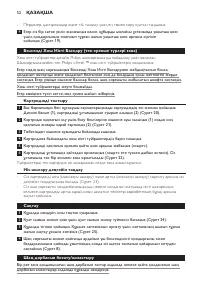
- Replace the dustbag as soon as the dustbag-full indicator has changed colour permanently, i.e.
even when the nozzle is not placed on the floor (Fig. 26).
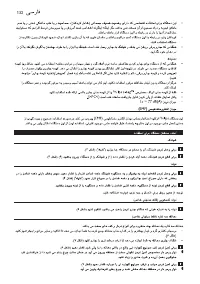
1
Pull the cover upwards to open it (Fig. 27).
2
Lift the dustbag holder out of the appliance (Fig. 28).
Make sure you hold the dustbag upright when you lift it out of the appliance.
3
Pull at the cardboard tag to remove the full dustbag from the holder (Fig. 29).
,
When you do this, the dustbag is sealed automatically.
4
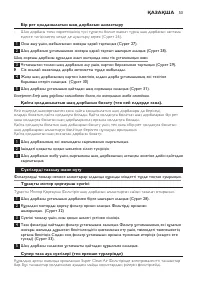
Slide the cardboard front of the new dustbag into the two grooves of the dustbag holder as
far as possible. (Fig. 30)
5
Put the dustbag holder back into the vacuum cleaner (Fig. 31).
Note: If no dustbag has been inserted, you cannot close the cover.
English
9
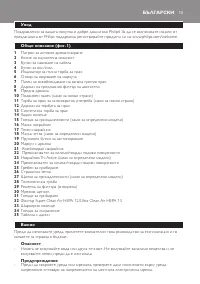
Содержание
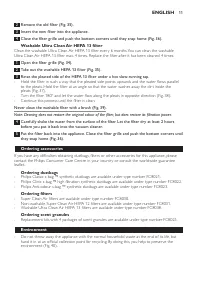
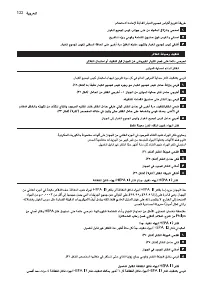
- 85 Подготовка прибора к работе; выньте рукоятку из трубки.
- 86 маневренность пылесоса.; комбинированная насадка (только у некоторых моделей); Узкая щетка втянется в корпус насадки.; Щелевая насадка, маленькая насадка и маленькая щётка.; Закрепите щелевую насадку и маленькую насадку в зажиме.; Держатель для насадок (только у некоторых моделей); Закрепите две насадки в держателе для насадок:; Эксплуатация прибора
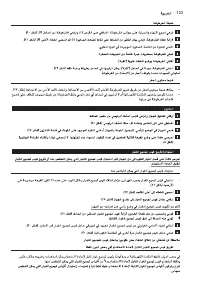
- 87 значение мощности всасывания.; система ароматизации воздуха active Fragrance Control (только в; Philips. Используйте в пылесосе только гранулы Philips s-fresh; заполнение картриджа; Откройте в пакете небольшое, расположенное вверху отверстие.; установка степени ароматизации; картридж, повернув его назад так, чтобы отверстия не были видны.; Хранение
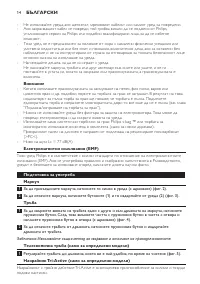
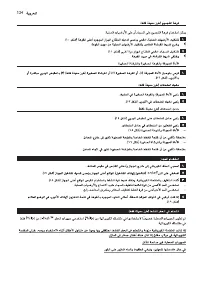
- 88 Доставая мешок из пылесоса, держите его вертикально.; только в некоторых странах); инструкциям в разделе “Замена одноразового мешка для пыли”.; Очистка и обслуживание фильтров; Потрясите фильтр над мусорным мешком для очистки.
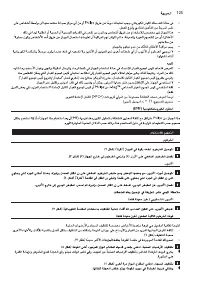
- 89 Фильтр super Clean air (только у некоторых моделей); Фильтр super Clean air hEPa 12/фильтр ultra Clean air hEPa 13; причиной аллергических реакций дыхательных путей.; Фильтр super Clean air hEPa 12; Установите в прибор новый фильтр.; Моющийся фильтр ultra Clean air hEPa 13; после четырех очисток.
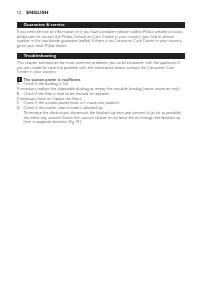
- 90 перед повторной установкой в пылесос.; заказ принадлежностей
- 91 Поиск и устранение неисправностей; поддержки потребителей в вашей стране.


