
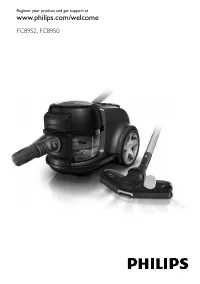
Пылесос Philips FC8952 AquaAction - инструкция пользователя по применению, эксплуатации и установке на русском языке. Мы надеемся, она поможет вам решить возникшие у вас вопросы при эксплуатации техники.
Если остались вопросы, задайте их в комментариях после инструкции.
"Загружаем инструкцию", означает, что нужно подождать пока файл загрузится и можно будет его читать онлайн. Некоторые инструкции очень большие и время их появления зависит от вашей скорости интернета.
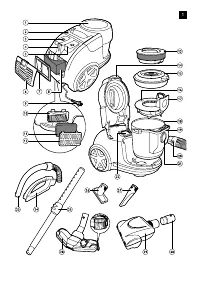


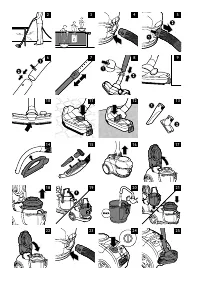


Washable Ultra Clean Air HEPA 13 exhaust ilter
Clean the washable Ultra Clean Air HEPA 13 ilter ever y 6 months. The ilter can be cleaned 4
times. After these 4 times, the ilter has to be replaced. Replace the washable Ultra Clean Air HEPA
13 ilter with a Philips ilter of the correct type (see chapter ‘Ordering accessories’).
1
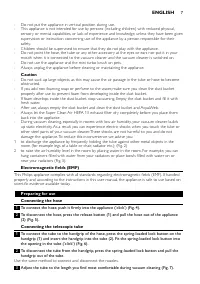
Switch off and unplug the appliance (Fig. 24).
2
Remove the HEPA exhaust ilter grille and remove the washable Ultra Clean Air HEPA 13
exhaust ilter from the appliance (Fig. 30).
Note: Do not remove the silencer behind the washable Ultra Clean Air HEPA 13 exhaust ilter. You do not
have to clean this part.
3
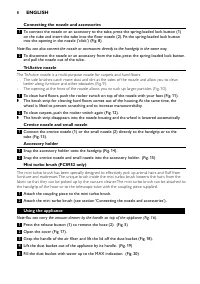
Rinse the ilter under a warm tap (Fig. 31).
Never clean the washable Ultra Clean Air HEPA 13 ilter with a brush.
Note: Cleaning does not restore the original colour of the ilter, but does restore its iltration power.
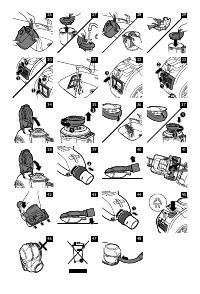
4
Carefully shake the water from the surface of the ilter.
5
Let the washable Ultra Clean Air HEPA 13 exhaust ilter dry completely before you place it
back into the appliance.
6
Place the dry washable Ultra Clean Air HEPA exhaust ilter back into the appliance (Fig. 32).
7
To close the HEPA exhaust ilter grille, irst align the lugs at the bottom of the grille with the
slots in the appliance (1). Then press the top of the grille towards the appliance until the grille
locks into place (2) (‘click’) (Fig. 33).
Air ilter
Clean the air ilter ever y 6 months.You do not have to replace the ilter.
1
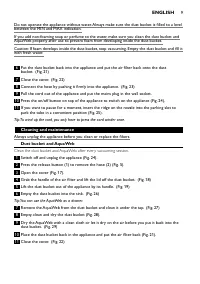
Open the cover (Fig. 34).
2
Turn the handle with the air ilter counter clockwise (1) and remove it from the lid
(2). (Fig. 35)
3
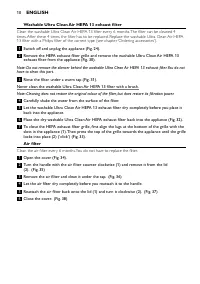
Remove the air ilter and clean it under the tap. (Fig. 36)
4
Let the air ilter dry completely before you reattach it to the handle.
5
Reattach the air ilter back onto the lid (1) and turn it clockwise (2). (Fig. 37)
6
Close the cover. (Fig. 38)
ENGLISH
10


