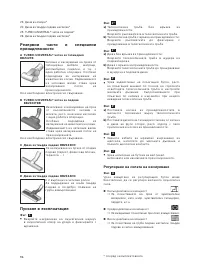
Пылесос Bosch BGS 32000 - инструкция пользователя по применению, эксплуатации и установке на русском языке. Мы надеемся, она поможет вам решить возникшие у вас вопросы при эксплуатации техники.
Если остались вопросы, задайте их в комментариях после инструкции.
"Загружаем инструкцию", означает, что нужно подождать пока файл загрузится и можно будет его читать онлайн. Некоторые инструкции очень большие и время их появления зависит от вашей скорости интернета.


35
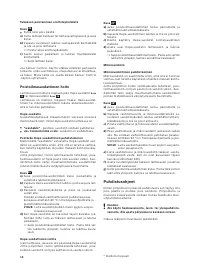
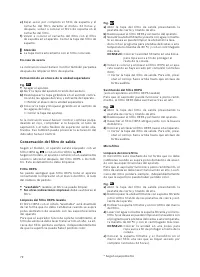
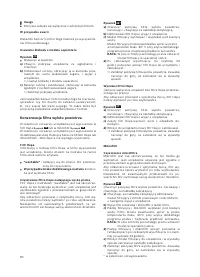
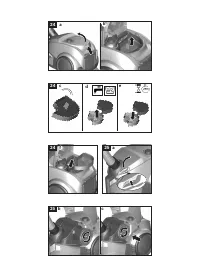
d)
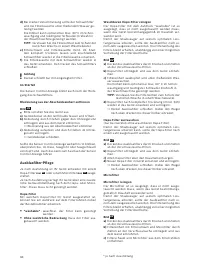
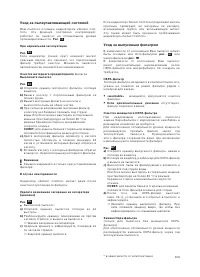
Filterschaum und Microilter unter ließendem Wasser
auswaschen. Diese können optional bei max. 30°C
im Schonwaschgang und niedrigster Schleuder-
Drehzahl in der Waschmaschine gereinigt werden.
TIPP:
Verstauen Sie die Einheit zum Schutz der rest-
lichen Wäsche in einem Wäschebeutel.
e)
Filterschaum und den Microilter erst nach komplet-
ter Trocknung (mind. 24h) wieder in das den Filter-
rahmen einsetzen.
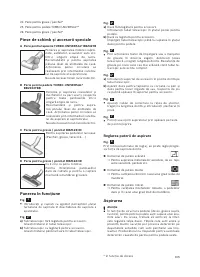
f)
Setzen Sie die Filtereinheit in das Gerät ein und las-
sen Sie die Verschlusslaschen hörbar einrasten.
g)
Deckel Ausblasilter schließen. Dabei den Riegel
nach oben drücken bis dieser hörbar einrastet.
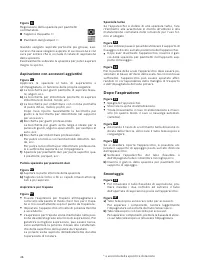
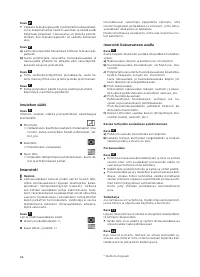
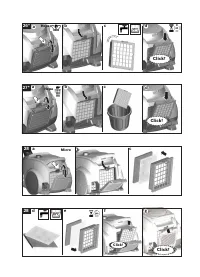
Reinigungshinweise
Vor jeder Reinigung des Staubsaugers, muss dieser
ausgeschaltet und der Netzstecker gezogen werden.
Staubsauger und Zubehörteile aus Kunststoff können
mit einem handelsüblichen Kunststoffreiniger geplegt
werden.
!
Achtung:
Keine Scheuermittel, Glas- oder Allzweckreiniger
verwenden. Staubsauger niemals in Wasser tau-
chen.
Technische Änderungen vorbehalten.
en
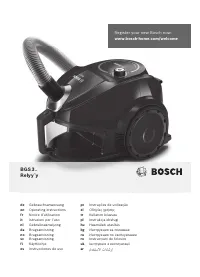
Congratulations on your purchase of the Bosch Relyy`y
vacuum cleaner.
This instruction manual describes various Relyy`y mo-
dels, meaning that some of the equipment features
and functions described may not be available on your
model. You should only use original Bosch accessories,
which have been specially developed for your vacuum
cleaner, in order to achieve the best possible vacu-
uming results.
Please keep this instruction manual for future refe-
rence. When passing the vacuum cleaner on to a third
party, also pass on this instruction manual.
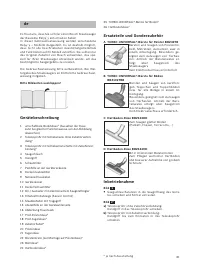
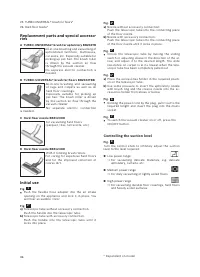
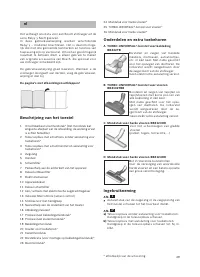
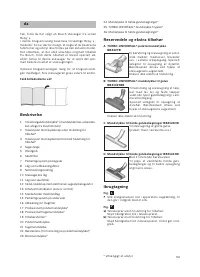
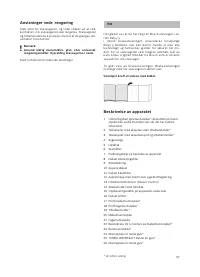
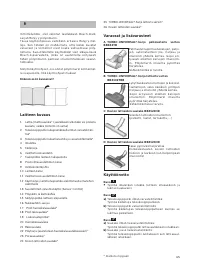
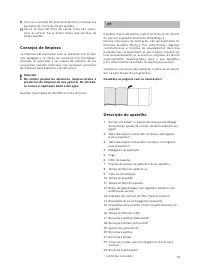
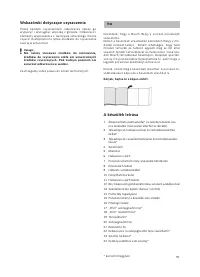
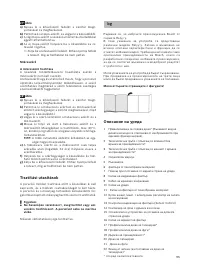
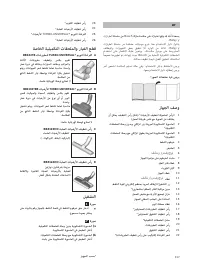
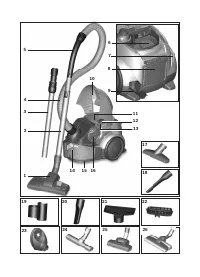
Fold out the picture pages.
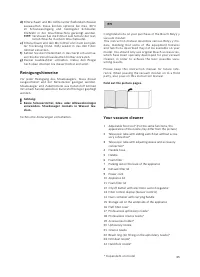
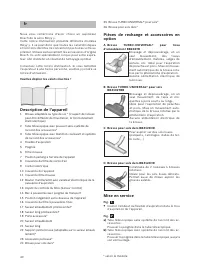
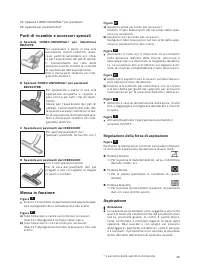
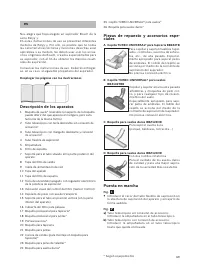
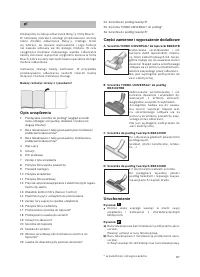
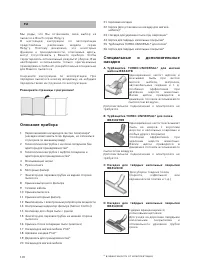
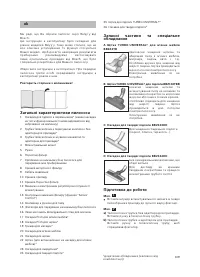
Your vacuum cleaner
1 Adjustable loor tool* (For the same functions, the
appearance of the nozzle may differ from the picture)
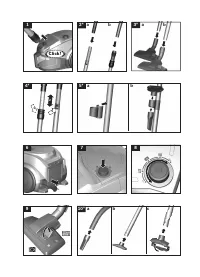
2 Telescopic tube with sliding switch but without acces-
sory connection*
3 Telescopic tube with adjusting sleeve and accessory
connection*
4 Flexible hose
5 Handle
6 Foam ilter
7 Parking aid on the back of the appliance
8 Exhaust ilter lid
9 Power cord
10 Appliance lid
11 Foam ilter lid
12 On/off button with electronic suction regulator
13 Filter control display (Sensor Control)
14 Dust container with carrying handle
15 Storage aid on the underside of the appliance
16 Fluff ilter cover
17 Professional upholstery nozzle*
18 Professional crevice nozzle*
19 Accessories holder*
20 Upholstery nozzle
21 Crevice nozzle
22 Brush ring (for itting on the upholstery nozzle)*
23 Drill dust nozzle*
24 Hard-loor nozzle*
* Dependent on model
Характеристики

Остались вопросы?Не нашли свой ответ в руководстве или возникли другие проблемы? Задайте свой вопрос в форме ниже с подробным описанием вашей ситуации, чтобы другие люди и специалисты смогли дать на него ответ. Если вы знаете как решить проблему другого человека, пожалуйста, подскажите ему :)


