Принтер HP Photosmart 7150 - инструкция пользователя по применению, эксплуатации и установке на русском языке. Мы надеемся, она поможет вам решить возникшие у вас вопросы при эксплуатации техники.
Если остались вопросы, задайте их в комментариях после инструкции.
"Загружаем инструкцию", означает, что нужно подождать пока файл загрузится и можно будет его читать онлайн. Некоторые инструкции очень большие и время их появления зависит от вашей скорости интернета.
1
2
3
4
unpack your hp printer
a. Printer
b. Power module and cord
c. Print cartridge protector
d. Print cartridges (HP #57 and HP #58)
e. Software and Printer Help on CD
f. Documentation
g. Setup Guide
plug in the power cord
1. Plug the power module into the back of the
printer (a).
2. Plug the power cord into the power module (b).
3. Plug the power module into a working electrical
outlet (c).
load plain paper in the IN tray
1. Lift the OUT tray (a).
2. Pull out the paper length guide (b) on the IN tray.
3. Slide the paper width guide (c) as far to the left as
it will go.
4. Move the photo tray slider (d) toward you until it
stops. This disengages the photo tray.
5. Place a stack of plain paper into the IN tray (e).
6. Adjust the paper width guide and paper length
guide to fit close to the edges of the paper without
bending the paper.
7. Lower the OUT tray.
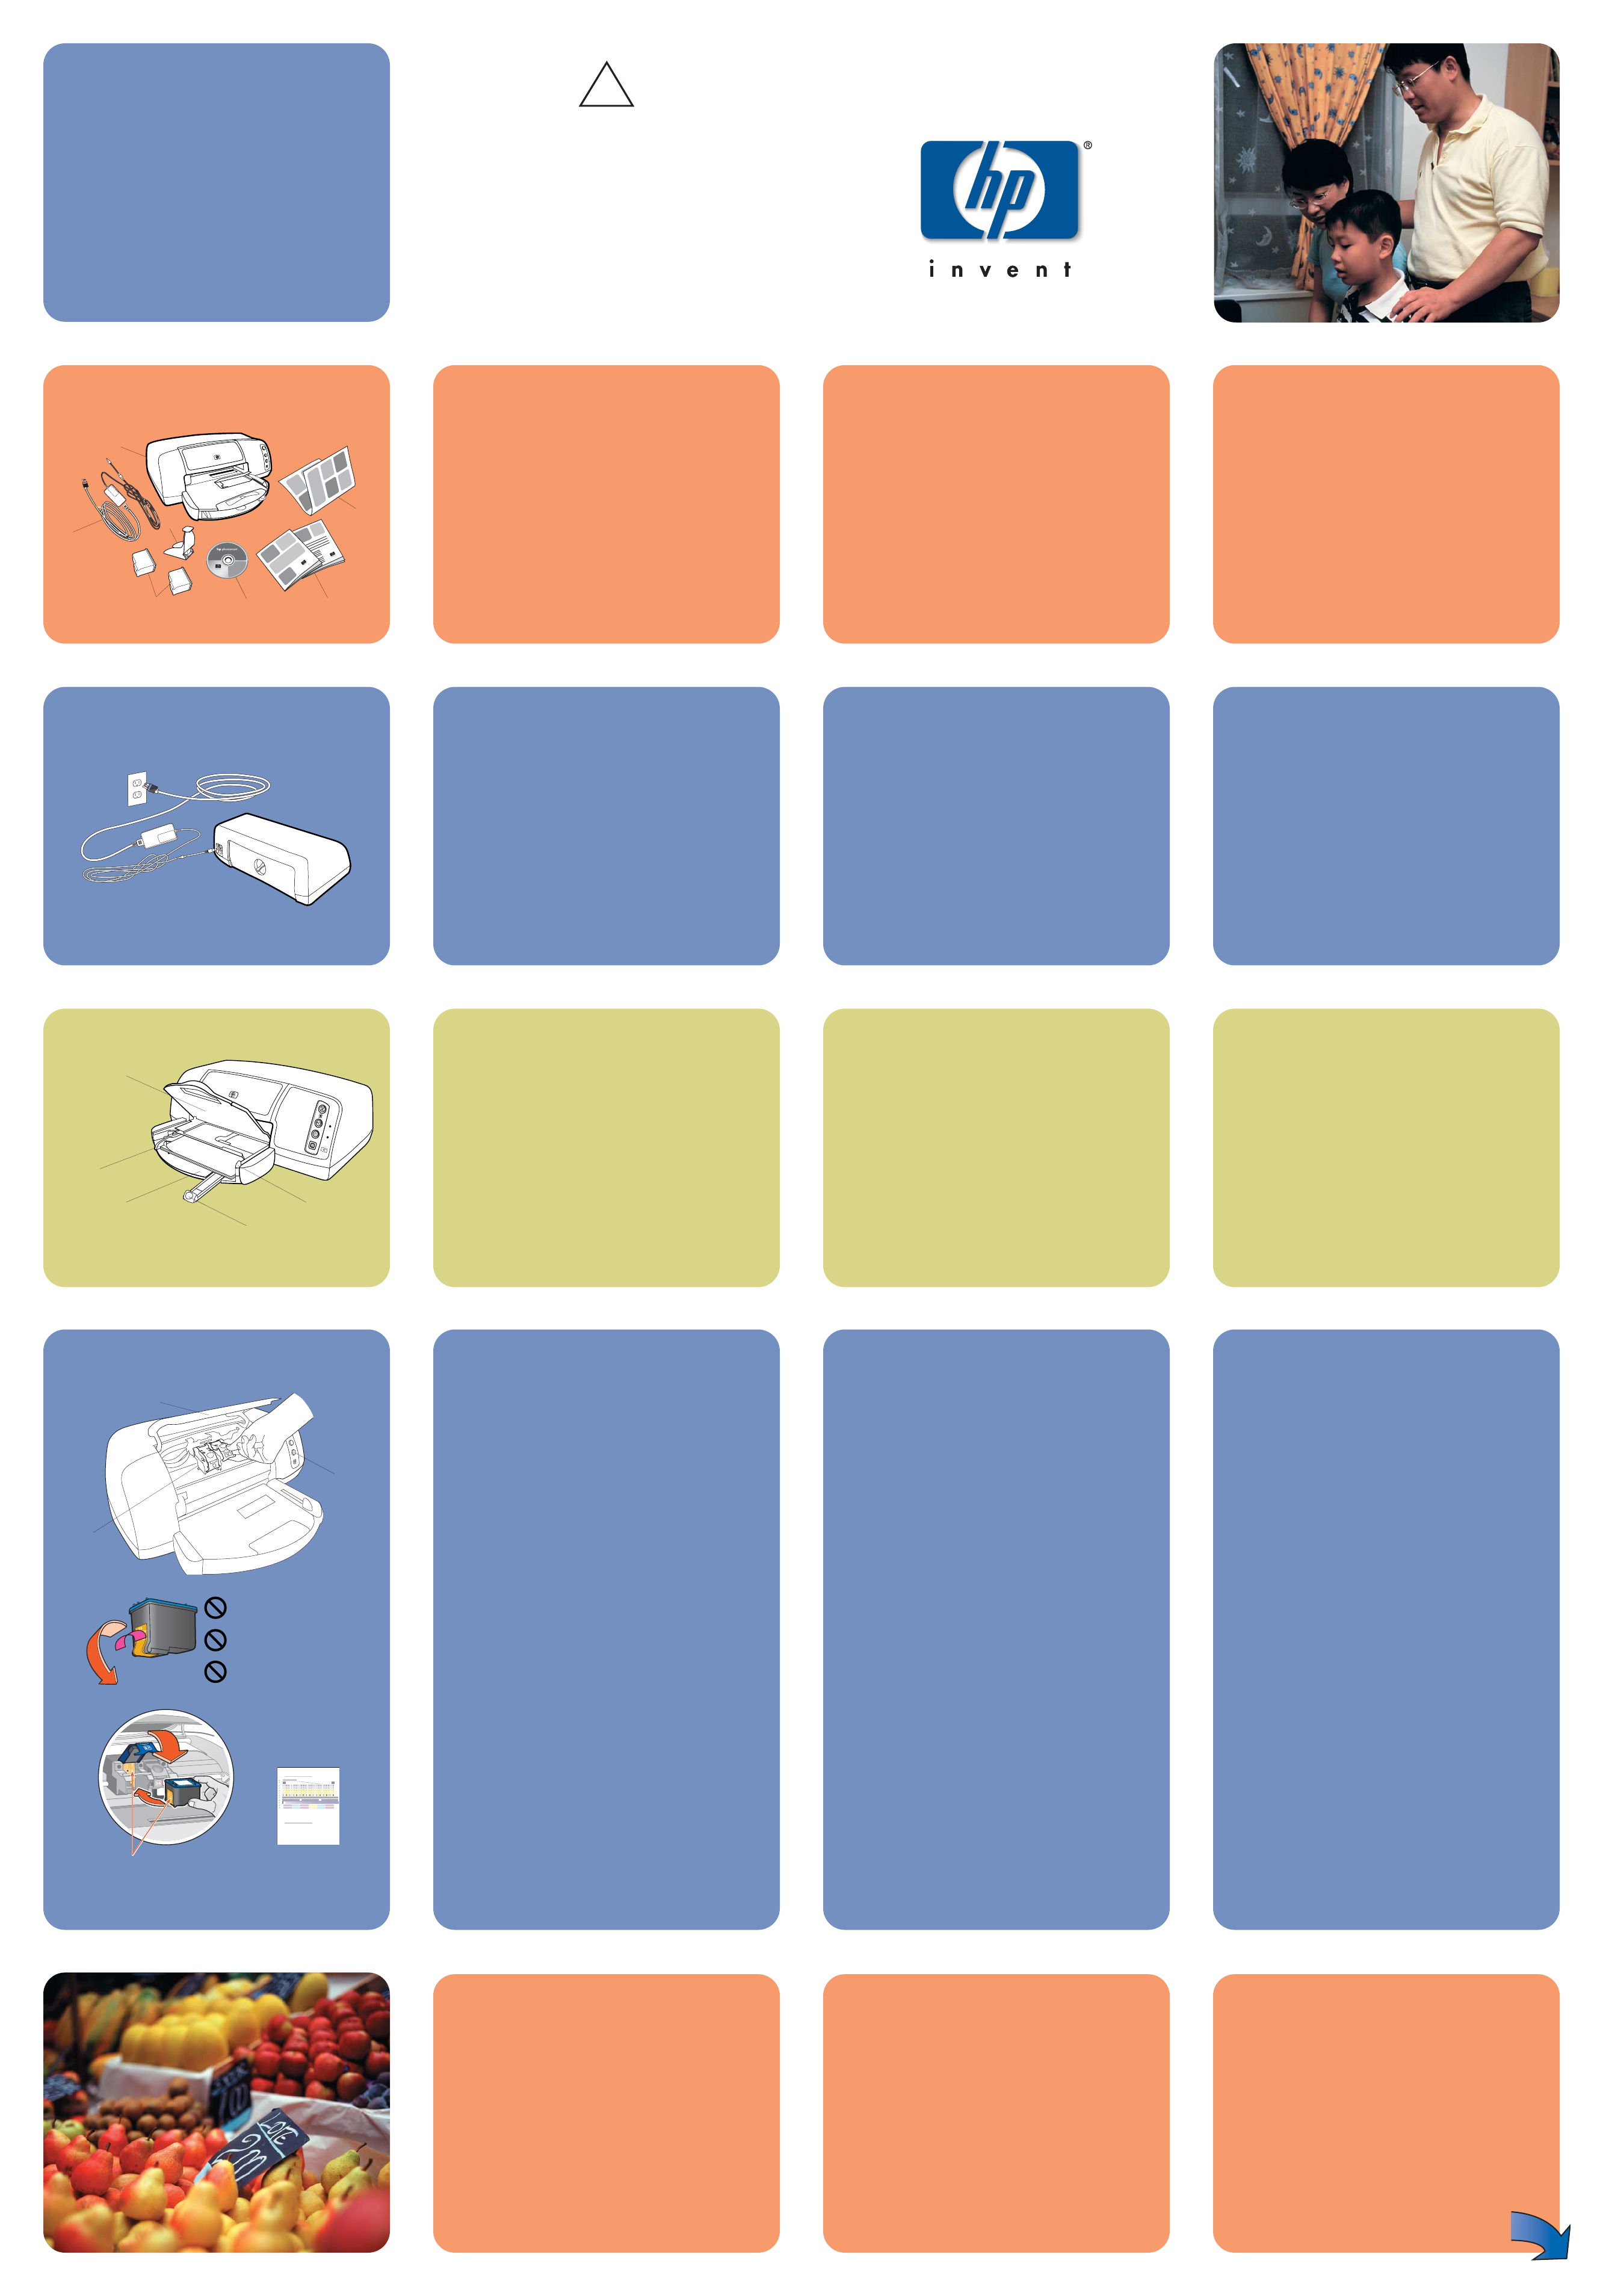
install the print cartridges
1. Press the
Power
button (a) to turn the printer on.
2. Open the top cover (b). The print cartridge cradle
moves to the center of the printer.
3. Pop open both of the print cartridge cradle latches
(c) by pulling the bottom of the latch out.
4. Remove the plastic tape from each print cartridge
(d).
5. Insert the
HP #57 tri-color
print cartridge in the left
stall (e).
Insert the
HP #58 photo
print cartridge in the right
stall.
6. Close both print cartridge cradle latches by pulling
the bottom of the latch out, pressing down, then
releasing the latch (f).
7. Close the top cover. A calibration page (g) prints
automatically. This verifies that the print cartridges
are installed correctly.
hp
photosmart 7150
setup guide
installationsvejledning
*Q1604-90186*
Q16
04
-9
018
6
(a)
(d)
(b)
(e)
(c)
install a black print cartridge
Be sure to purchase an HP #56 black print cartridge
separately.
• To print text documents faster and better, replace
the photo print cartridge in the right stall with an
HP #56 black print cartridge.
• To go back to printing beautiful photos, remove
the black print cartridge and reinstall the HP #58
photo print cartridge in the right stall.
Store the unused print cartridge in the protector that
came with your printer.
(b)
(f)
(c)
(e)
(d)
(g)
(a)
(b)
(c)
Do not touch the ink nozzles
or the copper contacts!
57
56
58
(a)
(b)
(c)
(d)
(g)
(f)
(e)
(a)
Rør ikke ved blækdyserne
eller kobberkontakterne!
!
Copper contacts
Kobberkontakter
Windows PC:
Be sure to insert the HP Photosmart CD before you
connect the printer to your computer with the
USB cable.
Husk at ilægge HP Photosmart-cd’en, før du slutter
printeren til computeren vha. USB-kablet.
USB-
CD-ROM HP Photosmart.
!
pak printeren ud
a. Printer
b. Strømmodul og ledning
c. Beskytter til blækpatron
d. Blækpatroner (HP #57 og HP #58)
e. Software og hjælp på cd
f. Dokumentation
g. Installationsvejledning
tilslut strømkablet
1. Sæt strømmodulet i stikket bag på printeren (a).
2. Sæt strømkablet i strømmodulet (b).
3. Slut strømmodulet til en stikkontakt (c).
læg almindeligt papir i
indbakken
1. Løft udbakken (a).
2. Træk papirlængdestyret (b) på indbakken ud.
3. Skub papirbreddestyret (c) helt til venstre.
4. Træk fotobakkestykket (d) ind mod dig selv, indtil
det stopper. Derved frigøres fotobakken.
5. Læg en stak almindeligt papir i indbakken (e).
6. Træk papirbreddestyret og papirlængdestyret ind
til papiret, så de ligger tæt op ad papiret uden at
bøje det.
7. Sænk udbakken.
installer blækpatronerne
1. Tryk på
afbryderen
(a) for at tænde printeren.
2. Åbn topdækslet (b). Blækpatronholderen flyttes ind
midt i printeren.
3. Åbn begge blækpatronholdere (c) ved at trække
det nederste af låsemekanismen ud.
4. Fjern plastictapen fra blækpatronerne (d).
5. Sæt den trefarvede blækpatron (
HP #57 tri-color
) i
den venstre holder (e).
Sæt fotoblækpatronen (
HP #58 photo
) i den højre
holder.
6. Luk låsemekanismen til begge blækpatroner ved at
trække det nederste af låsemekanismen ud og
trykke på og slippe låsemekanismen (f).
7. Luk topdækslet. Der udskrives automatisk en
kalibreringsside (g). Derved kontrolleres det, at
blækpatronerne er installeret korrekt.
installer en sort blækpatron
Anskaf en sort blækpatron (HP #56).
• Udskift fotoblækpatronen i den højre holder med
en sort blækpatron (HP #56), når du skal udskrive
tekst. Det går hurtigere, og du får en bedre
kvalitet.
• Når du igen skal udskrive flotte fotografier, skal du
tage den sorte blækpatron ud og installere
fotoblækpatronen (HP #58) i den højre holder
igen.
Gem åbne blækpatroner i beskyttelsesholderen, der
fulgte med printeren.
a.
b.
c.
d. (HP #57 HP #58)
e. -
f.
g. "
1. $ %&
% (a).
2. $ (b).
3. $
' % (c).
1. * (a).
2. + (b).
3. , / (c)
.
4. 0 . '
(d) .
5. * (e) .
6. , 9$
/. .
7. 0 * .
1. +$ 9$
(a).
2. 0 *$$ / (b).
.
3. 0 (c). '
/ *.
4. , % 9$ (d).
5. +
HP #57
(e).
+
HP #58
.
6. : . '
/ * (f).
7. : *$$ /. ;
,
(g).
= HP #56 .
•
% %
HP #56.
•
* %
%
HP #58.
>% *
.


