
Плита Bertazzoni MAS105I2ENET - инструкция пользователя по применению, эксплуатации и установке на русском языке. Мы надеемся, она поможет вам решить возникшие у вас вопросы при эксплуатации техники.
Если остались вопросы, задайте их в комментариях после инструкции.
"Загружаем инструкцию", означает, что нужно подождать пока файл загрузится и можно будет его читать онлайн. Некоторые инструкции очень большие и время их появления зависит от вашей скорости интернета.


7
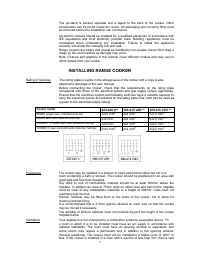
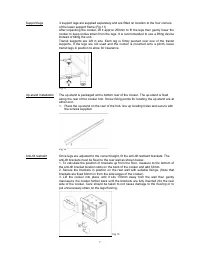
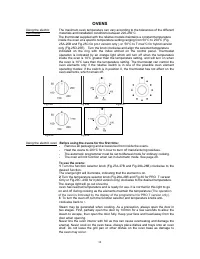
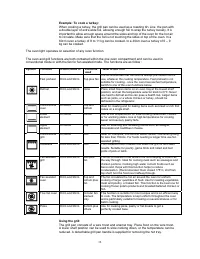
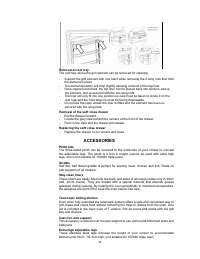
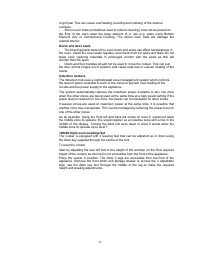
Support legs
4 support legs are supplied separately and are fitted on location to the four corners
of the lower support frame (Fig.11)
After unpacking the cooker, lift it approx 250mm to fit the legs then gently lower the
cooker to keep undue strain from the legs. It is recommended to use a lifting device
instead of tilting the unit.
Transit supports are left in situ. Each leg is firmly pushed over one of the transit
supports. If the legs are not used and the cooker is mounted onto a plinth, leave
transit legs in position to allow for clearance.
Fig 11
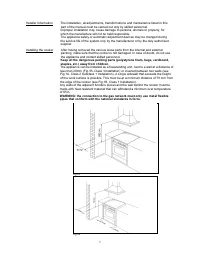
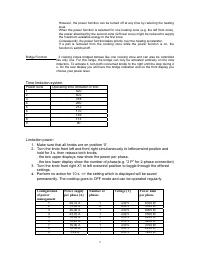
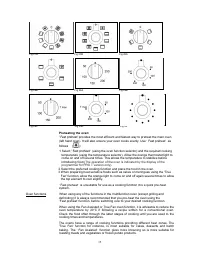
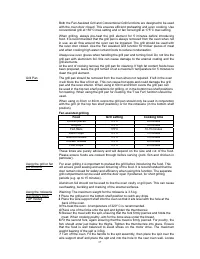
Up-stand Installation The up-stand is packaged at the bottom rear of the cooker. The up-stand is fixed
along the rear of the cooker hob. Screw fixing points for locating the up-stand are at
either end.
1. Place the up-stand on the rear of the hob, line up locating holes and secure with
the screws supplied.
F
ig 12
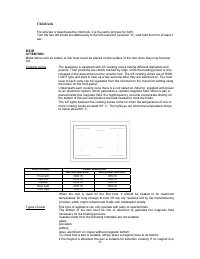
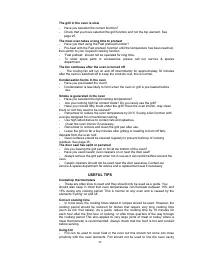
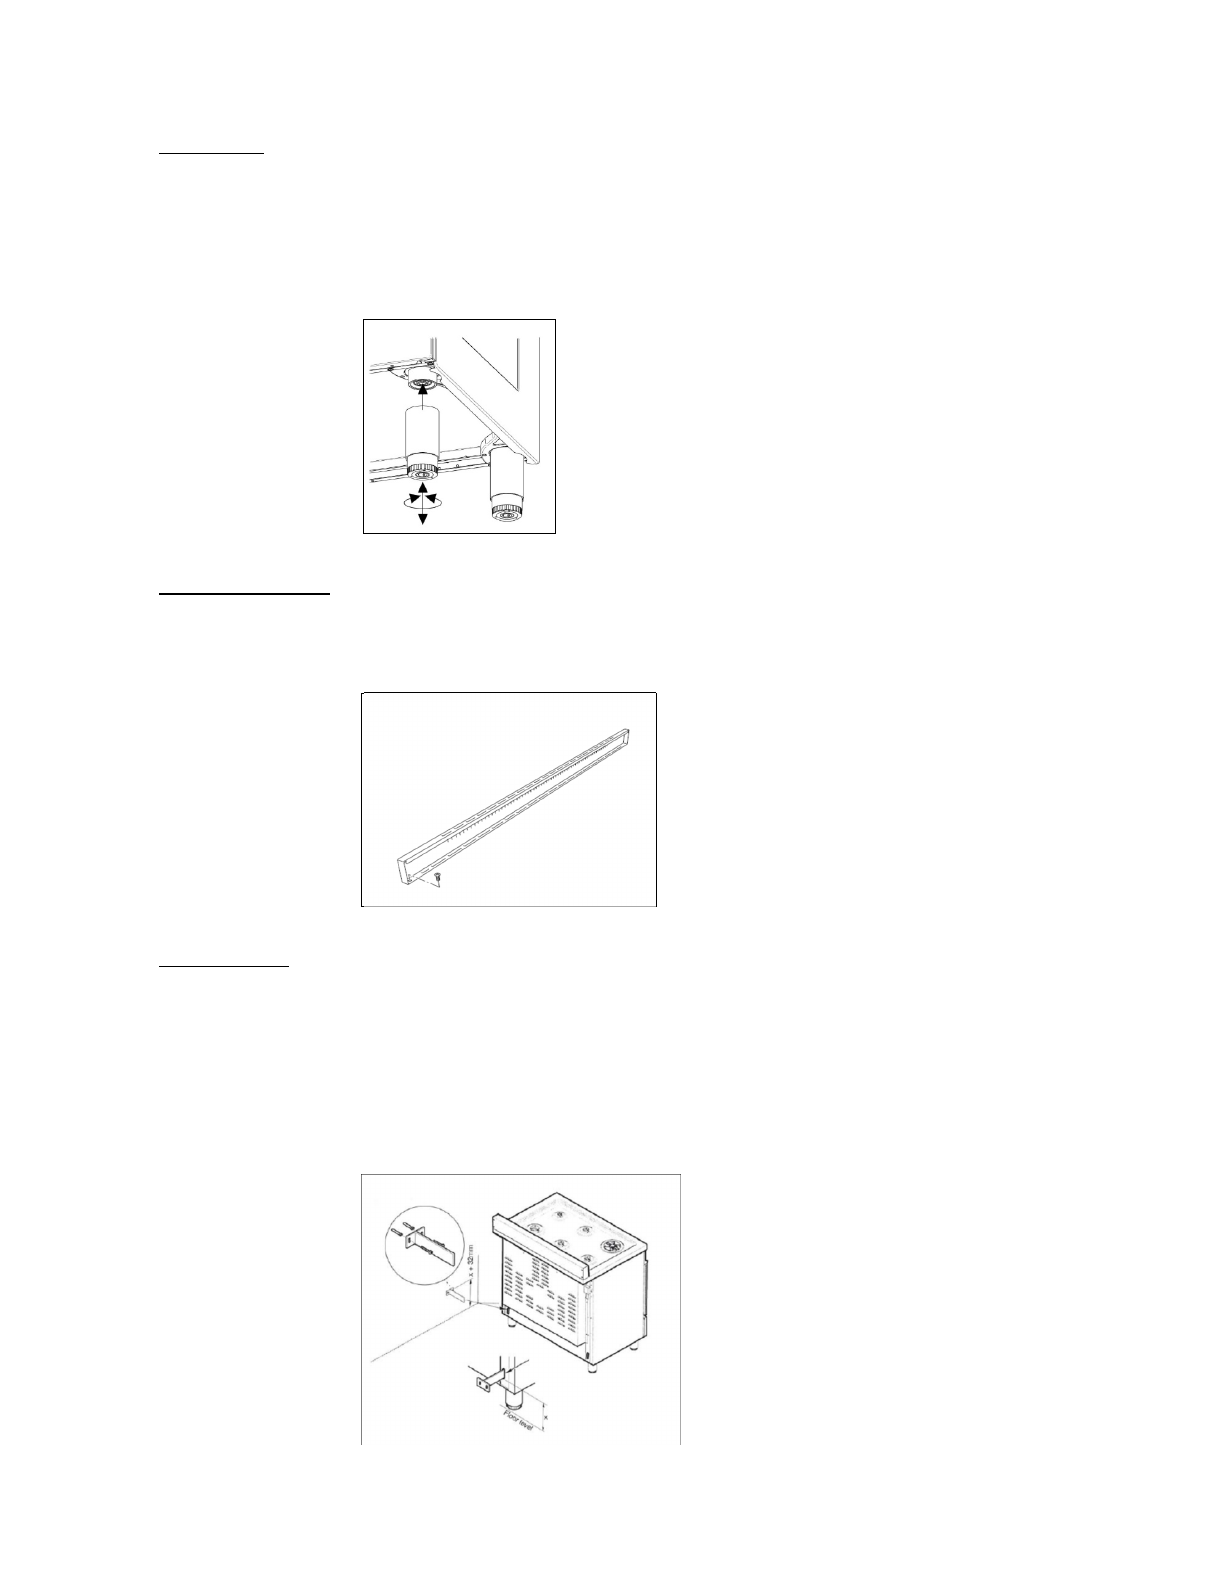
Anti-tilt restraint
Once legs are adjusted to the correct height, fit the anti-tilt restraint brackets. The
anti-tilt brackets must be fixed to the rear wall as shown below.
1. To calculate the position of brackets up from the floor, measure to the bottom of
the anti-tilt bracket location slots on the back of the cooker and add 32mm.
2. Secure the brackets in position on the rear wall with suitable fixings. (Note that
brackets are fixed 60mm in from the side edges of the cooker).
3. Lift the cooker into place until it sits 130mm away from the wall then gently
manoeuvre the cooker further back until the brackets are fully inserted into the rear
side of the cooker. Care should be taken to not cause damage to the flooring or to
put unnecessary strain on the legs flooring.
Fig 13
Характеристики

Остались вопросы?Не нашли свой ответ в руководстве или возникли другие проблемы? Задайте свой вопрос в форме ниже с подробным описанием вашей ситуации, чтобы другие люди и специалисты смогли дать на него ответ. Если вы знаете как решить проблему другого человека, пожалуйста, подскажите ему :)


