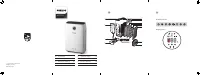
Очистители воздуха Philips AC2729/50 - инструкция пользователя по применению, эксплуатации и установке на русском языке. Мы надеемся, она поможет вам решить возникшие у вас вопросы при эксплуатации техники.
Если остались вопросы, задайте их в комментариях после инструкции.
"Загружаем инструкцию", означает, что нужно подождать пока файл загрузится и можно будет его читать онлайн. Некоторые инструкции очень большие и время их появления зависит от вашей скорости интернета.


7
EN
English
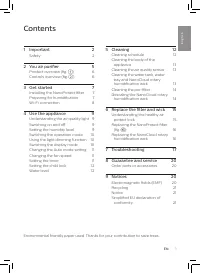
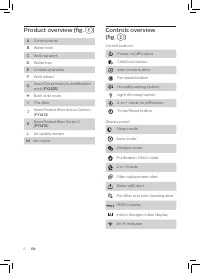
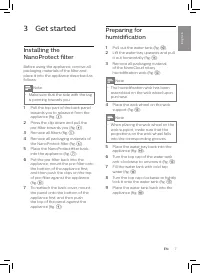
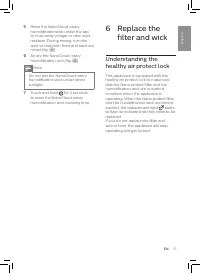
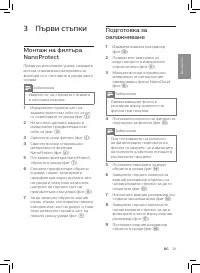
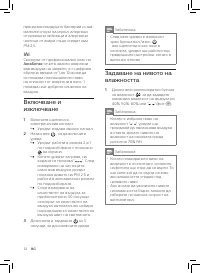
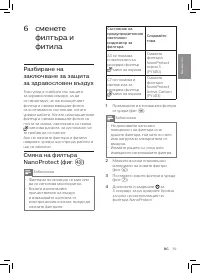
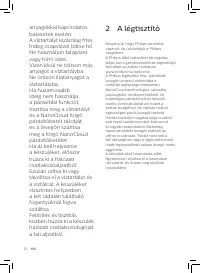
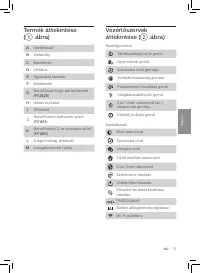
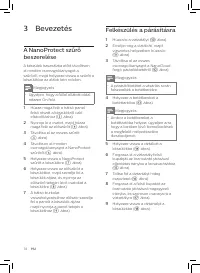
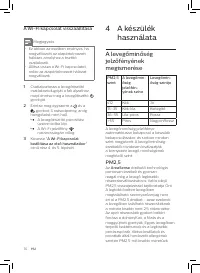
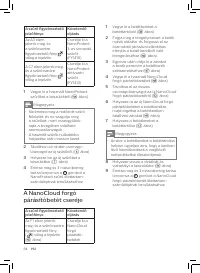
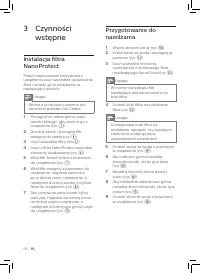
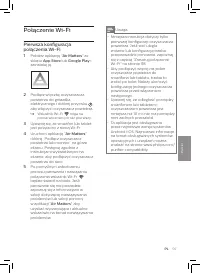
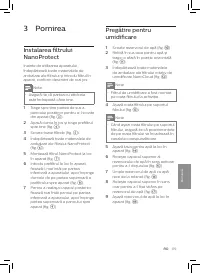
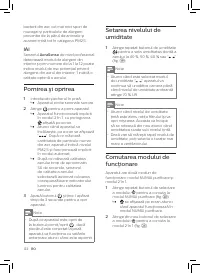
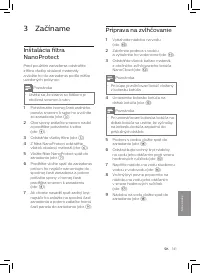
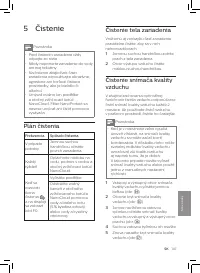
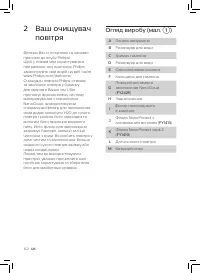
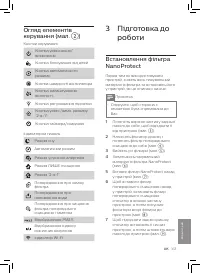
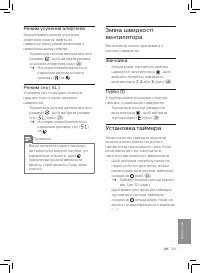
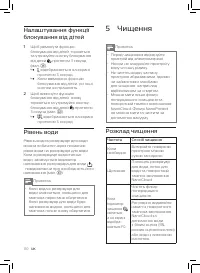
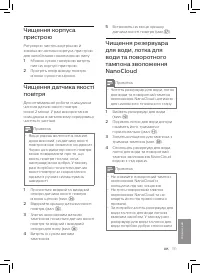
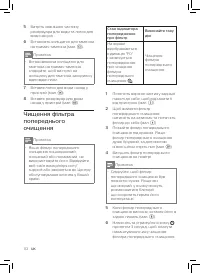
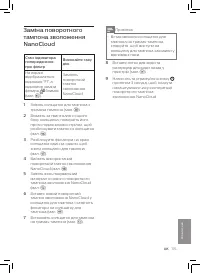
3 Get started
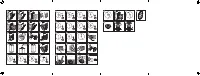
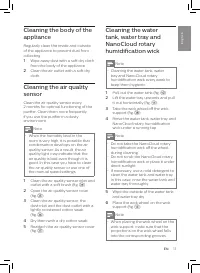
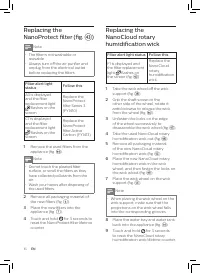
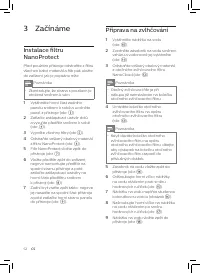
Installing the
NanoProtect filter
Before using the appliance, remove all
packaging materials of the filter and
place it into the appliance described as
follows:
Note
•
Make sure that the side with the tag
is pointing towards you.
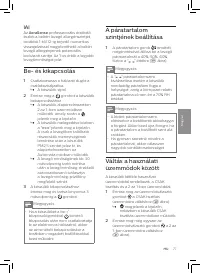
1
Pull the top part of the back panel
towards you to release it from the
appliance (fig.
c
).
2
Press the clip down and pull the
pre-filter towards you (fig.
d
).
3
Remove all filters (fig.
e
).
4
Remove all packaging materials of
the NanoProtect filter (fig.
f
).
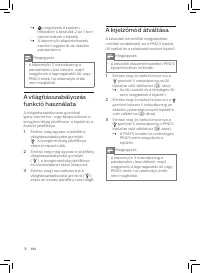
5
Place the NanoProtect filter back
into the appliance (fig.
g
).
6
Put the pre-filter back into the
appliance, mount the pre-filter onto
the bottom of the appliance first,
and then push the clips on the top
of pre-filter against the appliance
(fig.
h
).
7
To reattach the back cover, mount
the panel onto the bottom of the
appliance first, and then push
the top of the panel against the
appliance (fig.
i
).
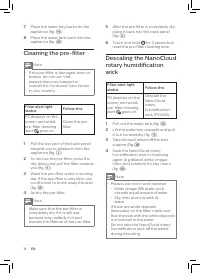
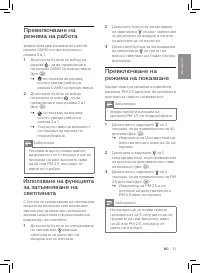
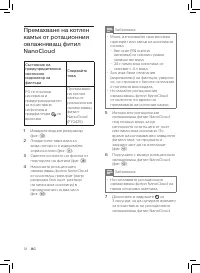
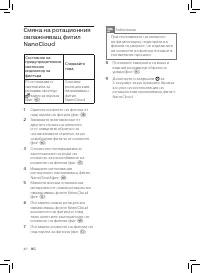
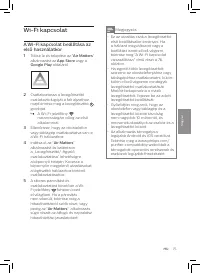
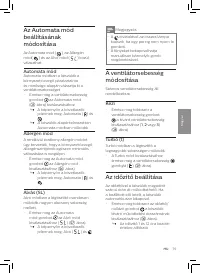
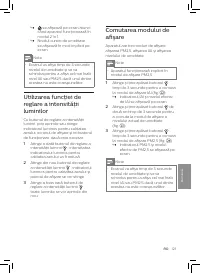
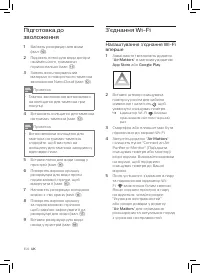
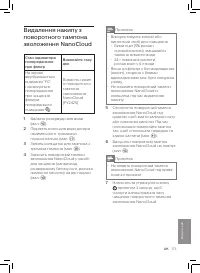
Preparing for
humidification
1
Pull out the water tank (fig.
j
).
2
Lift the water tray upwards and pull
it out horizontally (fig.
k
).
3
Remove all packaging material
of the NanoCloud rotary
humidification wick (fig.
l
).
Note
•
The humidification wick has been
assembled on the wick wheel upon
purchase.
4
Place the wick wheel on the wick
support (fig.
m
).
Note
•
When placing the wick wheel on the
wick support, make sure that the
projections on the wick wheel falls
into the corresponding grooves.
5
Place the water tray back into the
appliance (fig.
n
).
6
Turn the top cap of the water tank
anti-clockwise to unscrew it (fig.
o
).
7
Fill the water tank with cold tap
water (fig.
p
).
8
Turn the top cap clockwise to tightly
lock it onto the water tank (fig.
q
).
9
Place the water tank back into the
appliance (fig.
r
).
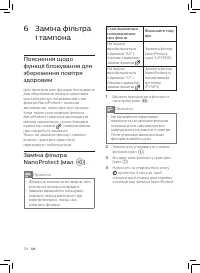
Характеристики

Остались вопросы?Не нашли свой ответ в руководстве или возникли другие проблемы? Задайте свой вопрос в форме ниже с подробным описанием вашей ситуации, чтобы другие люди и специалисты смогли дать на него ответ. Если вы знаете как решить проблему другого человека, пожалуйста, подскажите ему :)


