
Мойки высокого давления Karcher K 2 Battery Set 11172200 - инструкция пользователя по применению, эксплуатации и установке на русском языке. Мы надеемся, она поможет вам решить возникшие у вас вопросы при эксплуатации техники.
Если остались вопросы, задайте их в комментариях после инструкции.
"Загружаем инструкцию", означает, что нужно подождать пока файл загрузится и можно будет его читать онлайн. Некоторые инструкции очень большие и время их появления зависит от вашей скорости интернета.


– 11
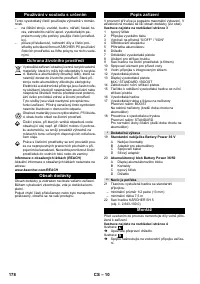
A Battery Power 36/50 or Battery Power + 36/75 bat-
tery pack and a charger from the KÄRCHER
36 V platform are required to operate the device.
Note:
The Battery Power 36/25 battery pack cannot be
used.
The battery pack is equipped with a display that pro-
vides continuous information on the charging state, the
progress of charging and the remaining battery life. In
addition, any error messages occurring will also be
shown.
Depending on the device used, the display rotates when
the battery pack is inserted.
Note:
New battery packs are only pre-charged and
must be fully charged before first use.
The display is activated during the first charging pro-
cess.
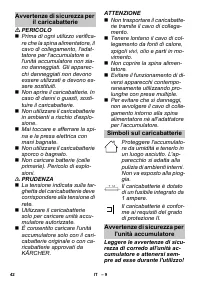
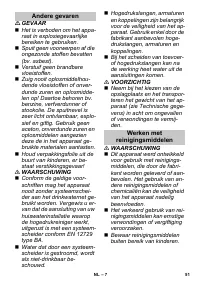
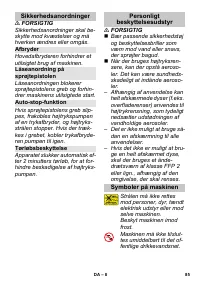
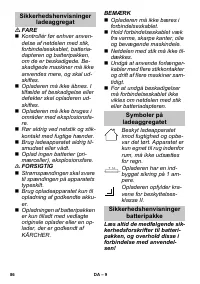
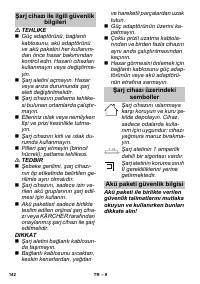
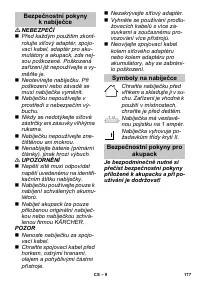
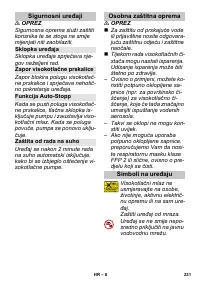
몇
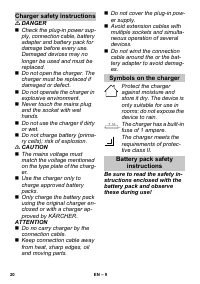
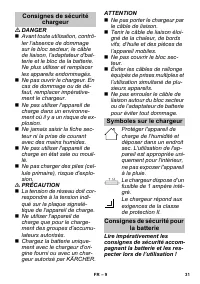
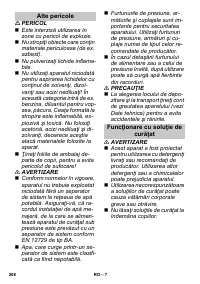
CAUTION
Risk of injury, risk of damage due to exploding battery!
Only charge the battery packs with the appropriate
charger.
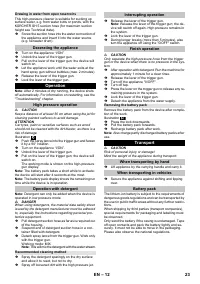
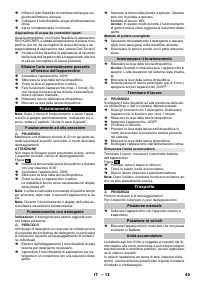
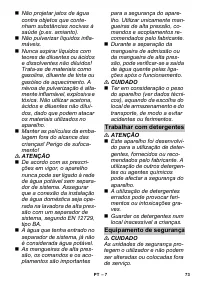
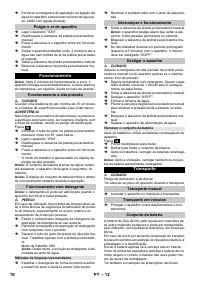
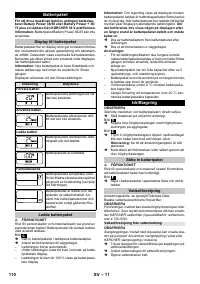
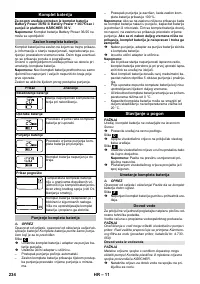
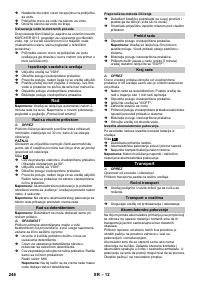
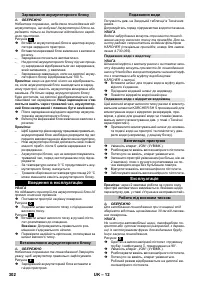
Illustration
Push the battery pack into the battery adapter of
the charger.
Plug the plug-in power supply into the socket.
–
The charging process begins automatically.
–
The display shows the remaining charging time of
the battery pack in minutes during the charging pro-
cess.
–
The charging process ends once the battery pack
display reads 100%.
Note:
If the display does not show anything when the
battery pack is in the charger, the battery capacity is ful-
ly depleted or very low. As soon as the battery pack has
been sufficiently charged, the display shows the re-
maining charging time.
If the display does not show
anything even after a long period of time, the battery
pack is defective and must be replaced.
Remove the battery adapter from the battery pack
after charging.
Pull the plug-in power supply from the socket.
Notes:
–
To ensure that the charge level indicator works cor-
rectly, the battery pack must be discharged during
initial use until the device is switched off.
–
New battery packs reach their full capacity after ap-
prox. 5 charging and discharging cycles.
–
Charge battery packs that have not been used for
a long time before use.
–
The performance of the battery pack is reduced at
temperatures below 0 °C.
–
The capacity of the battery pack may be reduced if
stored at temperatures over 20 °C.
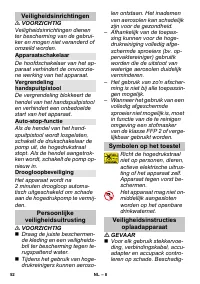
ATTENTION
Do not the place the device and battery pack in direct
sunlight.
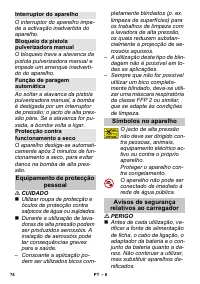
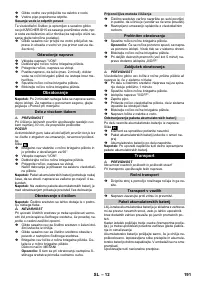
Park the appliance on an even surface.
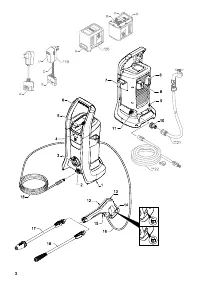
Illustration
Connect the high pressure hose to the high pres-
sure connection of the appliance.
Illustration
Push the high pressure hose into the trigger gun
until it locks audibly.
Note:
Make sure the connection nipple is aligned
correctly.
Check the secure connection by pulling on the high
pressure hose.
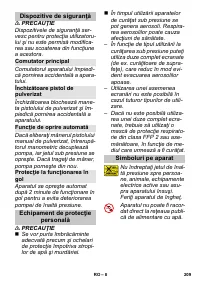
몇
CAUTION
Risk of personal injury or damage! Ensure that the bat-
tery pack properly snaps into place.
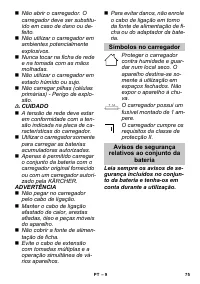
Illustration
Push the charged battery pack into the mounting
on the device.
For connection values, see type plate/technical data.
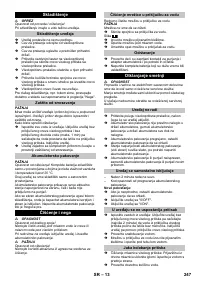
Observe regulations of water supplier.
ATTENTION
Impurities in the water can damage the high-pressure
pump and the accessories. For protection, the use of
the KÄRCHER water filter (optional accessory, order
no. 4.730-059) is recommended.
ATTENTION
Hose couplings made of metal with aquastop can dam-
age the pump! Please use plastic couplings or KÄRCH-
ER brass couplings.
Attach the water supply hose to the coupling on the
water connection.
Connect the water supply hose to the water supply.
Completely open the water tap.
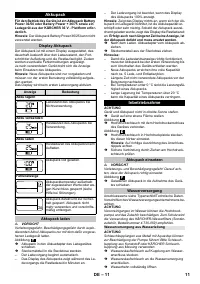
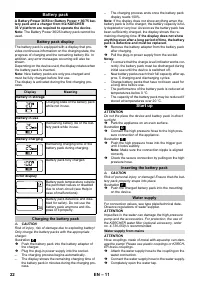
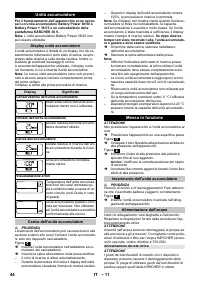
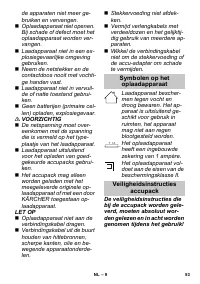
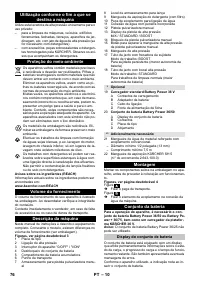
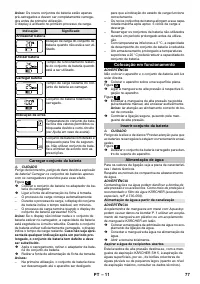
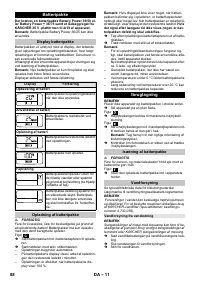
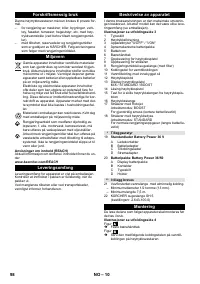
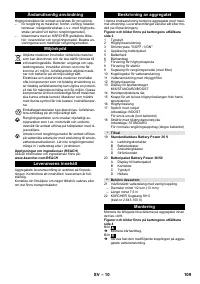
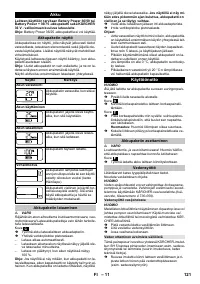
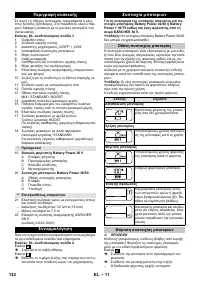
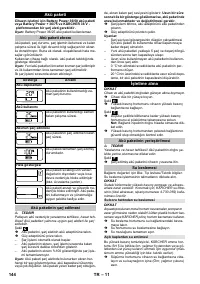
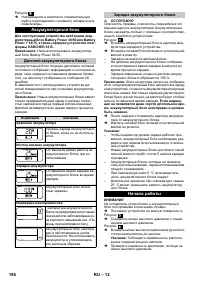
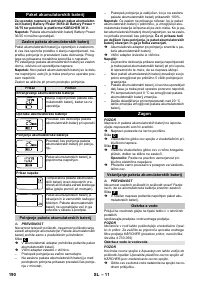
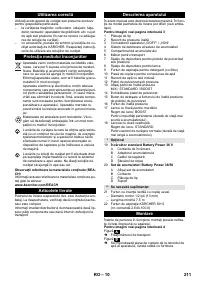
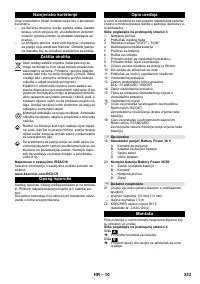
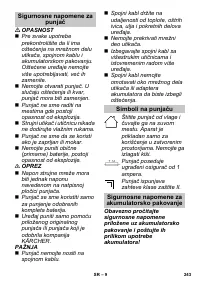
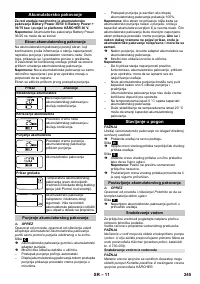
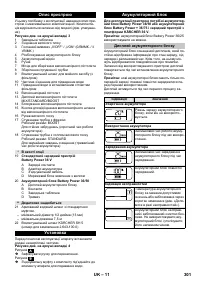
Battery pack
Battery pack display
Display
Meaning
Battery in storage
Charging state of the battery pack
while not in use.
Battery in use
Remaining battery life of the bat-
tery pack while in use.
Battery charging
Remaining charging time of the
battery pack during charging.
Battery pack fully charged.
Error display
Battery pack temperature outside
the permitted values or disabled
due to short-circuit (see Help in
case of malfunctions).
Battery pack defective and disa-
bled for safety. Do not use the
battery pack anymore and dis-
pose of it properly.
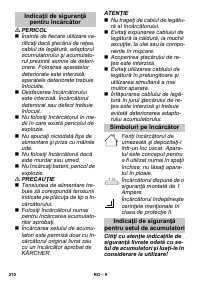
Charging the battery pack
Start up
Inserting the battery pack
Water supply
Water supply from mains
22
EN
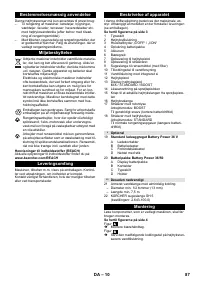
Содержание
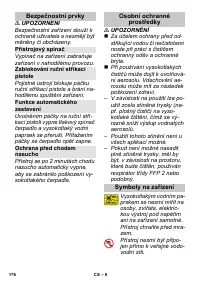
- 151 Прочие опасности
- 152 Работа с моющим
- 154 KÄRCHER
- 155 Использование по назначению; Монтаж
- 156 Аккумуляторный блок; Дисплей аккумуляторного блока; Начало работы
- 157 Эксплуатация
- 158 Транспортировка
- 159 Мойка и обслуживание
- 160 Дисплей сообщений об ошибках; Принадлежности и запасные детали; Специальные принадлежности; Гарантия
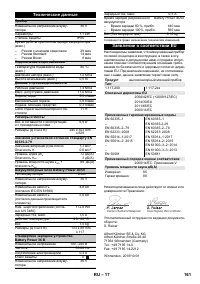
- 161 Технические данные; Заявление о соответствии ЕU
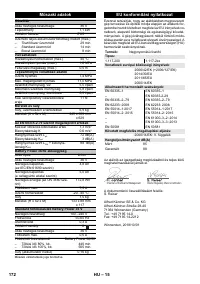
Характеристики

Остались вопросы?Не нашли свой ответ в руководстве или возникли другие проблемы? Задайте свой вопрос в форме ниже с подробным описанием вашей ситуации, чтобы другие люди и специалисты смогли дать на него ответ. Если вы знаете как решить проблему другого человека, пожалуйста, подскажите ему :)


