
Метеостанции Hama EWS-200 - инструкция пользователя по применению, эксплуатации и установке на русском языке. Мы надеемся, она поможет вам решить возникшие у вас вопросы при эксплуатации техники.
Если остались вопросы, задайте их в комментариях после инструкции.
"Загружаем инструкцию", означает, что нужно подождать пока файл загрузится и можно будет его читать онлайн. Некоторые инструкции очень большие и время их появления зависит от вашей скорости интернета.


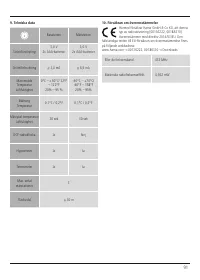

4
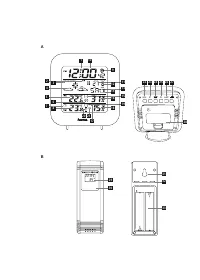
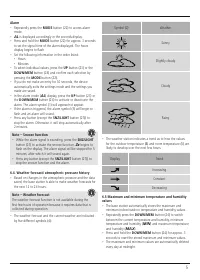
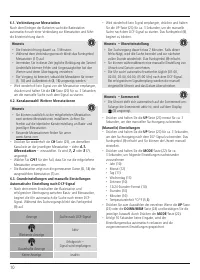
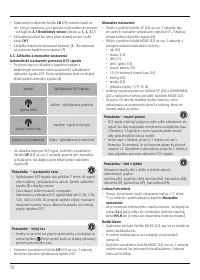
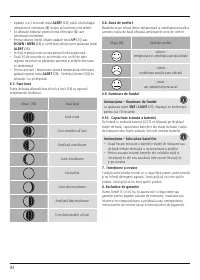
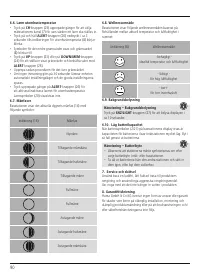
6.2. Selecting the channel/other measuring stations
Note
You can install two more measuring stations in addition to
the included measuring station. Ensure that the base and
measuring stations are set to the same channel. Visit www.
hama.com for suitable measuring stations.
•
Press the
CH
-button (25) repeatedly to set the channel to
that set on the respective measuring station – see
4.1.
Measuring station
.
1, 2, 3
(7) is displayed.
•
Select
CH1
if you are only using the measuring station
supplied.
•
The base station now shows the data measured (8, 18) on the
selected measuring station (7).
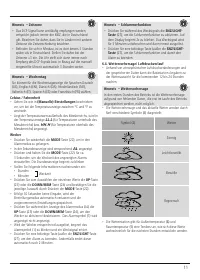
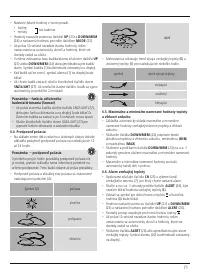
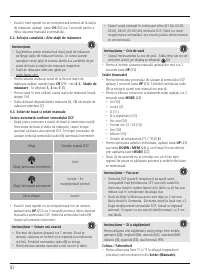
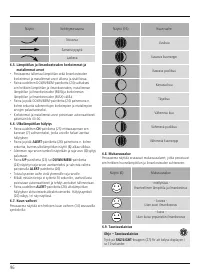
6.3. Basic and manual settings
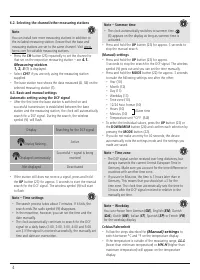
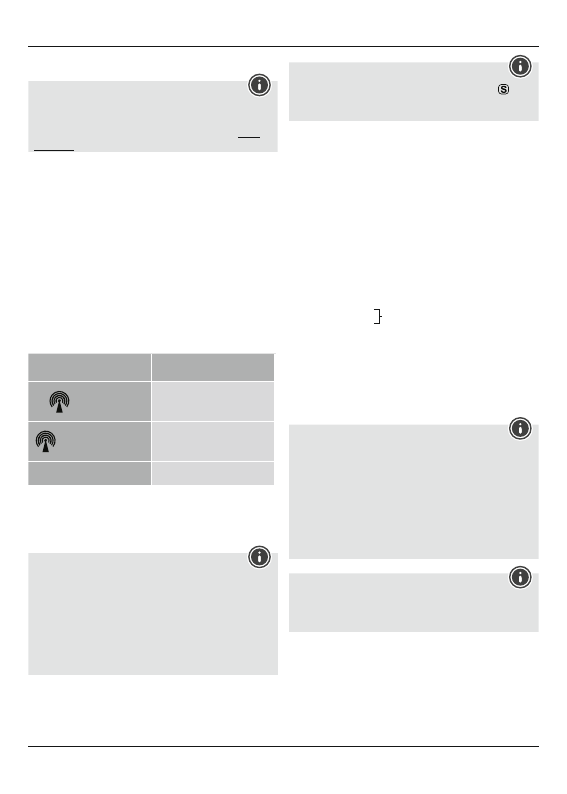
Automatic setting using the DCF signal
•
After the first time the base station is switched on and
successful transmission is established between the base
station and the measuring station, the clock will automatically
search for a DCF signal. During the search, the wireless
symbol (9) will flash.
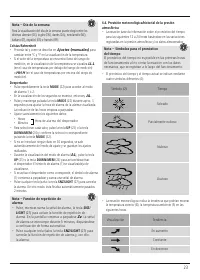
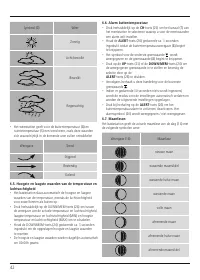
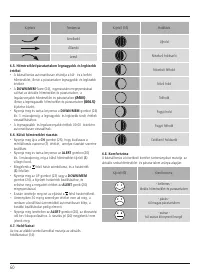
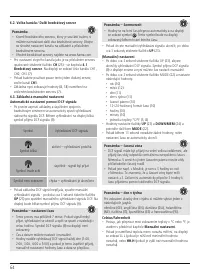
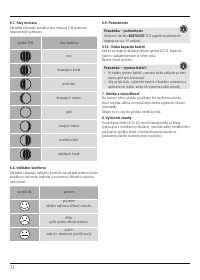
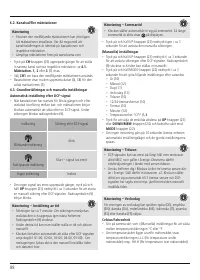
Display
Searching for the DCF signal
Display flashing
Active
Displayed continuously
Successful – signal is being
received
Not displayed
Deactivated
•
If the station still does not receive a signal, press and hold
the
UP
button (23) for approx. 3 seconds to start the manual
search for the DCF signal. The wireless symbol (9) will start
to flash.
Note – Time settings
•
The search process takes about 7 minutes. If it fails, the
search ends.The radio symbol (9) disappears.
•
In the meantime, however, you can set the time and the
date manually.
•
The clock automatically continues to search for the DCF
signal on a daily basis (1:00, 2:00, 3:00, 4:00 and 5:00
a.m.). If the signal is received successfully, the manually set
time and date are overwritten.
Note – Summer time
•
The clock automatically switches to summer time.
(3) appears on the display as long as summer time is
activated.
•
Press and hold the
UP
button (23) for approx. 3 seconds to
stop the manual search.
(Manual) settings
•
Press and hold the
UP
button (23) for approx.
3 seconds to stop the search for the DCF signal. The wireless
symbol (9) goes out and you can set the time manually.
•
Press and hold the
MODE
button (22) for approx. 3 seconds
to make the following settings one after the other:
•
Year (10)
•
Month (12)
•
Day (11)
•
Weekday (13)
•
Time zone (10)
•
12/24 hour format (10)
•
Hours (10)
Alarm time
•
Minutes (10)
• Temperature unit °C/°F (5.8)
•
To select the individual values, press the
UP
button (23) or
the
DOWN/MEM
button (24) and confirm each selection by
pressing the
MODE
button (22).
•
If you do not make an entry for 30 seconds, the device
automatically exits the settings mode and the settings you
made are saved.
Note – Time zone
•
The DCF signal can be received over long distances, but
always transmits the current Central European Time in
Germany. Make sure you account for the time difference in
countries with another time zone.
•
If you are in Moscow, the time is 3 hours later than in
Germany. This means that you should set +3 for the
time zone. The clock then automatically sets the time to
3 hours after the DCF signal received or relative to the
manually set time.
Note – Weekday
You can choose from German (
GE
), English (
EN
), Danish
(
DA
), Dutch (
NE
), Italian (
IT
), Spanish (
SP
) or French (
FR
)
for the weekday display.
Celsius/Fahrenheit
•
Follow the steps described for
(Manual) settings
to
switch between °C and °F on the temperature display.
•
If the temperature is outside of the measuring range,
LL.L
(lower than minimum temperature) or
HH.H
(higher than
maximum temperature) will appear on the temperature
display.


Где купить внешний датчик?