Магнитолы Pioneer MVH-X460UI - инструкция пользователя по применению, эксплуатации и установке на русском языке. Мы надеемся, она поможет вам решить возникшие у вас вопросы при эксплуатации техники.
Если остались вопросы, задайте их в комментариях после инструкции.
"Загружаем инструкцию", означает, что нужно подождать пока файл загрузится и можно будет его читать онлайн. Некоторые инструкции очень большие и время их появления зависит от вашей скорости интернета.


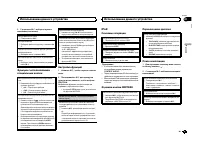


Using connected device
applications
You can use this unit to perform streaming play-
back of and control tracks in iPhone applica-
tions or just for streaming playback.
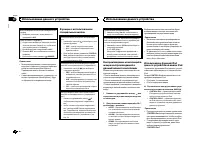
Important
Use of third party apps may involve or require
the provision of personally identifiable infor-
mation, whether through the creation of a
user account or otherwise, and for certain ap-
plications, the provision of geolocation data.
ALL THIRD PARTY APPS ARE THE SOLE RE-
SPONSIBILITY OF THE PROVIDERS, INCLUD-
ING WITHOUT LIMITATION COLLECTION AND
SECURITY OF USER DATA AND PRIVACY
PRACTICES. BY ACCESSING THIRD PARTY
APPS, YOU AGREE TO REVIEW THE TERMS
OF SERVICE AND PRIVACY POLICIES OF THE
PROVIDERS. IF YOU DO NOT AGREE WITH
THE TERMS OR POLICIES OF ANY PROVIDER
OR DO NOT CONSENT TO THE USE OF GEO-
LOCATION DATA WHERE APPLICABLE, DO
NOT USE THAT THIRD PARTY APP.
Information for compatibility of
connected devices
The following is the detailed information regard-
ing the terminals required to use the application
for iPhone on this unit.
For iPhone users
!
This function is compatible with iPhone and
iPod touch.
!
The device has iOS 5.0 or higher.
Notes
!
Please check our website for a list of sup-
ported iPhone applications for this unit.
!
Pioneer is not liable for any issues that may
arise from incorrect or flawed app-based
content.
!
The content and functionality of the sup-
ported applications are the responsibility of
the App providers.
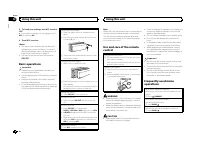
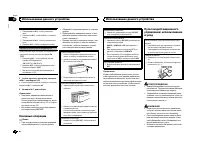
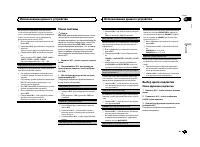
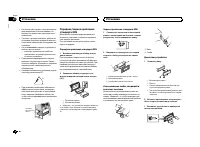
Starting procedure for iPhone users
1
Connect an iPhone to USB cable.
2
Switch the source to APP.
3
Start up the application on the iPhone
and initiate playback.
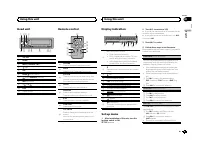
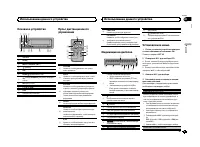
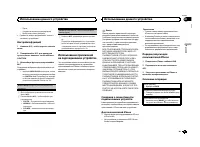
Basic operations
Selecting a track
1
Turn
LEVER
.
Fast forwarding or reversing
1
Turn and hold down
LEVER
to the right or left.
Pausing playback
1
Press
BAND
/
to pause or resume.
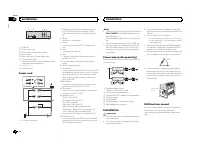
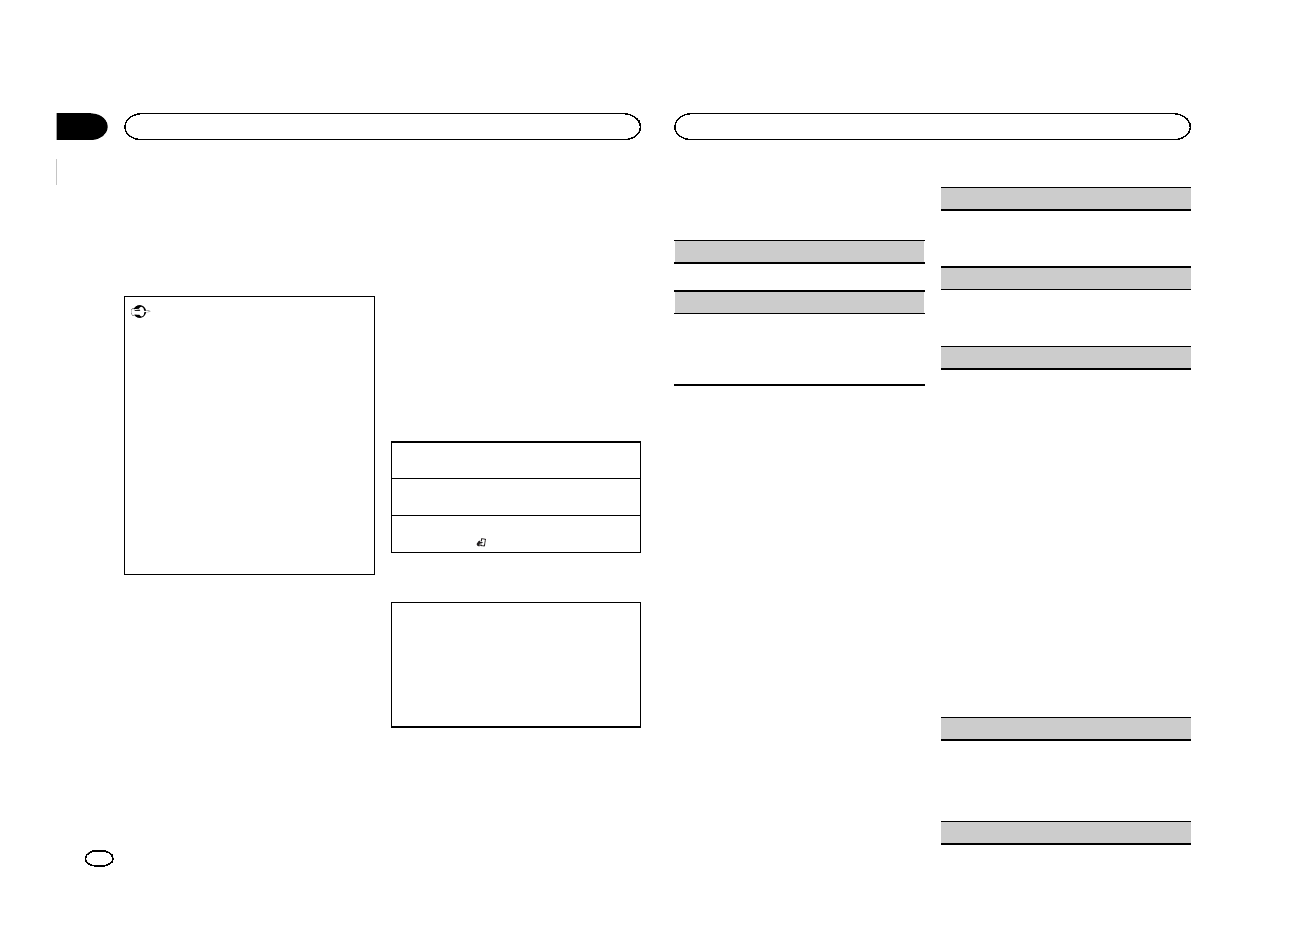
Switching the display
Selecting the desired text information
1
Press
DISP
to cycle between the following:
!
TRACK INFO
(track title/artist name/album
title)
!
APP NAME
(application name)
!
ELAPSED TIME
(playback time)
!
CLOCK
(source name and clock)
!
SPEANA
(spectrum analyzer)
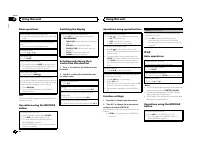
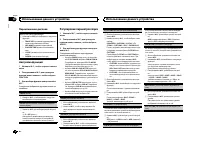
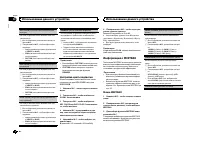
Function settings
1
Press M.C. to display the main menu.
2
Turn M.C. to change the menu option
and press to select FUNCTION.
3
Turn M.C. to select the function.
Once selected, the following functions can be
adjusted.
PAUSE
(pause)
1
Press
M.C.
to pause or resume.
S.RTRV
(sound retriever)
1
Press
M.C.
to select the desired setting.
1
—
2
—
OFF
(off)
1
is effective for low compression rates, and
2
is effective for high compression rates.
Audio adjustments
1
Press M.C. to display the main menu.
2
Turn M.C. to change the menu option
and press to select AUDIO.
3
Turn M.C. to select the audio function.
Once selected, the following audio functions
can be adjusted.
!
FADER
is not available when
SUB.W/SUB.W
is selected in
SP-P/O MODE
. For details, refer
to
!
SUB.W
and
SUB.W CTRL
are not available
when
REAR/REAR
is selected in
SP-P/O MODE
. For details, refer to
!
SUB.W CTRL
is not available when
SUB.W
is
selected in
OFF
. For details, refer to
!
SLA
is not available when FM is selected as
the source.
FADER
(fader adjustment)
1
Press
M.C.
to display the setting mode.
2
Turn
M.C.
to adjust the front/rear speaker bal-
ance.
BALANCE
(balance adjustment)
1
Press
M.C.
to display the setting mode.
2
Turn
M.C.
to adjust the left/right speaker bal-
ance.
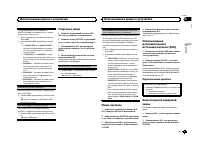
EQ SETTING
(equalizer recall)
1
Press
M.C.
to display the setting mode.
2
Turn
M.C.
to select the equalizer.
POWERFUL
—
NATURAL
—
VOCAL
—
CUS-
TOM1
—
CUSTOM2
—
FLAT
—
SUPER BASS
The equalizer band and equalizer level can be
customized when
CUSTOM1
or
CUSTOM2
is
selected.
If selecting
CUSTOM1
or
CUSTOM2
, complete
the procedures outlined below. If selecting
other options, press
M.C.
to return to the pre-
vious display.
!
CUSTOM1
can be set separately for each
source. However,
USB
,
iPod
and
APP
are
all set to the same setting automatically.
!
CUSTOM2
is a shared setting used in com-
mon for all sources.
3
Press
M.C.
to display the setting mode.
4
Press
M.C.
to cycle between the following:
Equalizer band
—
Equalizer level
5
Turn
M.C.
to select the desired setting.
Equalizer band:
80HZ
—
250HZ
—
800HZ
—
2.5KHZ
—
8KHZ
Equalizer level:
+6
to
–
6
LOUDNESS
(loudness)
Loudness compensates for deficiencies in the low-
frequency and high-frequency ranges at low vol-
ume.
1
Press
M.C.
to select the desired setting.
OFF
(off)
—
LOW
(low)
—
MID
(mid)
—
HI
(high)
SUB.W
(subwoofer on/off setting)
Using this unit
8
Section
Using this unit
En
02
Содержание
- 19 Установочное меню; Появится надпись; Использование данного устройства
- 20 YES; Меню системы; SRC; Основные операции; использование
- 21 Радиоприемник; SEEK; AF; Переключение дисплея; FREQUENCY; Использование функций; Список; PTY; Настройка функций; FUNCTION
- 22 Подключение по протоколу; Android; Функции кнопки; MIXTRAX
- 24 CONTROL iPod
- 25 Для пользователей; iPhone
- 26 Регулировки параметров звука; AUDIO
- 27 Менюсистемы; PW SAVE; DIMMER; Выбор цвета подсветки; Менюфункции подсветки; ILLUMI
- 28 Настройка цвета подсветки; Информация о; Меню
- 29 Стартовое меню; Меню систе; AUX
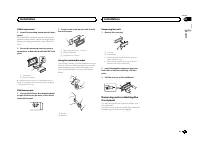
- 30 Соединения; Установка
- 31 Данное устройство; ВНИМАНИЕ; Шнур питания; Примечания; настройка выхода заднего канала и; Усилитель мощности; Важно
- 32 Переднее; DIN
- 33 Устранение неисправностей; Сообщения об ошибках; Общие; Запоминающее устройство; Дополнительная информация
- 35 Поддержка
- 38 Примечание


