Лобзики Sparky FSPE 110 - инструкция пользователя по применению, эксплуатации и установке на русском языке. Мы надеемся, она поможет вам решить возникшие у вас вопросы при эксплуатации техники.
Если остались вопросы, задайте их в комментариях после инструкции.
"Загружаем инструкцию", означает, что нужно подождать пока файл загрузится и можно будет его читать онлайн. Некоторые инструкции очень большие и время их появления зависит от вашей скорости интернета.


7
Original instructions
EN
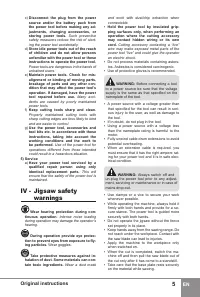
▪ Always make sure that the blade is secured
in the holder.
WARNING:
Always switch off and
un-plug the power tool prior to any adjust-
ment, servicing or maintenance or in case of
mains drop-out.
SWITCHING ON - SWITCHING Off
Brief activation
Switching on: press and hold switch 8.
Switching off: release switch 8.
Continuous use
Switching on:
FSPE 110 - press and lock ON/OFF switch 8 in
the indicated direction.
FSPE 111- press ON/OFF switch 8 and lock it
by button 13.
Switching off: press and release ON/OFF
switch 8.
WARNING:
In case ambient tem-
perature is lower than 0
0
C the jig saw must
be switched on only in “G” position of the ver-
tical stroke electronic regulator. After several
minutes operation at no-load the jig saw can
be used also in the rest regulator positions.
PENDULUM ACTION ADjUSTMENT
Switching on the pendulum action permits
achieving maximum cutting efficiency. Friction
and heat generation is reduced, chip ejection is
improved by the decreased pressure of blade
on the machined material. Switching and set-
ting the pendulum action is achieved by rotat-
ing lever 4.
The recommended positions of pendulum ac-
tion switch are indicated on the name plate 2.
Switching the pendulum action stages can be
performed even while the machine is operat-
ing.
VERTICAL STROKE RATE ADjUST-
MENT
The vertical stroke rate can be adjusted
smoothly by rotating regulator 9 from position
“A” to position “G”. The recommended positions
for cutting different materials are as follows:
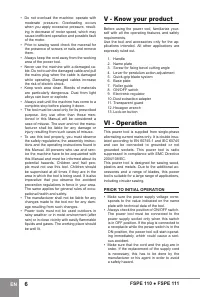
Material
Regulator position
1. Wood
F-G
2. Non-ferrous metals
D-E
3. Steel
C-D
4. Ceramics
B-C
5. Rubber
A-C
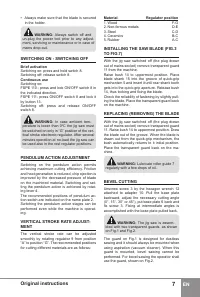
INSTALLING THE SAW BLADE (fIG.3
TO fIG.7)
With the jig saw switched off (the plug drawn
out of mains socket) remove transparent guard
11 from the machine.
Raise bush 14 to uppermost position. Place
blade shank 15 into the groove of quick-grip
mecha nism 5 and insert it until rear shank tooth
gets into the quick-grip aperture. Release bush
14, thus locking and fixing the blade.
Check the reliability of fastening by slightly pull-
ing the blade. Place the transparent guard back
on the machine.
REPLACING (REMOVING) THE BLADE
With the jig saw switched off (the plug drawn
out of mains socket) remove transparent guard
11. Raise bush 14 to uppermost position. Draw
the blade out of the groove. When the blade is
drawn out from the quick-grip mechanism, the
bush automatically returns to it initial position.
Place the transparent guard back on the ma-
chine.
WARNING:
Lubricate roller guide 7
regularly with a few drops of oil.
BEVEL CUTTING
Unscrew screw 3 by the hexagon wrench 12
atta ched to adapter 10. Pull the base plate
backward, adjust the necessary cutting angle
(0°, 15°, 30° or 45°), put base plate 6 back and
fix screw 3. Fixing at intermediate angles is
accom plished with the base plate pulled back.
WARNING:
The jig saw is assem-
bled with two transparent guards, as shown
on Fig.1 and Fig.2.
The guard on Fig.1 is designed for dustless
sawing and it should always be mounted when
using aspiration (vacuum cleaner). When this
guard is mounted, bevel sawing cannot be
performed. For bevel sawing the operator shall
use the guard, shown on Fig.2.
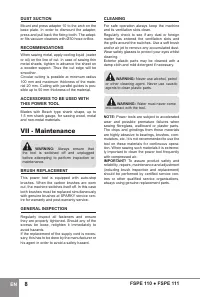
Содержание
- 32 Содержание; Не выбрасывать электроинструменты вместе с бытовыми отбросами!; ЗАЩИТА ОКРУЖАЮЩЕЙ СРЕДЫ; РАСПАКОВКА
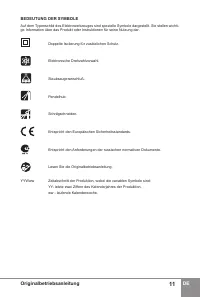
- 33 Оригинальная инструкция по эксплуатации; ОПИСАНИЕ СИМВОЛОВ
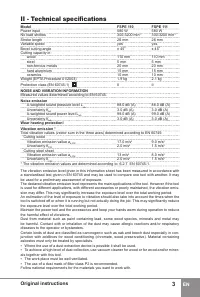
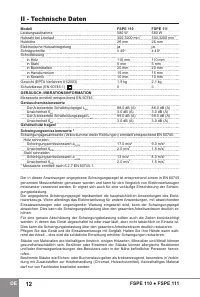
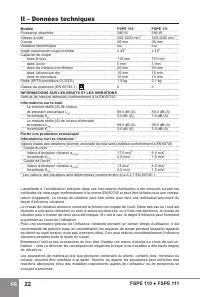
- 34 II - Технические данные; Модель; ИНФОРМАЦИЯ О ШУМЕ И ВИБРАЦИЯХ
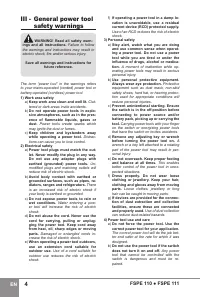
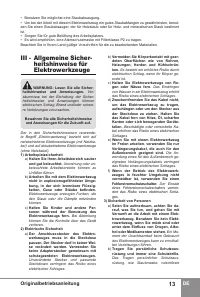
- 35 III - Общие указания
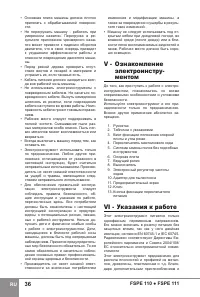
- 37 IV - Дополнительные
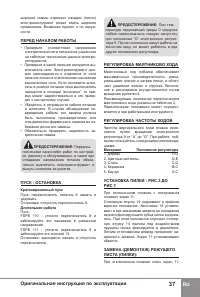
- 39 ПЕРЕД НАЧАЛОМ РАБОТЫ; Кратковременный пуск; РЕГУЛИРОВКА МАЯТНИКОВО ХОДА; Материал
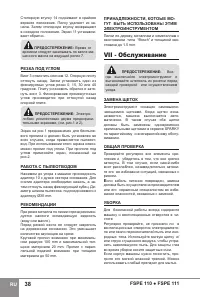
- 41 Замечания
Характеристики

Остались вопросы?Не нашли свой ответ в руководстве или возникли другие проблемы? Задайте свой вопрос в форме ниже с подробным описанием вашей ситуации, чтобы другие люди и специалисты смогли дать на него ответ. Если вы знаете как решить проблему другого человека, пожалуйста, подскажите ему :)


