
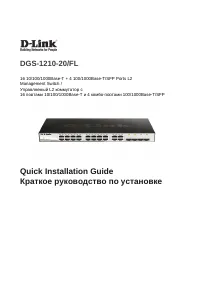
Коммутаторы D-Link DGS-1210-20/FL - инструкция пользователя по применению, эксплуатации и установке на русском языке. Мы надеемся, она поможет вам решить возникшие у вас вопросы при эксплуатации техники.
Если остались вопросы, задайте их в комментариях после инструкции.
"Загружаем инструкцию", означает, что нужно подождать пока файл загрузится и можно будет его читать онлайн. Некоторые инструкции очень большие и время их появления зависит от вашей скорости интернета.
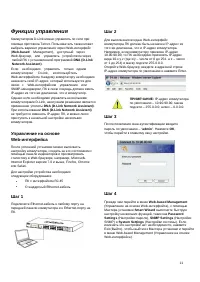
Management Options
The D-Link Switch can be managed in-band by using
Telnet. The user may also choose the
Web-based
Management, accessible through a web browser or
through any PC using the
DNA (D-Link Network
Assistant)
.
If you want to manage only one D-Link Switch, the
Web-Based Management is the better option. Each
switch must be assigned its own IP Address, which is
used for communication with Web-Based Management
or an SNMP network manager and the PC should have
an IP address in the same range as the switch.
However, if you want to manage multiple D-Link
Switches, the
DNA (D-Link Network Assistant)
is
the better option. Using the
DNA (D-Link Network
Assistant)
, you don’t need to change the IP address
of your PC and it is easy to start the initial setting of
multiple Switches.
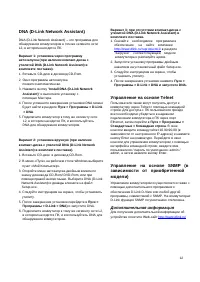
Web-based Management Interface
After a successful physical installation, you can configure
the switch, monitor the LED panel, and display statistics
graphically using a web browser, such as Microsoft
®
Internet Explorer version 7.0 and higher, Firefox, Chrome
or Safari.
You need the following equipment to begin the
web configuration of your device:
•
A PC with a RJ-45 Ethernet connection
•
Standard Ethernet cable
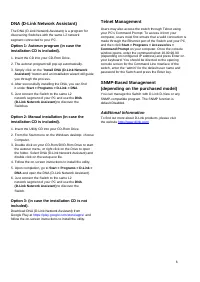
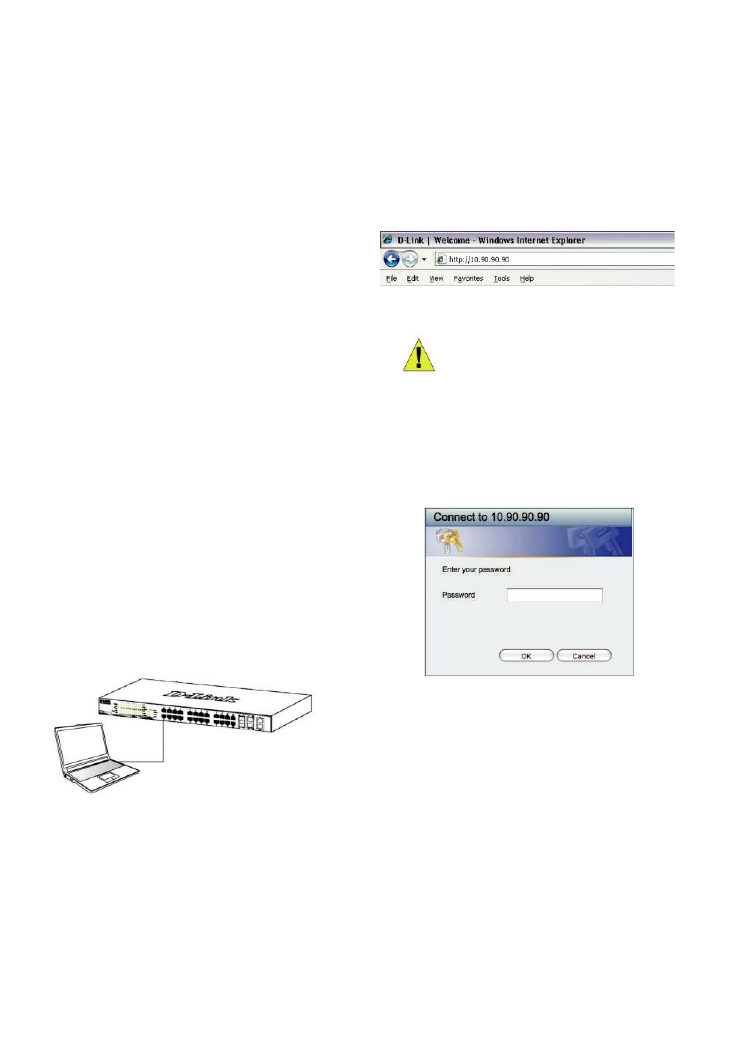
Step 1
Connect the Ethernet cable to any of the ports in front
panel of the switch and to the Ethernet port on the PC.
Step 2
In order to login and configure the switch via an Ethernet
connection, the PC must have an IP address in the same
range as the switch. For example, if the switch has an IP
address of 10.90.90.90, the PC should have an IP address
of 10.x.y.z (where x/y is a number between 0 ~ 254 and z is
a number between 1 ~254), and a subnet mask of
255.0.0.0.
Open your web browser and enter http://10.90.90.90 (the
factory-default IP address) in the address box. Then press
<Enter>.
NOTE:
The switch’s factory default IP
address is 10.90.90.90 with a subnet
mask of 255.0.0.0 and a default
gateway of 0.0.0.0
Step 3
When the following login box appears, enter “
admin
” for
the password. Press
OK
to enter the main configuration
window.
Step 4
Before entering the
Web-based Management
, the
Smart Wizard
will guide you to quickly configure some
functions, such as
Password Settings, SNMP
Settings
, and
System Settings
. If you don’t plan to
change anything, click Exit to exit the Wizard and enter
the Web-based Management.
5
Характеристики

Остались вопросы?Не нашли свой ответ в руководстве или возникли другие проблемы? Задайте свой вопрос в форме ниже с подробным описанием вашей ситуации, чтобы другие люди и специалисты смогли дать на него ответ. Если вы знаете как решить проблему другого человека, пожалуйста, подскажите ему :)


