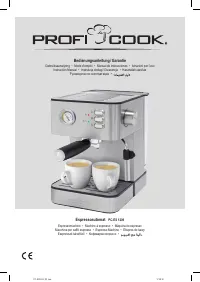
Кофеварка ProfiCook PC-ES 1209 - инструкция пользователя по применению, эксплуатации и установке на русском языке. Мы надеемся, она поможет вам решить возникшие у вас вопросы при эксплуатации техники.
Если остались вопросы, задайте их в комментариях после инструкции.
"Загружаем инструкцию", означает, что нужно подождать пока файл загрузится и можно будет его читать онлайн. Некоторые инструкции очень большие и время их появления зависит от вашей скорости интернета.


PC-ES1209_IM_new
17.08.20
59
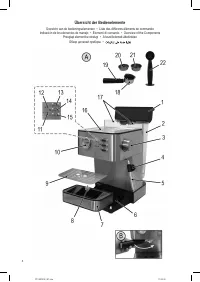
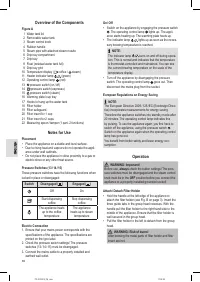
Inserting the Drip Tray / Drip Tray Grid
• Insert the container for the residual water, with the
float (8) inserted, into the compartment (6).
•
Place the drip tray grid onto the compartment as a cover.
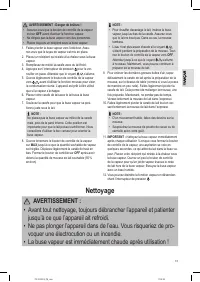
First Use / Bleeding
CAUTION:
Bleed the appliance before first use and after a longer
period of non-use. Do
not
use coffee grounds during this
process!
1.
Fill the water tank with clean, fresh water to the MAX
marking. Close the lid again.
2.
Set the filter holder.
3.
Switch the appliance on. The operating control lamp
lights up. The appliance starts heating up. The warming
plate heats up.
4. Set a suitable bowl (heat-resistant / approx. 500 ml)
under the brewing head.
5.
Make sure that the steam pressure switch is disen-
gaged.
6.
As soon as the control lamp
lights up, start the
pump with the pressure switch
. The water flow starts.
Let 2 to 3 cups run through. To empty the container
in the meantime, switch off the pump. Disengage the
pressure switch before doing so.
WARNING: Risk of burns!
The water inside the bowl is hot.
7. Swing the steam nozzle outwards. Make sure that the
steam tube is attached.
8. Empty the bowl and set it under the steam nozzle.
9.
Lock the steam pressure switch
into place. Wait until
the heating process for steam generation has ended.
To do this, please consult the scale on the temperature
display.
10.
WARNING: Risk of burns!
Hot steam escapes from the steam nozzle.
To generate steam, set the steam control knob to the
MAX
position. Turn off the pump after water is evenly
emitted from the steam nozzle. Set the rotary switch to
the
OFF
position (off).
WARNING: Risk of burns!
•
In case you want to move the steam nozzle after
the steaming process, always hold it by the black
rubber handle!
•
The water inside the bowl is hot.
11.
The appliance now is vented and ready for operation.
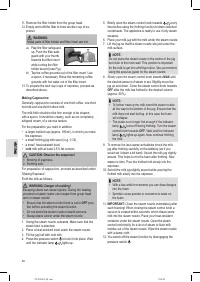
Making Espresso
CAUTION:
Do not brew an espresso when the appliance is still under
pressure (for example when milk has been frothed ear-
lier). With too much pressure in the appliance, espresso
leaks at the edge of the brewing head. That may lead to a
faster wearing of the rubber seal.
1.
Switch the appliance on. The operating control lamp
lights up. The appliance starts heating up. The warming
plate heats up.
NOTE:
•
Use the warming plate to pre-heat your cup(s).
•
If you want to pre-heat the cup(s) more rapidly,
rinse them with hot water.
2.
Fill the water tank with the desired amount of clean,
fresh water. The water level must be between the MIN
and MAX markings. Close the lid again.
3. If you frothed milk earlier, completely release the pres-
sure from the appliance:
3.1. Make sure that the pressure switch for the steam
is disengaged and the steam control knob is set to
OFF
.
3.2. Set a suitable vessel under the steam nozzle.
3.3. Set the steam control knob to the
MAX
position
until no more steam comes out.
3.4. Turn the steam control knob back to the
OFF
posi-
tion.
4. Select a filter insert (20 / 21). Place the insert in the filter
holder. Ensure that the filter safeguard is not upright.
5. Fill the filter insert with espresso grounds. Use the
measuring spoon provided (one measuring spoon
filling = 1 cup). Spread the espresso grounds evenly and
push down slightly with the tamper. Clean the edge of
the filter holder.
6.
Attach the filter holder to the group head. Ensure that
the filter holder is properly attached in the group head.
7.
The necessary brewing temperature is reached as soon
as the indicator lamp
lights up. Place your cup(s)
under the brewing head exactly on the two holes that
you can see in the draining rack.
8. Press the pressure switch
to lock it into place. The
hot water is forced through the filter.
NOTE:
This process does not end automatically!
9. Stop the brewing process by turning off the pump when
the desired amount of espresso is in your cup(s): Press
the pressure switch again to release it.
10.
Remove the cup(s).
NOTE:
Remove the filter holder every time after making es
-
presso. In this way you extend the lifetime of the group
head’s rubber seal.
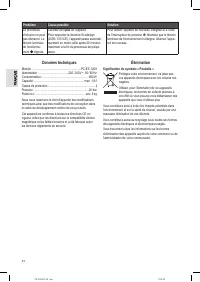
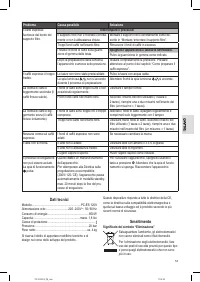
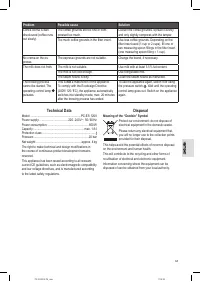
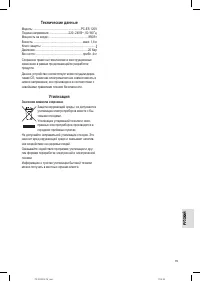
Характеристики

Остались вопросы?Не нашли свой ответ в руководстве или возникли другие проблемы? Задайте свой вопрос в форме ниже с подробным описанием вашей ситуации, чтобы другие люди и специалисты смогли дать на него ответ. Если вы знаете как решить проблему другого человека, пожалуйста, подскажите ему :)


