Кофемашина Siemens TK 911N2 - инструкция пользователя по применению, эксплуатации и установке на русском языке. Мы надеемся, она поможет вам решить возникшие у вас вопросы при эксплуатации техники.
Если остались вопросы, задайте их в комментариях после инструкции.
"Загружаем инструкцию", означает, что нужно подождать пока файл загрузится и можно будет его читать онлайн. Некоторые инструкции очень большие и время их появления зависит от вашей скорости интернета.


18
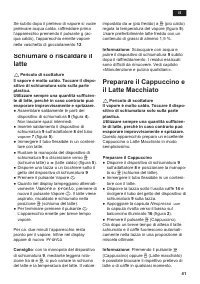
● Dip the tube into a vessel containing milk.
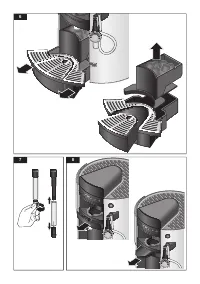
● Remove the small drip tray
11
(up to
around 14 cm in height).
● Place a large glass under the coffee
dispenser
14
and direct the nozzle of the
frothing attachment
9
into the glass.
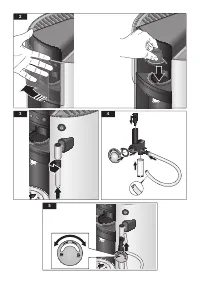
● Place the
Nespresso
-capsule on the
lit balcony
16
, with the membrane
downwards (Fig.
2
).
● Press the button
d
(latte macchiato).
An optimum mix of frothed milk and coffee
will now automatically fl ow into the cup.
Info
: You can halt the dispensing of milk or
coffee respectively at any time by pressing
the button
c
(Cappuccino) or
d
(latte
macchiato).
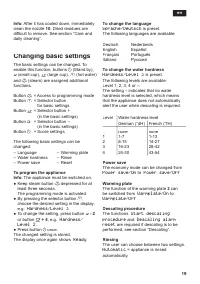
Permanently changing the quantity of
liquid
The preset quantity of milk and coffee for
the preparation of cappuccino and latte
macchiato can be changed.
● Prepare the appliance with milk and
coffee.
● Keep the button
c
(cappuccino) or
d
(latte macchiato) depressed until the
desired quantity of milk has been fed
through. During this time
Macchiato
or
Cappuccino
fl ashes in the display.
Release the button
c
(Cappuccino) or
d
(Latte macchiato), and the appliance will
steam briefl y.
● Now keep the button
c
(Cappuccino)
or
d
(Latte macchiato) pressed until the
desired quantity of coffee has been fed
through. During this time
Macchiato
or
Cappuccino
fl ashes in the display.
As soon as the process is completed, the
display indicates
Ready
.
Info
: If the quantity of coffee is to remain
unchanged, the procedure can also be
ended after changing the quantity of milk.
● Press button
a
(Stand by).
Ready
appears in the display.
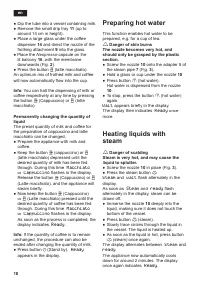
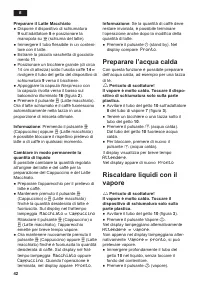
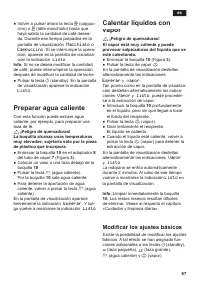
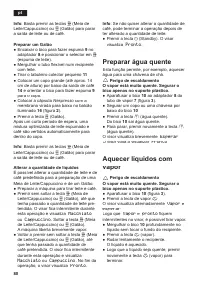
Preparing hot water
This function enables hot water to be
prepared, e.g. for a cup of tea.
Danger of skin burns
The nozzle becomes very hot, and
should only be grasped by the plastic
section.
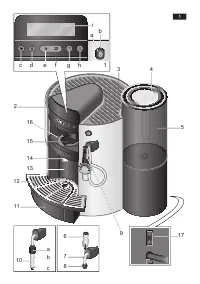
● Screw the nozzle
10
onto the adapter 8 of
the steam pipe
7
(Fig.
3
).
● Hold a glass or cup under the nozzle
10
.
● Press button
g
(hot water).
Hot water is dispensed from the nozzle
10
.
● To stop, press the button
g
(hot water)
again.
Wait
appears briefl y in the display.
The display then indicates
Ready
once
more.
Heating liquids with
steam
Danger of scalding
Steam is very hot, and may cause the
liquid to splutter.
● Screw the nozzle
10
in place (Fig.
3
).
● Press the steam button
h
.
Steam
and
wait
fl ash alternately in the
display.
As soon as
Steam
and
ready
fl ash
alternately in the display, steam can be
drawn off.
● Immerse the nozzle
10
deeply into the
liquid, making sure it does not touch the
bottom of the vessel.
● Press button
h
(steam).
● Slowly trace circles through the liquid in
the vessel. The liquid is heated up.
● As soon as the liquid is hot, press button
h
(steam) once again.
The display alternates between
Steam
and
ready
.
The appliance now automatically cools
down for around 2 minutes. The display
once again indicates
Ready
.
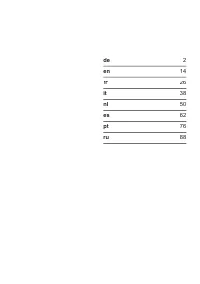
en
Характеристики

Остались вопросы?Не нашли свой ответ в руководстве или возникли другие проблемы? Задайте свой вопрос в форме ниже с подробным описанием вашей ситуации, чтобы другие люди и специалисты смогли дать на него ответ. Если вы знаете как решить проблему другого человека, пожалуйста, подскажите ему :)


