
Газонокосилки STIHL RM- 4.0 RT 63830113411 - инструкция пользователя по применению, эксплуатации и установке на русском языке. Мы надеемся, она поможет вам решить возникшие у вас вопросы при эксплуатации техники.
Если остались вопросы, задайте их в комментариях после инструкции.
"Загружаем инструкцию", означает, что нужно подождать пока файл загрузится и можно будет его читать онлайн. Некоторые инструкции очень большие и время их появления зависит от вашей скорости интернета.
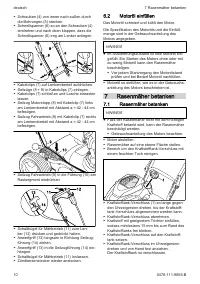


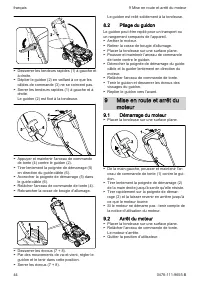


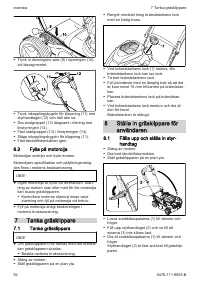

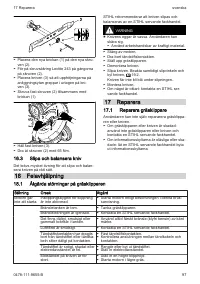


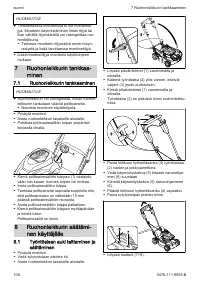
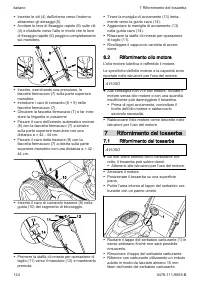

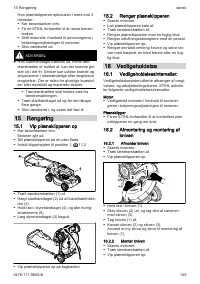


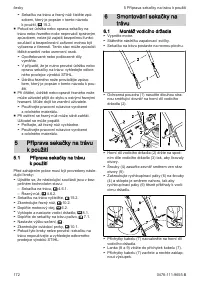
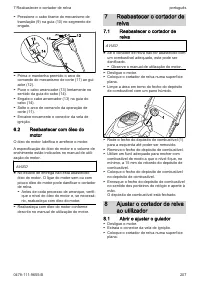

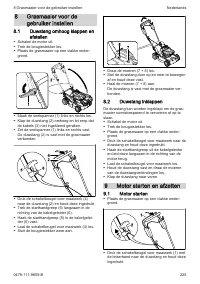
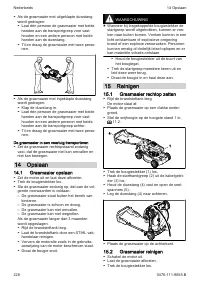


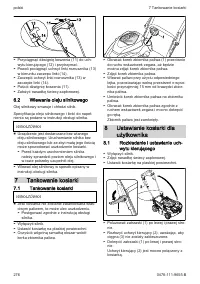


► Detach the starter handle from the starter rope
guide and slowly guide back towards the
engine.
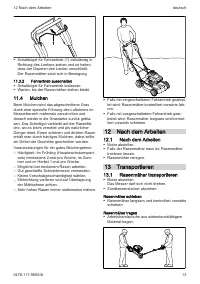
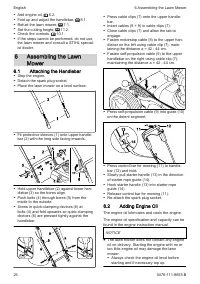
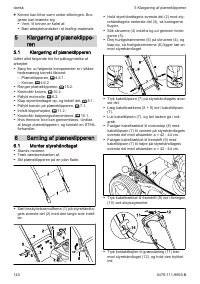
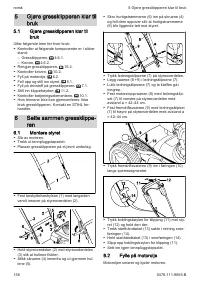
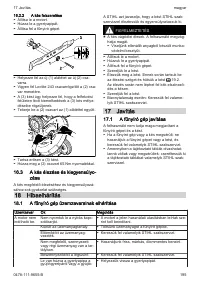
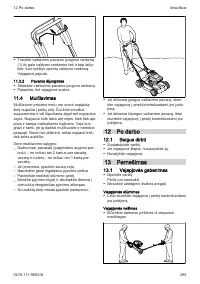
► Release the control bar for mowing.
► Hold the handlebar and loosen the nuts of the
handlebar screw fastenings.
► Fold down the handlebar forwards.
9
Starting and Stopping the
Engine
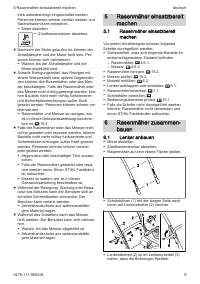
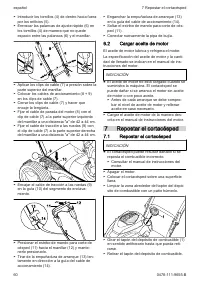
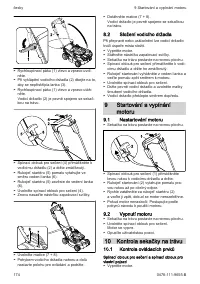
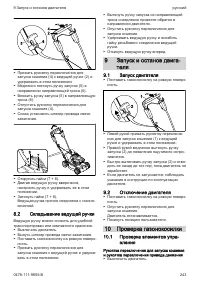
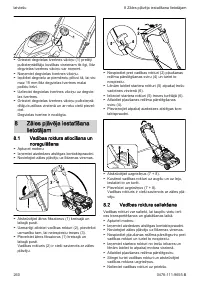
9.1
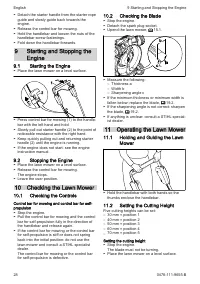
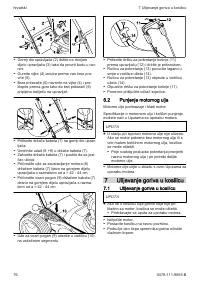
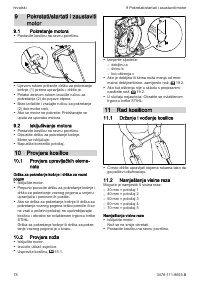
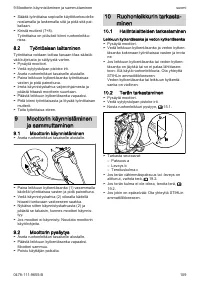
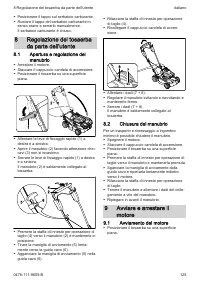
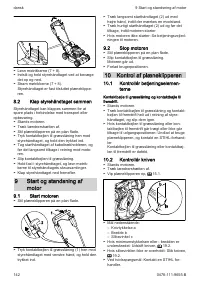
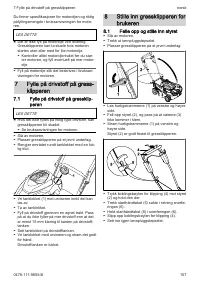
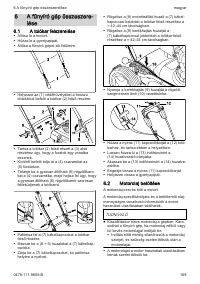
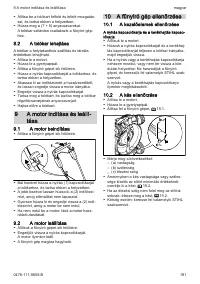
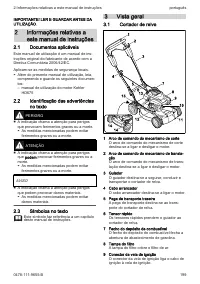
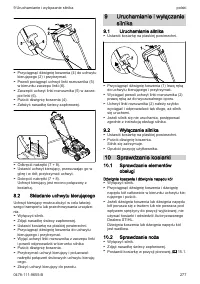
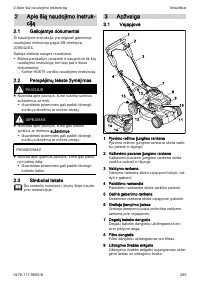
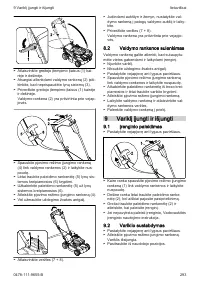
Starting the Engine
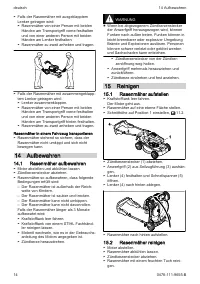
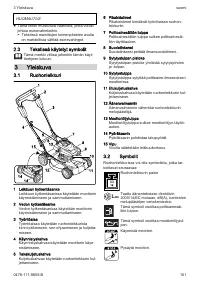
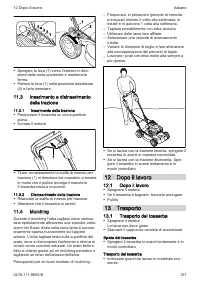
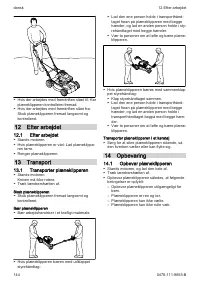
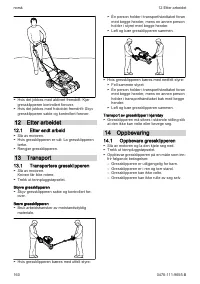
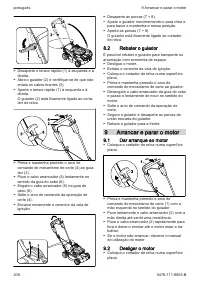
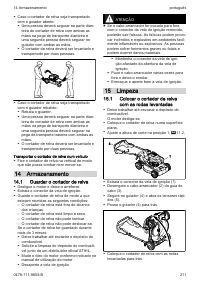
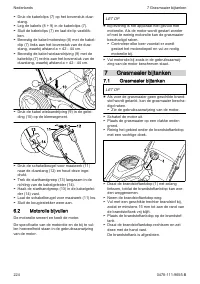
► Place the lawn mower on a level surface.
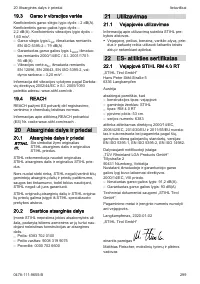
► Press control bar for mowing (1) to the handle‐
bar with the left hand and hold.
► Slowly pull out starter handle (2) to the point of
noticeable resistance with the right hand.
► Keep quickly pulling out and returning starter
handle (2) until the engine is running.
► If the engine does not start: see the engine
instruction manual.
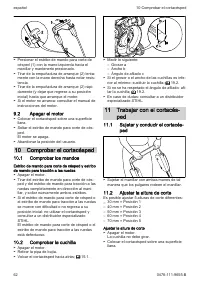
9.2
Stopping the Engine
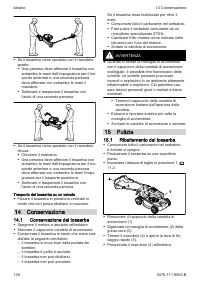
► Place the lawn mower on a level surface.
► Release the control bar for mowing.
The engine stops.
► Leave the user position.
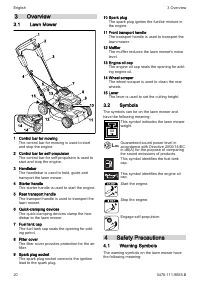
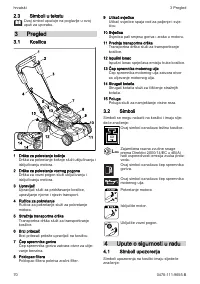
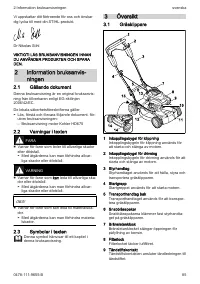
10 Checking the Lawn Mower
10.1
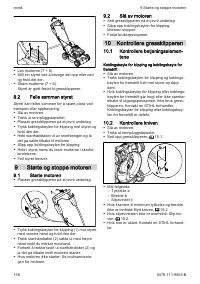
Checking the Controls
Control bar for mowing and control bar for self-
propulsion
► Stop the engine.
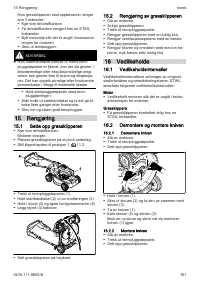
► Pull the control bar for mowing and the control
bar for self-propulsion fully in the direction of
the handlebar and release again.
► If the control bar for mowing or the control bar
for self-propulsion is stiff or does not spring
back into the initial position: do not use the
lawn mower and consult a STIHL specialist
dealer.
The control bar for mowing or the control bar
for self-propulsion is defective.
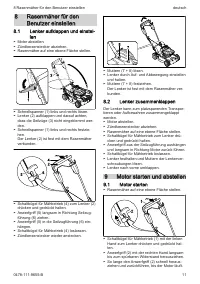
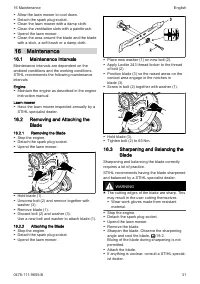
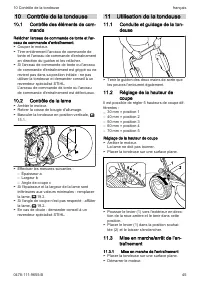
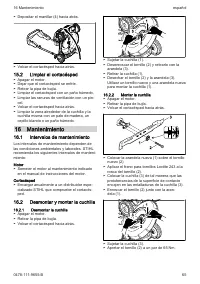
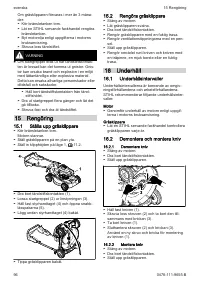
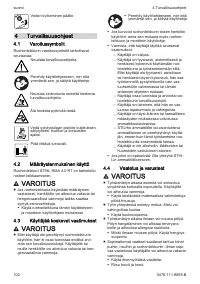
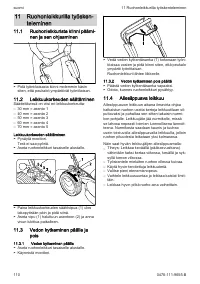
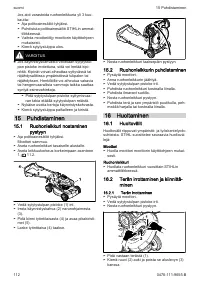
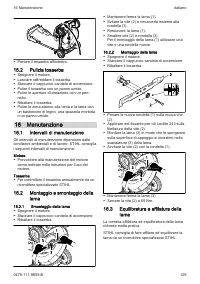
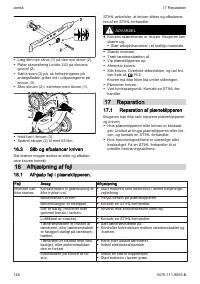
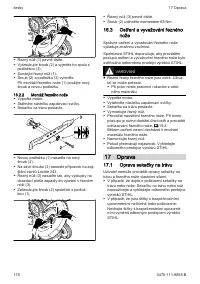
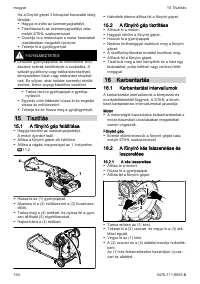
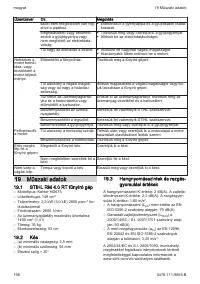
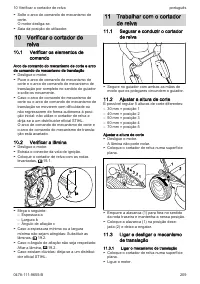
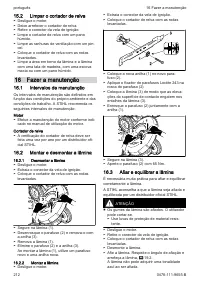
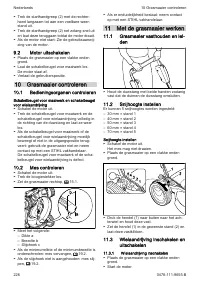
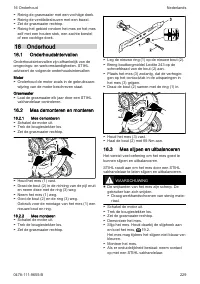
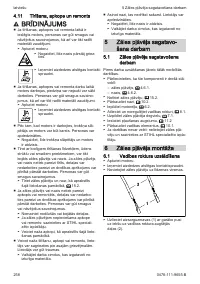
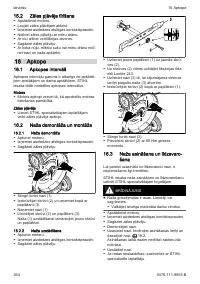
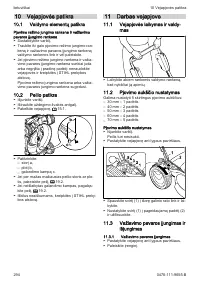
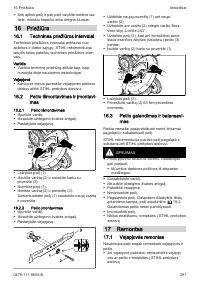
10.2
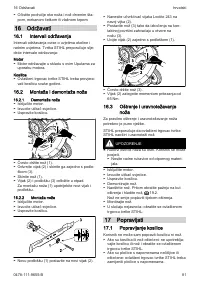
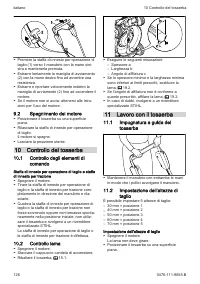
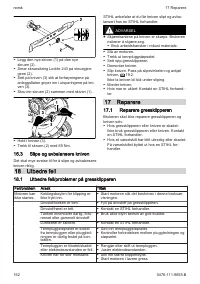
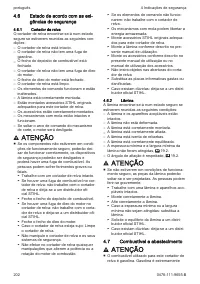
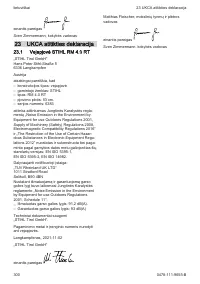
Checking the Blade
► Stop the engine.
► Detach the spark plug socket.
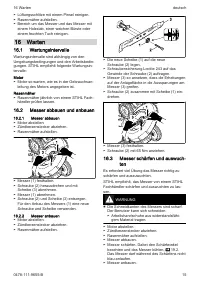
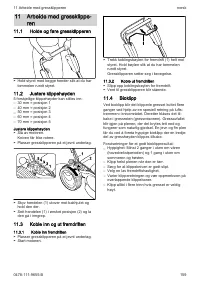
► Measure the following:
–
Thickness a
–
Width b
–
Sharpening angle c
► If the minimum thickness or minimum width is
fallen below: replace the blade, 19.2.
► If the sharpening angle is not correct: sharpen
► If anything is unclear: consult a STIHL special‐
ist dealer.
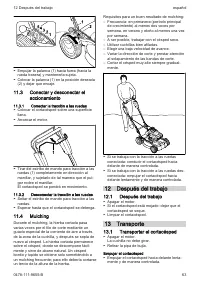
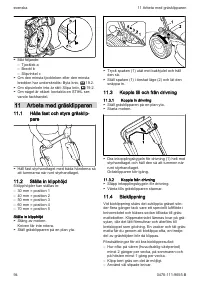
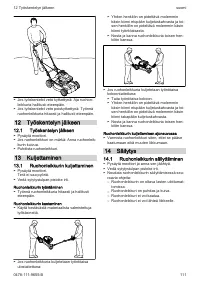
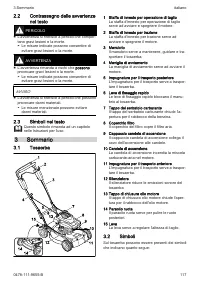
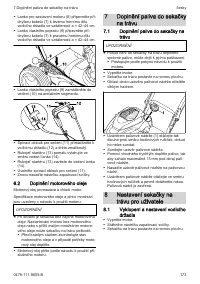
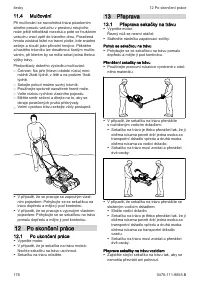
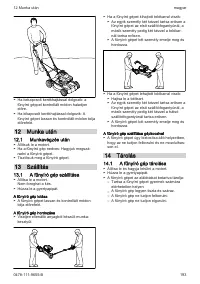
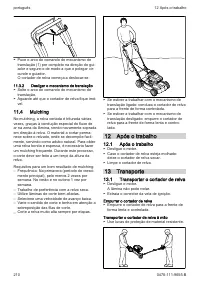
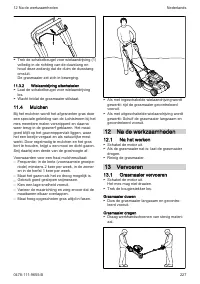
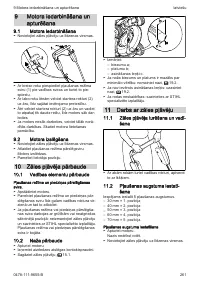
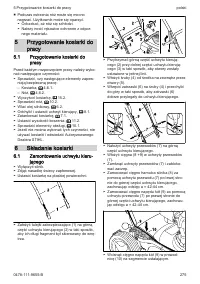
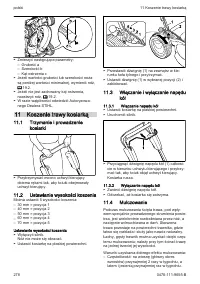
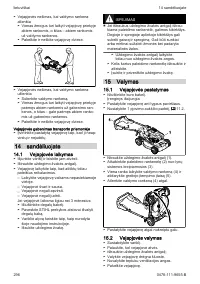
11 Operating the Lawn Mower
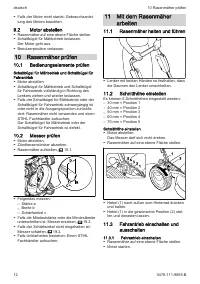
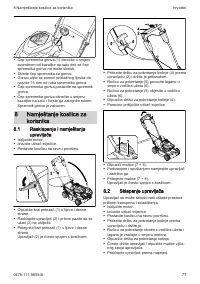
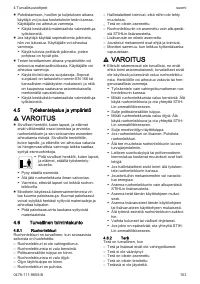
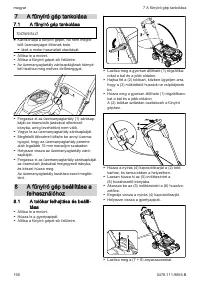
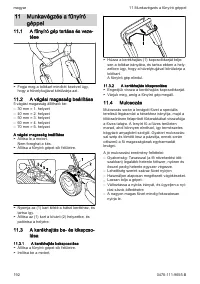
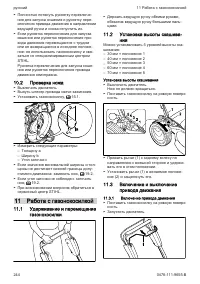
11.1
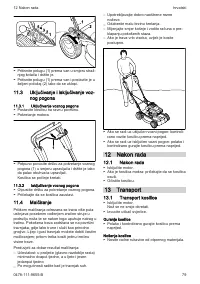
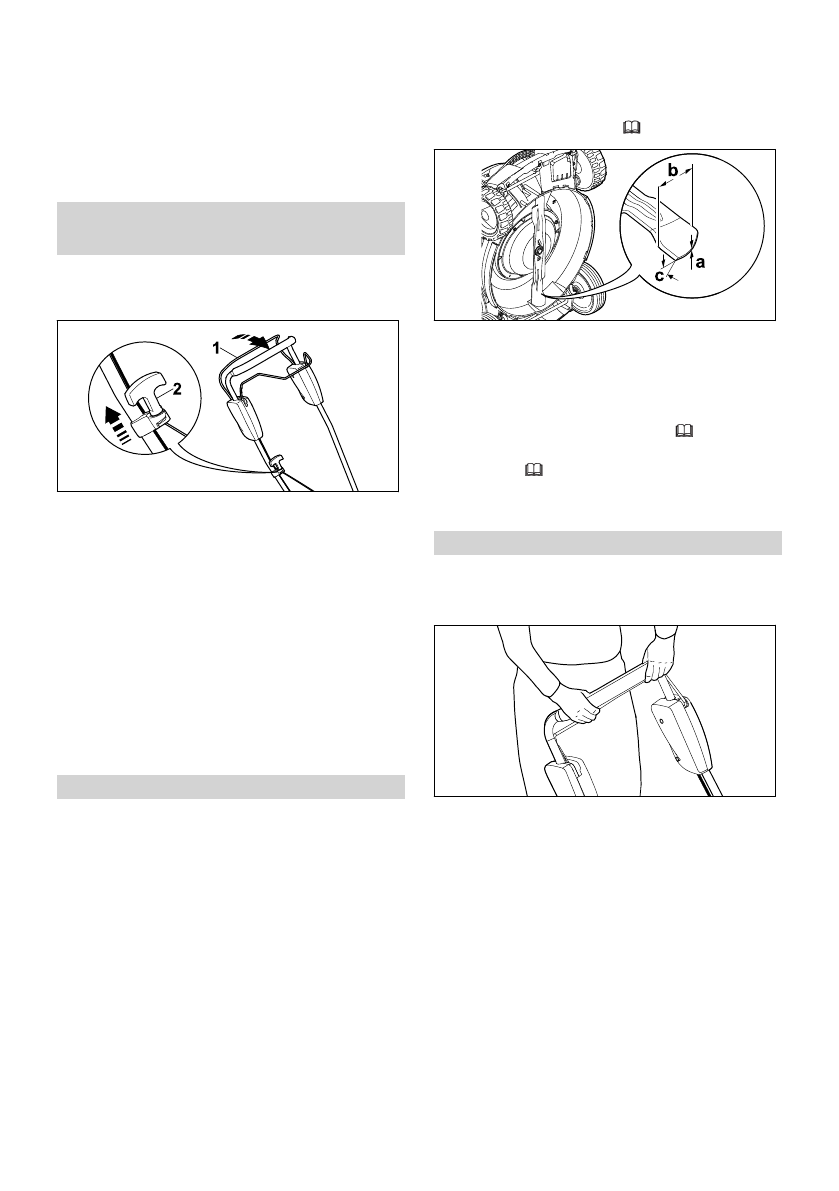
Holding and Guiding the Lawn
Mower
► Hold the handlebar with both hands so the
thumbs enclose the handlebar.
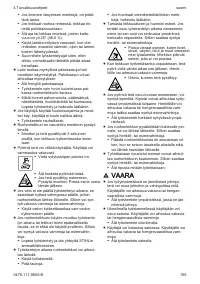
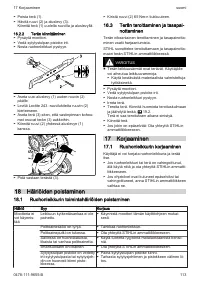
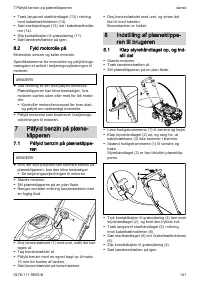
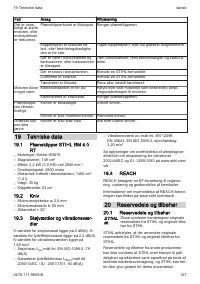
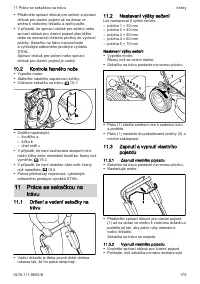
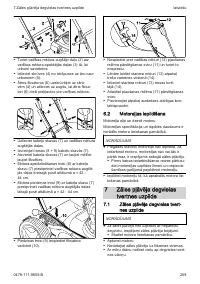
11.2
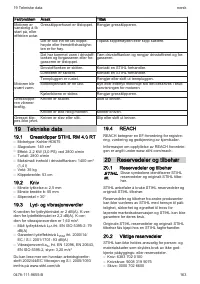
Setting the Cutting Height
Five cutting heights can be set:
–
30 mm = position 1
–
40 mm = position 2
–
50 mm = position 3
–
60 mm = position 4
–
70 mm = position 5
Setting the cutting height
► Stop the engine.
The blade must not be turning.
► Place the lawn mower on a level surface.
English
9 Starting and Stopping the Engine
28
0478-111-9655-B
Содержание
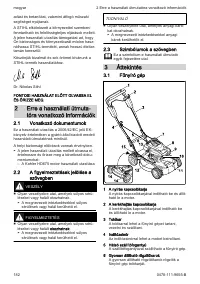
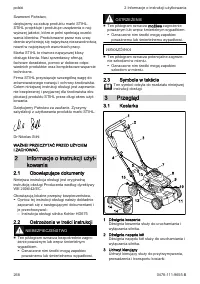
- 233 Применяемые документы; Символы в тексте
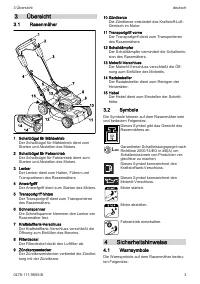
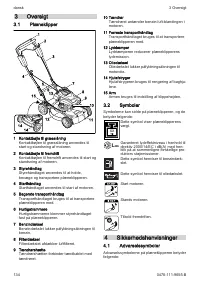
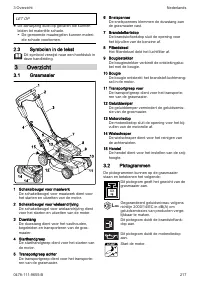
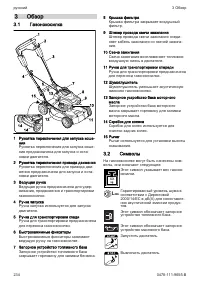
- 234 Обзор; Газонокосилка
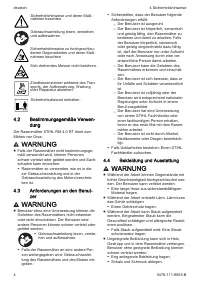
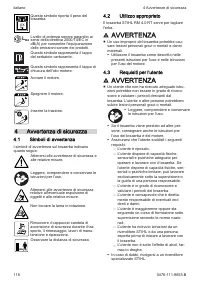
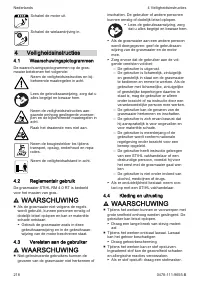
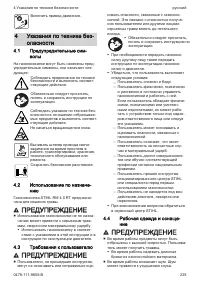
- 235 ПРЕДУПРЕЖДЕНИЕ
- 236 Безопасное состояние
- 237 Топливо и заправка
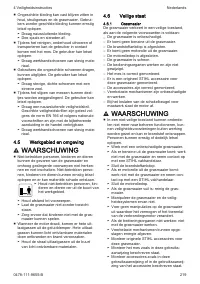
- 238 Работа с устройством
- 239 Транспортировка
- 240 Хранение; Очистка, техническое обслу‐
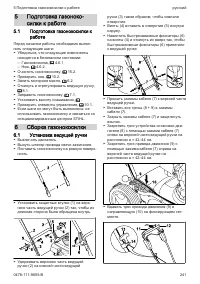
- 241 Подготовка газонокосилки к; Сборка газонокосилки; Установка ведущей ручки
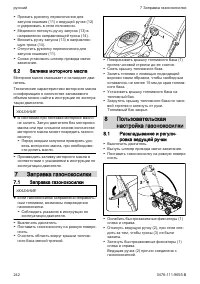
- 242 Заливка моторного масла; Заправка газонокосилки; Пользовательская; Раскладывание и регули‐
- 243 Складывание ведущей ручки; Запуск и останов двига‐; Запуск двигателя; 0 Проверка газонокосилки; Проверка элементов упра‐
- 244 1 Работа с газонокосилкой
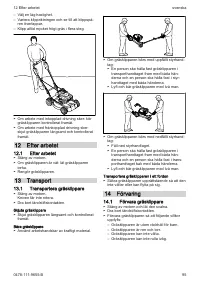
- 245 Мульчирование; 2 После работы; После работы; 3 Транспортировка; Транспортировка газоноко‐
- 246 Хранение газонокосилки; Установка газонокосилки
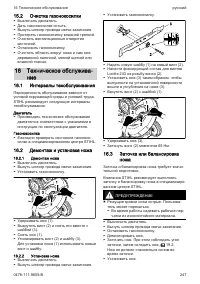
- 247 Очистка газонокосилки; 6 Техническое обслужива‐; Интервалы техобслуживания
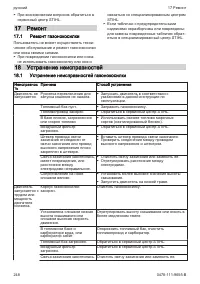
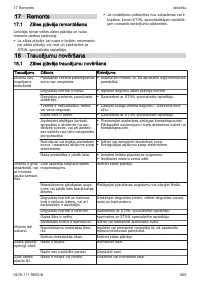
- 248 Ремонт газонокосилки; 8 Устранение неисправностей; Устранение неисправностей газонокосилки
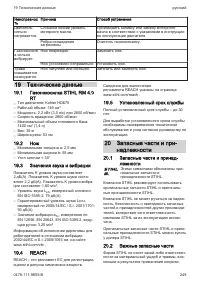
- 249 9 Технические данные; 0 Запасные части и при‐
- 250 Утилизация газонокосилки; 2 Сертификат соответ‐; Газонокосилка STIHL RM 4.0


