
Газонокосилки STIGA Collector 43 2L0431048/ST1 - инструкция пользователя по применению, эксплуатации и установке на русском языке. Мы надеемся, она поможет вам решить возникшие у вас вопросы при эксплуатации техники.
Если остались вопросы, задайте их в комментариях после инструкции.
"Загружаем инструкцию", означает, что нужно подождать пока файл загрузится и можно будет его читать онлайн. Некоторые инструкции очень большие и время их появления зависит от вашей скорости интернета.


EN - 6
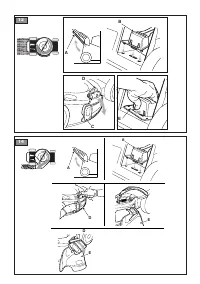
Machines with vertical storage possibility (chap.
8.1) have a tank that contains a fuel level indicator. Do
not fill the tank above this level indicator (Fig.24.A).
IMPORTANT
Clean any trace of leaked fuel. The warran
-
ty does not cover damages caused by the fuel to the plastic
parts.
NOTE
Fuel is perishable and should not remain in the
tank for more than 30 days.
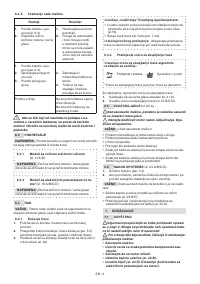
7.2.2
Check/top-up engine oil
Check/top-up the engine oil according to the methods and
cautionary measures indicated in the owner's manual of
the engine.
For a correct operation of the machine, regularly replace
the engine oil, according to the indications in the owner's
manual of the engine.
Make sure to have restored the oil level before using the
machine again.
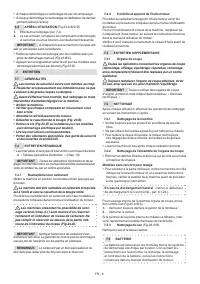
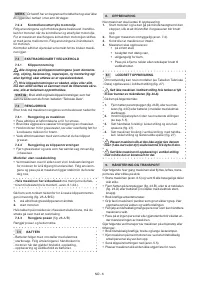
7.3 OCCASIONAL MAINTENANCE
7.3.1 Cutting means
All operations concerning cutting means (disas-
sembly, sharpening, balancing, repair, reassembly and
/ or replacement) must be performed at an Authorised
Service Centre.
Make sure damaged, misshapen or worn cutting
means are replaced, together with the securing screws
to preserve balance.
IMPORTANT
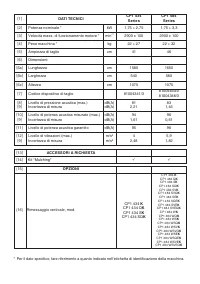
Always use original cutting means bearing the
code indicated in the “Technical Data” table.
7.4 CLEANING
Clean thoroughly following the instructions below every
time it is used.
7.4.1 Cleaning the machine
•
Always make sure the air intakes are free of debris.
•
Do not use aggressive liquids to clean the chassis.
•
To reduce the risk of fire, keep the engine free of grass,
leaves residues or excessive grease.
•
Wash the machine with water after each cutting work.
7.4.2
Cleaning the cutting means assembly
•
Remove grass debris and mud accumulated inside the
chassis.
Models without washing connection
•
To access the lower part, tilt the machine from the side
indicated in the engine's manual, following the relative in
-
structions, making sure that the machine is stable before
carrying out any intervention.
For side discharge:
remove the discharge chute (if
mounted - par. 6.1.2d.).
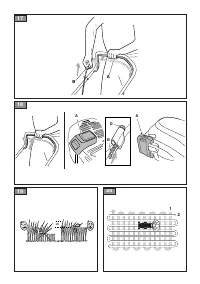
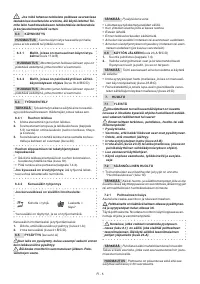
To wash the internal part of the cutting means assembly,
proceed as follows (Fig.25.A/B/C):
1.
always stay behind the handle of the lawn mower;
2.
start the engine.
If the painting of the internal side of the chassis comes
off, take immediate action, by retouching the painting with
anti-rust paint.
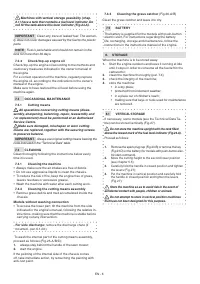
7.4.3 Cleaning the grass catcher
(
Fig.26.A/B)
Clean the grass catcher and leave it to dry.
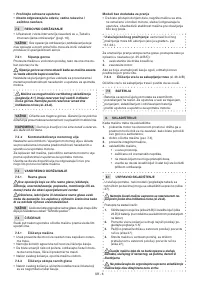
7.5 BATTERY
The battery is supplied for the models with push-button
electric start. For instructions regarding the battery
life, recharging, storage and maintenance, follow the
instructions in the instructions manual of the engine.
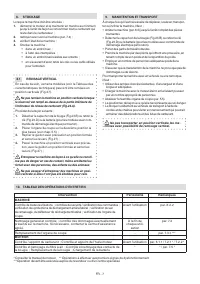
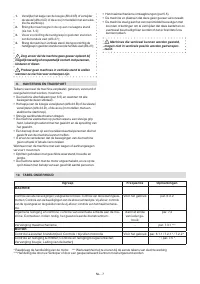
8. STORAGE
When the machine is to be stored away:
1.
Start the engine outdoors and leave it running at idle
until it stops in order to consume all the fuel left in the
carburettor;
2.
clean the machine thoroughly (par. 7.4);
3.
check the integrity of the machine;
4.
store the machine:
•
in a dry place;
•
protected from inclement weather;
•
in a place out of children's reach;
•
making sure that keys or tools used for maintenance
are removed.
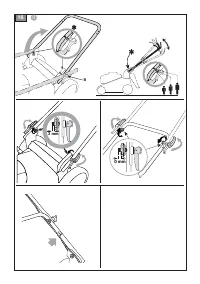
8.1 VERTICAL STORAGE
If necessary, some models (see the Technical Data Ta
-
ble) can be stored vertically (Fig.27).
Do not store the machine upright with the tank filled
above the lowest mark of the fuel level indicator (Fig.24.A).
Proceed as follows:
1.
Remove the spark plug cap (Fig.23.B) or remove the key
(Fig.23.D) or the battery (for models with push-button elec
-
tric start command).
2.
Move the cutting height to the second lower position
(see chapter 5.5);
3.
Carefully fold the handle in closed position and tighten
the levers (Fig.27);
4.
Put the machine in vertical position and carefully fold
the handle in closed position and tighten the levers
(Fig.27);
Store the machine so as to avoid risk in the event of
accidental contact with people, children or animals.
Do not attempt to store in vertical position machines
that have not been designed for this purpose.


