
Газонокосилки STIGA Collector 43 2L0431048/ST1 - инструкция пользователя по применению, эксплуатации и установке на русском языке. Мы надеемся, она поможет вам решить возникшие у вас вопросы при эксплуатации техники.
Если остались вопросы, задайте их в комментариях после инструкции.
"Загружаем инструкцию", означает, что нужно подождать пока файл загрузится и можно будет его читать онлайн. Некоторые инструкции очень большие и время их появления зависит от вашей скорости интернета.


EN - 5
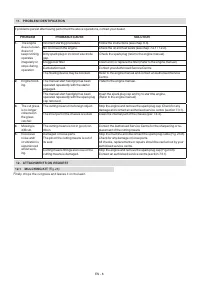
1.
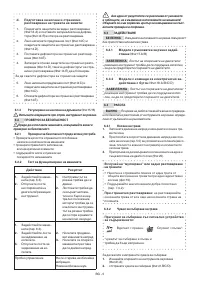
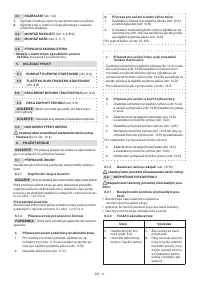
Start the machine
(par. 6.3).
2.
Operate the drive
lever.
3.
Disengage the drive
lever.
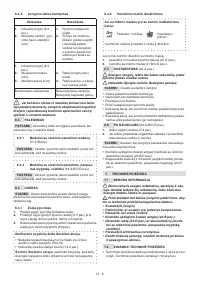
2.
The wheels should
move the machine
forward.
3.
The wheels should
stop and the machine
stops moving forward.
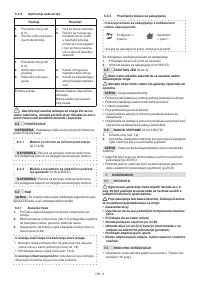
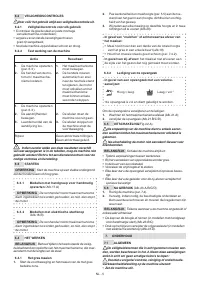
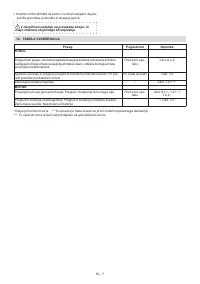
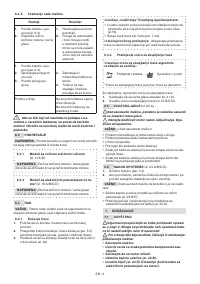
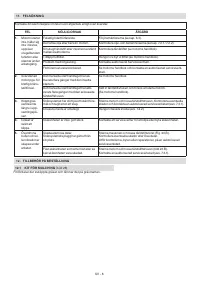
Test driving
No abnormal vibrations.
No abnormal sound.
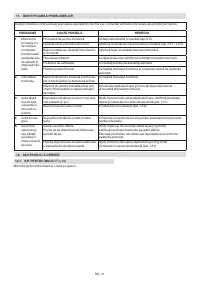
If any of the results fail to match the indications
provided in the tables, do not use the machine! Contact
an Authorised Service Centre to have it checked and
repaired if necessary.
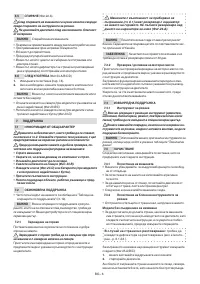
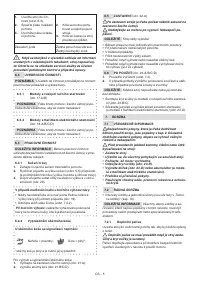
6.3
START-UP
NOTE
Start up the machine on a flat surface without ob
-
stacles or high grass.
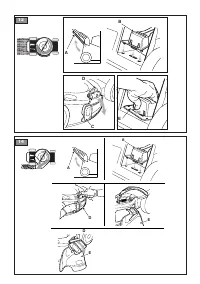
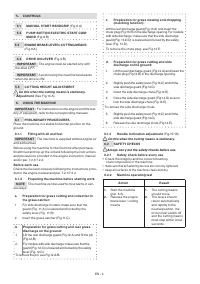
6.3.1 Models with manual start handgrip
(Fig.17.A/B)
NOTE
The engine brake lever / cutting means must be
kept pulled to prevent the engine stop.
6.3.2 Models with push-button electric start
command
(Fig.18.A/B/C/D)
NOTE
The engine brake / cutting means lever must be
kept pulled to prevent the engine stop.
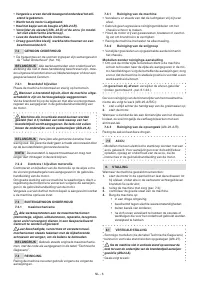
6.4 OPERATION
IMPORTANT
When working, always keep a safe dis
-
tance from the cutting means, given by the length of the
handle.
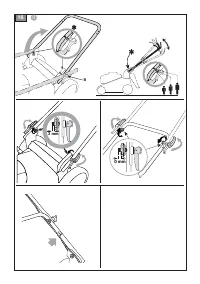
6.4.1 Grass cutting
1.
Start moving forward and mowing the grass area.
2.
Adjust the speed and cutting height (par. 5.5) in relation
to lawn conditions (grass height, density and humidity)
and the amount of grass to be cut.
3.
It is recommended to always cut at the same height
and in the two directions (Fig.20).
For mulching or rear grass discharge:
•
Never cut more than one third of the total grass height
per single pass (Fig.19).
•
Keep the chassis clean (par. 7.4.2).
For side discharge:
avoid discharging the cut grass
from the side of the lawn yet to be mown.
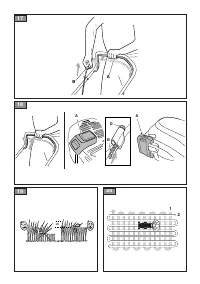
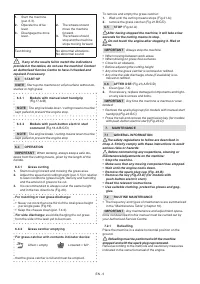
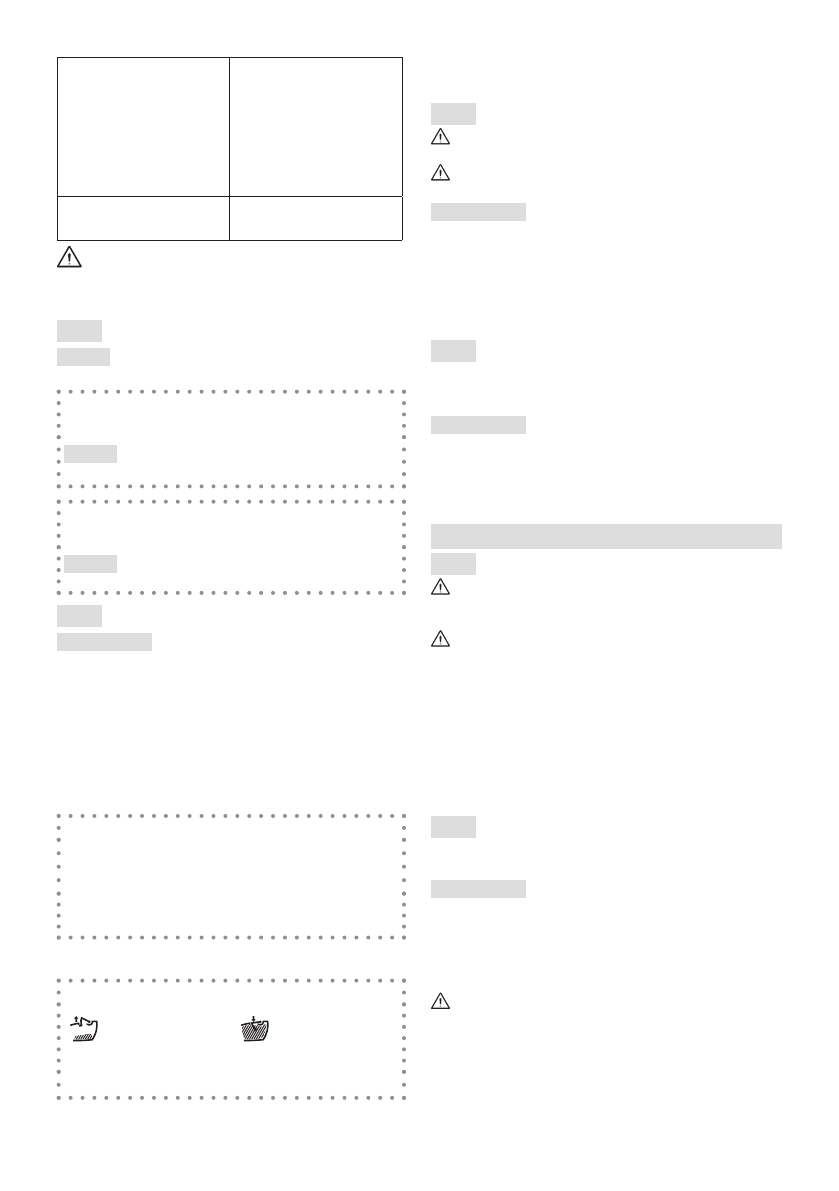
6.4.2
Grass catcher emptying
For grass catcher with contents indicator device:
Lifted = empty.
Lowered = full*.
that the grass catcher is full and must be emptied.
To remove and empty the grass catcher:
1.
Wait until the cutting means stops (Fig.21.A);
2.
remove the grass catcher (Fig.21.B/C/D).
6.5 STOP
(Fig.22.A)
After having stopped the machine, it will take a few
seconds for the cutting means to stop.
Do not touch the engine after stopping it. Risk of
burns.
IMPORTANT
Always stop the machine.
• When moving between work areas.
• When driving on grass free surfaces.
• Close to an obstacle.
• Before adjusting the cutting height.
•
Any time the grass catcher is removed or refitted.
•
Any time the side discharge chute (if available) is re
-
moved or refitted.
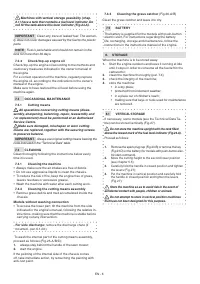
6.6 AFTER USE
(Fig.23.A/B/C/D)
1.
Clean (par. 7.4).
2.
If necessary, replace damaged components and tight
-
en any slack screws and bolts.
IMPORTANT
Any time the machine is inactive or unat
-
tended:
• Remove the spark plug cap (for models with manual start
handgrip)(Fig.23.B/C).
•
Press the tab and remove the permission key (for models
with push-button electric start) (Fig.23.D).
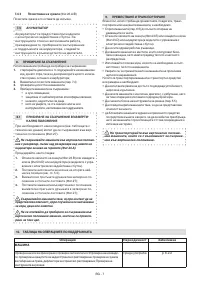
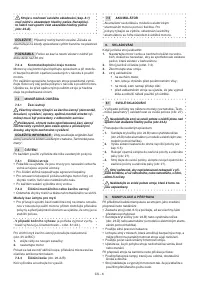
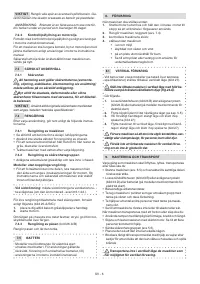
7. MAINTENANCE
7.1 GENERAL INFORMATION
The safety regulations to follow are described in
chap. 2. Strictly comply with these instructions to avoid
serious risks or hazards:
Before commencing any inspections, cleaning or
maintenance/adjustments on the machine:
• Stop the machine.
• Make sure that any moving component has stopped.
• Wait until the engine cools down.
• Remove the spark plug cap (Fig. 23.B).
• Remove the key (Fig.23.D) (for models with
push-button electric start).
• Read the relevant instructions.
• Use suitable clothing, protective gloves and gog-
gles.
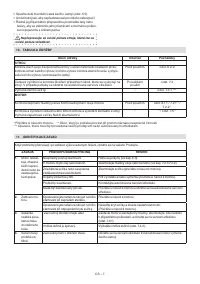
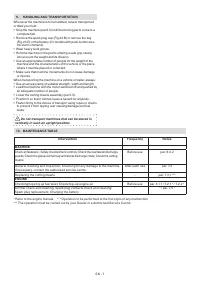
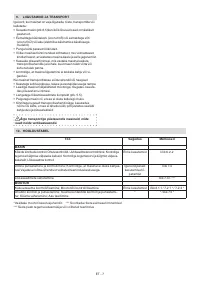
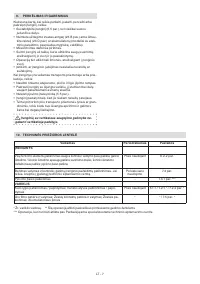
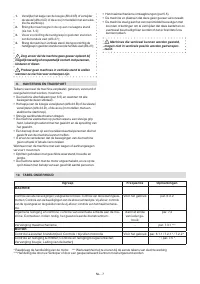
7.2 ROUTINE MAINTENANCE
•
The frequency and types of maintenance are summarised
in the "Maintenance Table" (chapter 10).
IMPORTANT
Any maintenance and adjustment opera
-
tions not described in this manual must be carried out by
your Authorised Service Centre.
7.2.1
Refuelling
Place the machine in a stable horizontal position on the
ground.
Refuelling must be performed with the machine
stopped and with the spark plug cap removed.
Refuel according to the methods and cautionary measures
indicated in the owner's manual of the engine.


