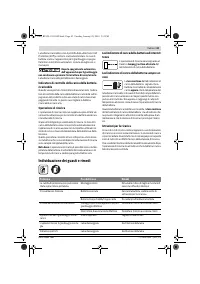
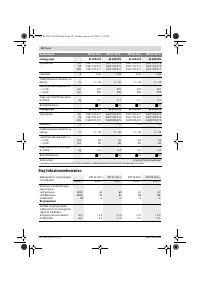
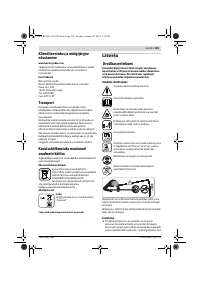
Газонокосилки Bosch ART 26 18 LI - инструкция пользователя по применению, эксплуатации и установке на русском языке. Мы надеемся, она поможет вам решить возникшие у вас вопросы при эксплуатации техники.
Если остались вопросы, задайте их в комментариях после инструкции.
"Загружаем инструкцию", означает, что нужно подождать пока файл загрузится и можно будет его читать онлайн. Некоторые инструкции очень большие и время их появления зависит от вашей скорости интернета.


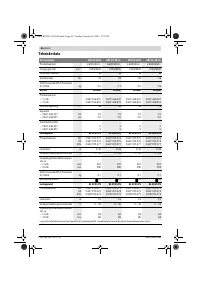
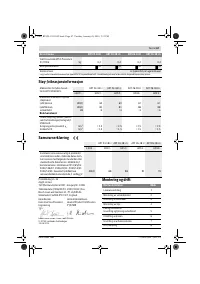

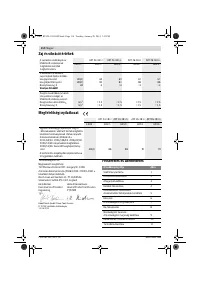

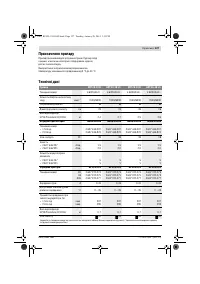
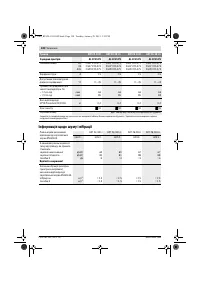


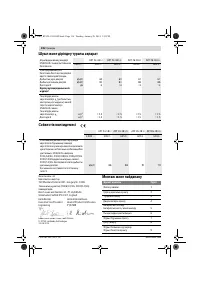


14
| English
F 016 L81 061 | (28.1.14)
Bosch Power Tools
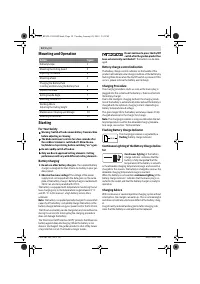
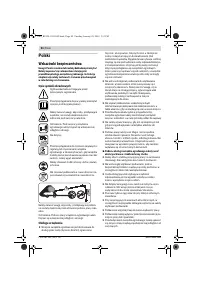
Mounting and Operation
Starting
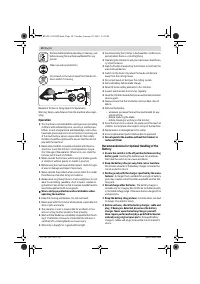
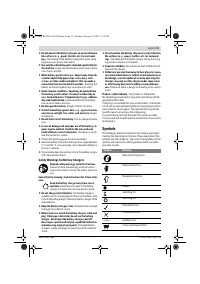
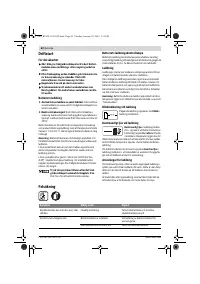
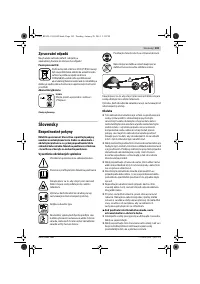
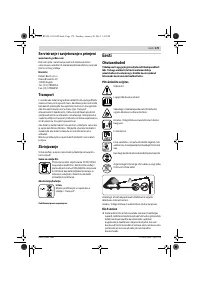
For Your Safety
Warning: Switch off and remove battery from machine
before adjusting or cleaning.
The blade continues to rotate for a few seconds after
the cordless trimmer is switched off. Allow the mo-
tor/blade to stop rotating before switching “on” again.
Do not rapidly switch off and on.
Only use Bosch approved cutting elements. Cutting
performance will vary with different cutting elements.
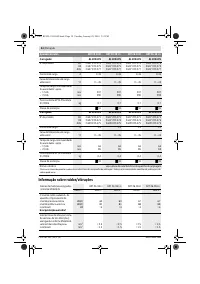
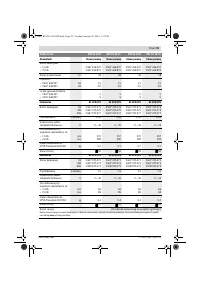
Battery Charging
Do not use other battery chargers.
The supplied battery
charger is designed for the Lithium-Ion battery in your gar-
den product.
Observe the mains voltage!
The voltage of the power
supply must correspond with the data given on the name-
plate of the battery charger. Battery chargers marked with
230 V can also be operated with 220 V.
The battery is equipped with temperature monitoring that al-
lows charging only in the temperature range between 0 ° C
and 45 ° C. In this manner, a high battery service life is
achieved.
Note:
The battery is supplied partially charged. To ensure full
capacity of the battery, completely charge the battery in the
battery charger before using your power tool for the first time.
The lithium-ion battery can be charged at any time without re-
ducing its service life. Interrupting the charging procedure
does not damage the battery.
The “Electronic Cell Protection (ECP)” protects the lithium ion
battery against deep discharging. When the battery is run
down or discharged, the garden product is shut off by means
of a protective circuit: The blade no longer moves.
Do not continue to press the On/Off
switch after the garden product has
been automatically switched off.
The battery can be dam-
aged.
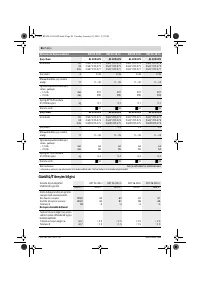
Battery charge-control indication
The battery charge-control indicator on the handle of the
product will indicate a low charge condition of the battery by
flashing three times when the On/Off switch is pressed. If this
occurs, please remove the battery and recharge.
Charging Procedure
The charging procedure starts as soon as the mains plug is
plugged into the socket and the battery is then inserted into
the battery charger .
Due to the intelligent charging method, the charging condi-
tion of the battery is automatically detected and the battery is
charged with the optimum charging current, depending on
battery temperature and voltage.
This gives longer life to the battery and always leaves it fully
charged when kept in the charger for storage.
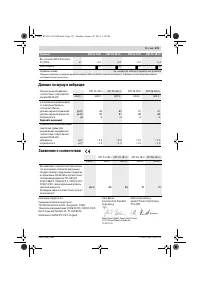
Note:
The charging procedure is only possible when the bat-
tery temperature is within the allowable charging tempera-
ture range, see section “Technical Data”.
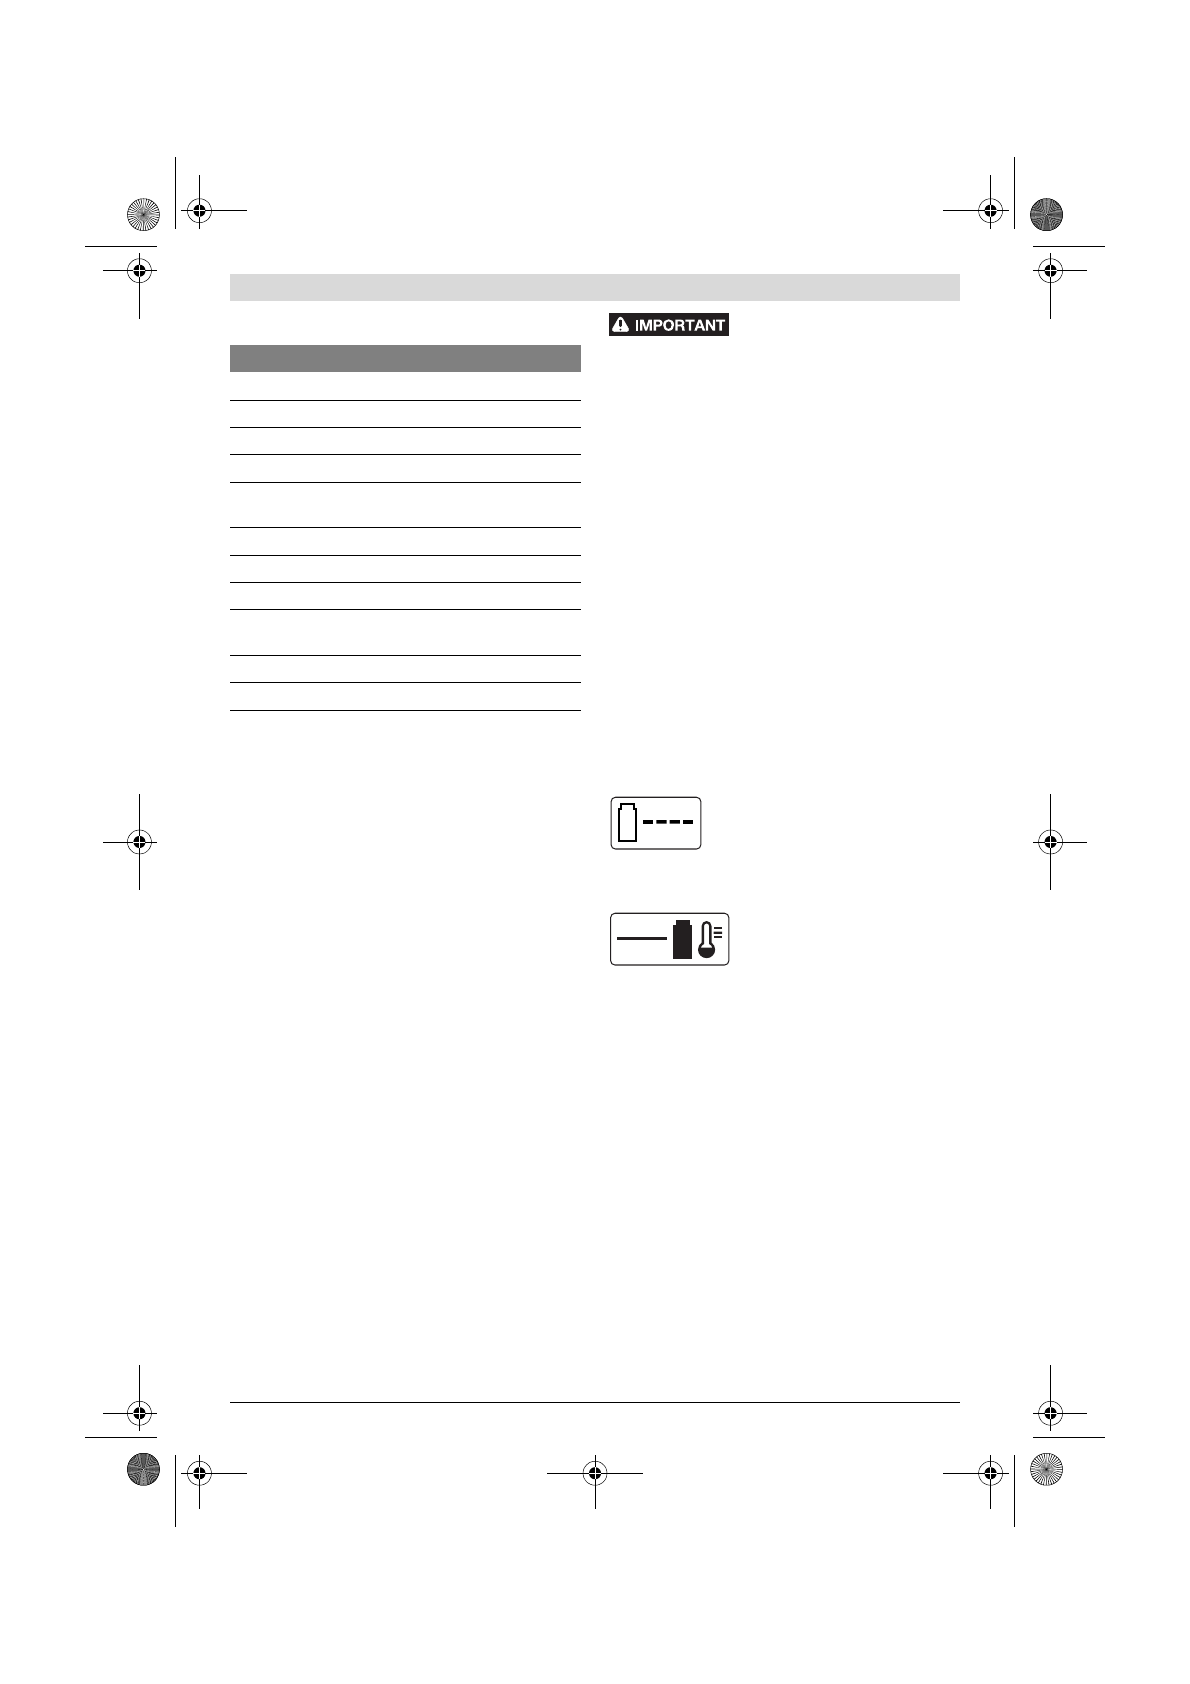
Flashing Battery Charge Indicator
The charging procedure is signalled by a
flashing
battery charge indicator .
Continuous Lighting of the Battery Charge Indica-
tor
Continuous lighting
of the battery
charge indicator indicates that the
battery is fully charged
or
that the
temperature of the battery is not with-
in the allowable charging temperature range, and cannot be
charged for this reason. The battery is charged as soon as the
allowable charging temperature range is reached.
When the battery is not inserted,
continuous lighting
of the
battery charge indicator indicates that the mains plug is in-
serted in the socket and that the battery charger is ready for
operation.
Charging Advice
With continuous or several repetitive charging cycles without
interruption, the charger can warm up. This is not meaningful
and does not indicate a technical defect of the battery charg-
er.
A significantly reduced working period after charging indi-
cates that the battery is used and must be replaced.
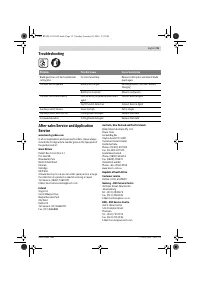
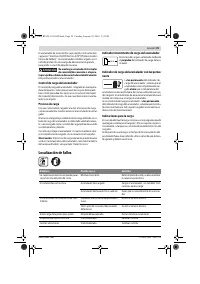
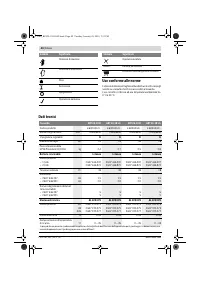
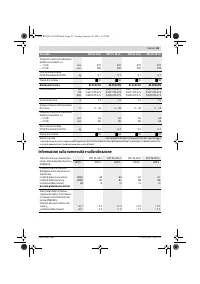
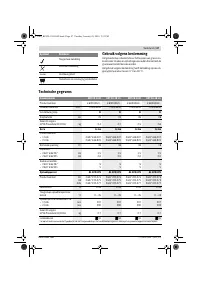
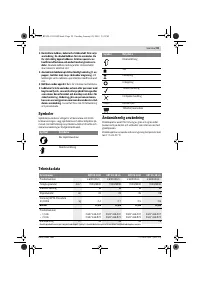
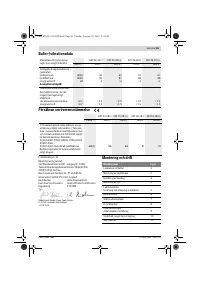
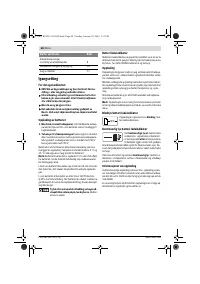
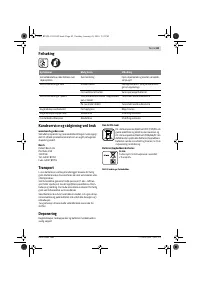
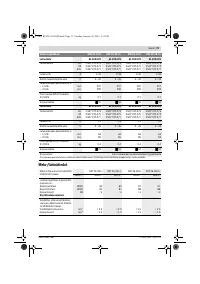
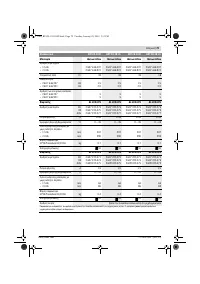
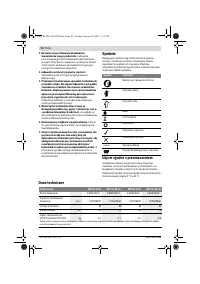
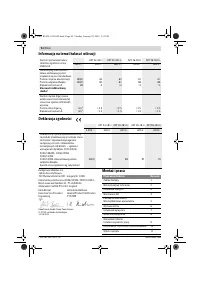
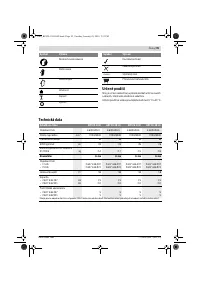
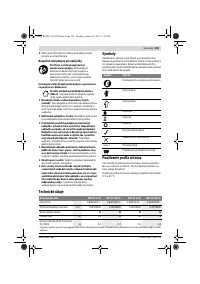
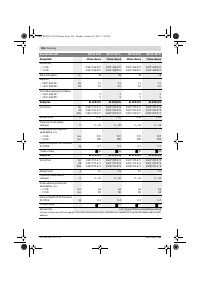
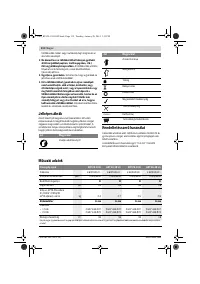
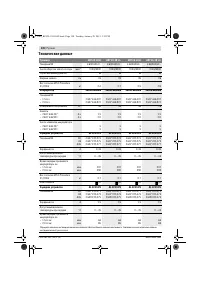
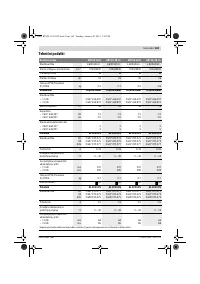
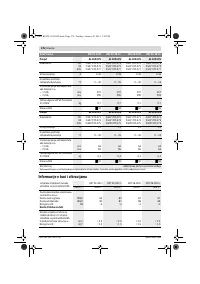
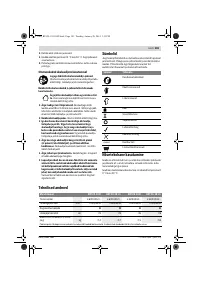
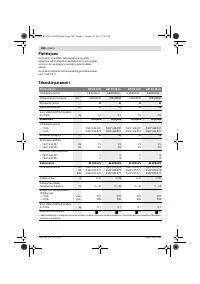
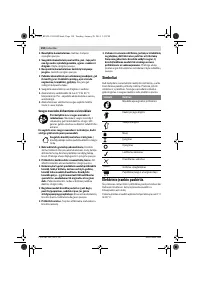
Action
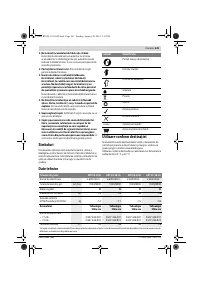
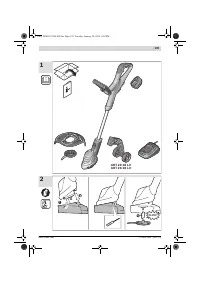
Figure
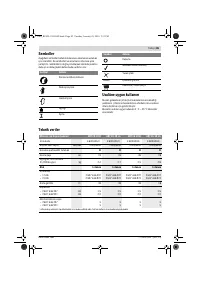
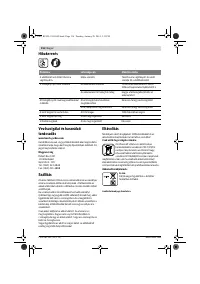
Delivery Scope
1
Mounting the Cutting Guard
2
Adjusting the Handle
3
Mounting wheels
4
Charging the Battery Pack
Inserting and Removing the Battery Pack
5
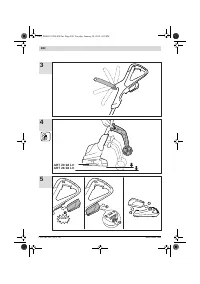
Replace the blade
6
Setting Handle Angle
7
Switching On and Off
8
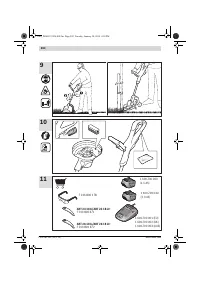
Working Advice
Adjusting the Cutting Height
9
Maintenance, Cleaning and Storage
10
Selecting Accessories
11
OBJ_BUCH-1981-002.book Page 14 Tuesday, January 28, 2014 3:51 PM


