Электробритвы Philips RQ1087 - инструкция пользователя по применению, эксплуатации и установке на русском языке. Мы надеемся, она поможет вам решить возникшие у вас вопросы при эксплуатации техники.
Если остались вопросы, задайте их в комментариях после инструкции.
"Загружаем инструкцию", означает, что нужно подождать пока файл загрузится и можно будет его читать онлайн. Некоторые инструкции очень большие и время их появления зависит от вашей скорости интернета.


5
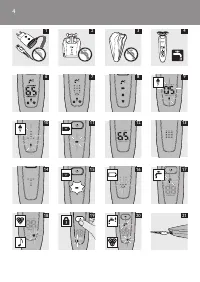
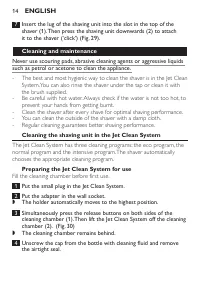
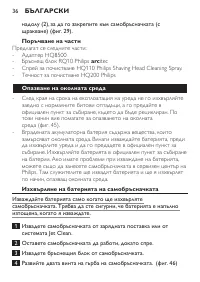
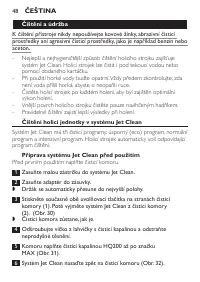
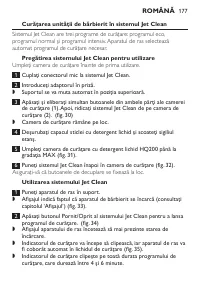
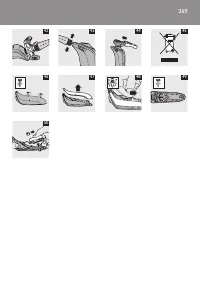
Fill the cleaning chamber with HQ200 cleaning fluid up to the MAX
indication (Fig. 1).
6
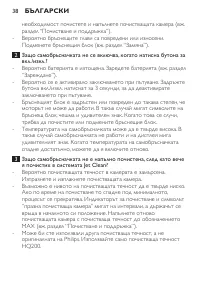
Place the Jet Clean System back onto the cleaning
chamber (Fig. 2).
Make sure the release buttons click back into place.
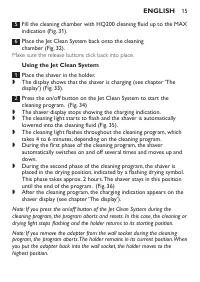
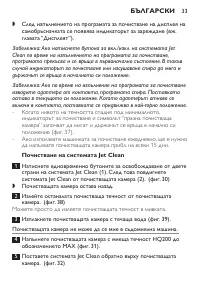
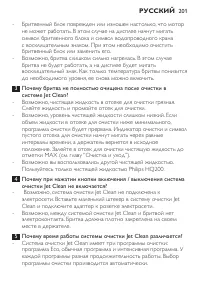
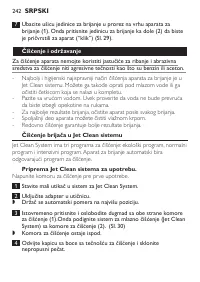
using the Jet Clean system
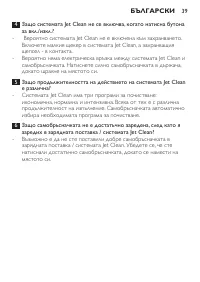
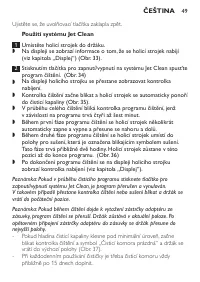
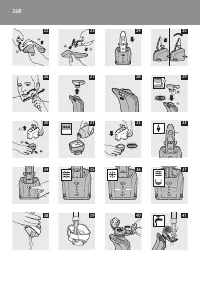
1
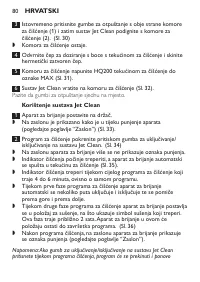
Place the shaver in the holder.
The display shows that the shaver is charging (see chapter ‘The
display’) (Fig. ).
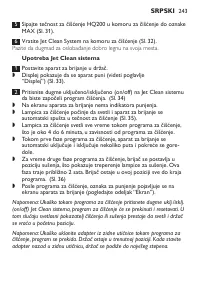
2
Press the on/off button on the Jet Clean System to start the
cleaning program. (Fig. )
The shaver display stops showing the charging indication.
The cleaning light starts to flash and the shaver is automatically
lowered into the cleaning fluid (Fig. 35).
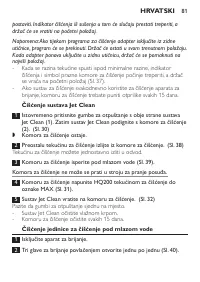
The cleaning light flashes throughout the cleaning program, which
takes to 6 minutes, depending on the cleaning program.
During the first phase of the cleaning program, the shaver
automatically switches on and off several times and moves up and
down.
During the second phase of the cleaning program, the shaver is
placed in the drying position, indicated by a flashing drying symbol.
This phase takes approx. 2 hours. The shaver stays in this position
until the end of the program. (Fig. 6)
After the cleaning program, the charging indication appears on the
shaver display (see chapter ‘The display’).
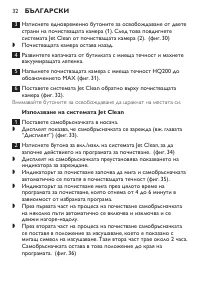
Note: If you press the on/off button of the Jet Clean System during the
cleaning program, the program aborts and resets. In this case, the cleaning or
drying light stops flashing and the holder returns to its starting position.
Note: If you remove the adapter from the wall socket during the cleaning
program, the program aborts. The holder remains in its current position. When
you put the adapter back into the wall socket, the holder moves to the
highest position.
,
,
,
,
,
,
,
English
15
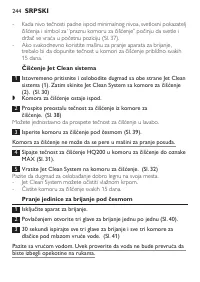
Содержание
- 184 соответствие стандартам
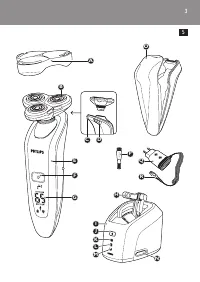
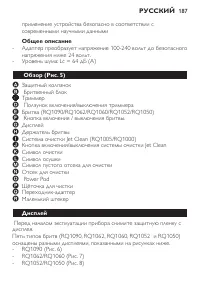
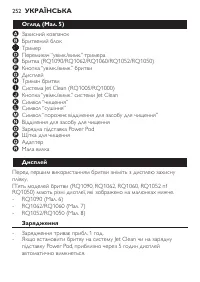
- 185 Общее описание; Power Pod; Дисплей
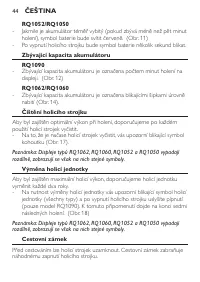
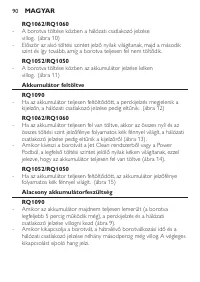
- 188 Очистка бритвы; замена бритвенного блока; и RQ1050 отличается, но имеет ту же индикацию.; Блокировка колес; Для входа в режим установки блокировки нажмите и
- 189 Выключение блокировки; Нажмите и удерживайте в течение 3 секунд кнопку включения; Блокировка бритвенных головок; зарядка
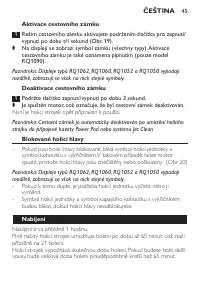
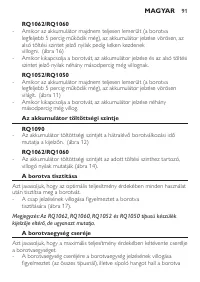
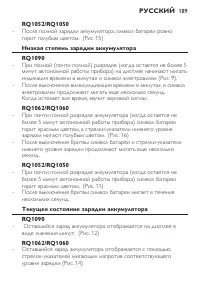
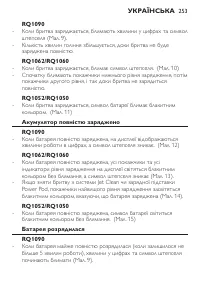
- 190 Быстрая зарядка; После зарядки аккумулятора бритвы в течение 5 минут,; зарядка в Power Pod
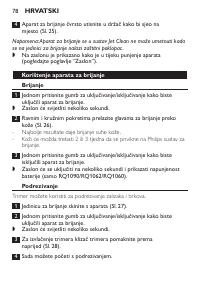
- 191 Наилучшие результаты бритья достигаются при сухой коже.; Подравнивание; Триммер можно использовать для подравнивания усов и висков
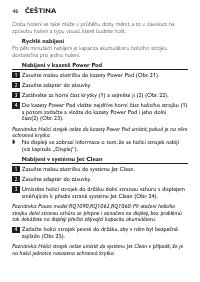
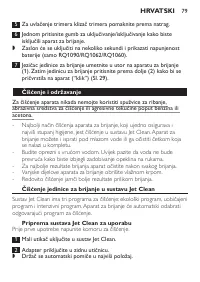
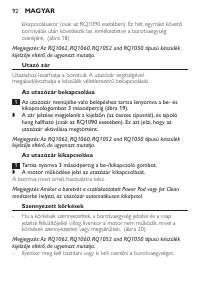
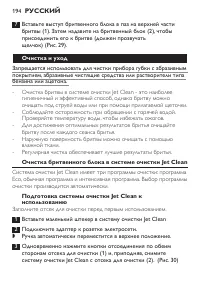
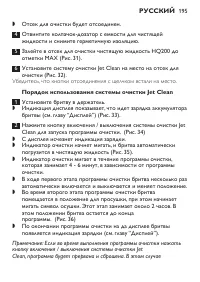
- 193 Убедитесь, что кнопки отсоединения с щелчком встали на место.; Порядок использования системы очистки Jet Clean; Примечание: Если во время выполнения программы очистки нажать
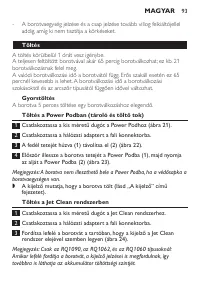
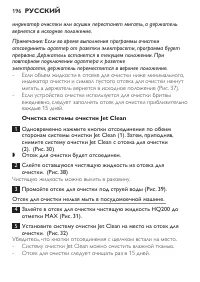
- 194 Очистка системы очистки Jet Clean
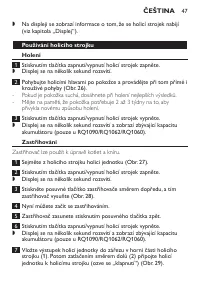
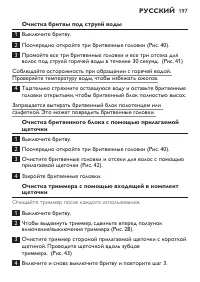
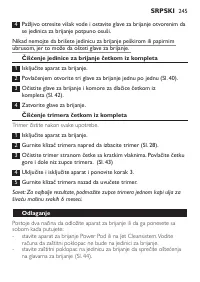
- 195 Очищайте триммер после каждого использования.
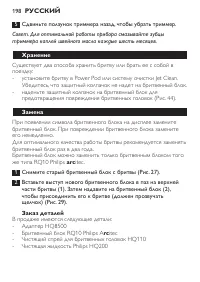
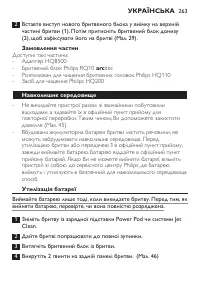
- 196 Хранение; Вставьте выступ нового бритвенного блока в паз на верхней; заказ деталей
- 198 гарантия и обслуживание; Почему бритва стала брить хуже, чем раньше?


