
Электробритвы Braun 9390cc Series 9 - инструкция пользователя по применению, эксплуатации и установке на русском языке. Мы надеемся, она поможет вам решить возникшие у вас вопросы при эксплуатации техники.
Если остались вопросы, задайте их в комментариях после инструкции.
"Загружаем инструкцию", означает, что нужно подождать пока файл загрузится и можно будет его читать онлайн. Некоторые инструкции очень большие и время их появления зависит от вашей скорости интернета.


8
•
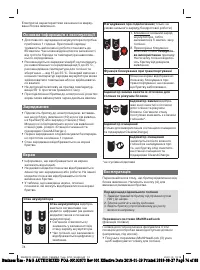
If you regularly clean the shaver under water,
apply a drop of light machine oil on top of the
Foil & Cutter cassette once a week.
The shaver needs to be cleaned under running
water after each foam or gel usage!
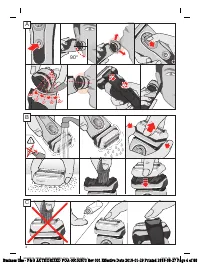
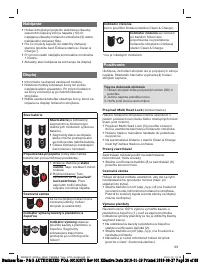
Cleaning with a brush
•
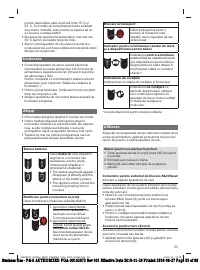
Switch off the shaver. Remove the Foil & Cutter
cassette (1) and tap it out on a flat surface. Using
the brush, clean the inner area of the pivoting
head. Do not clean the cassette with the brush as
this may damage it!
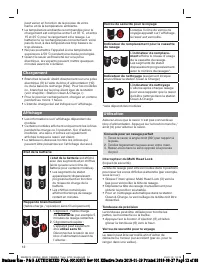
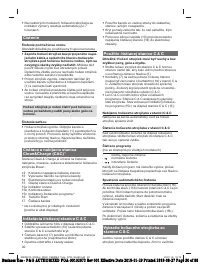
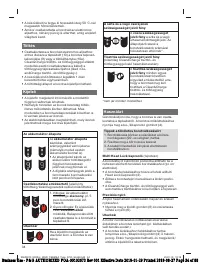
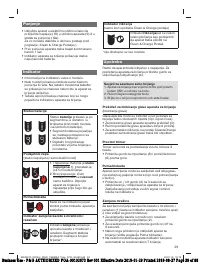
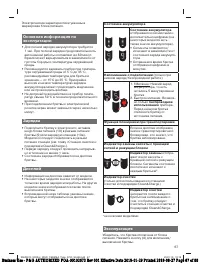
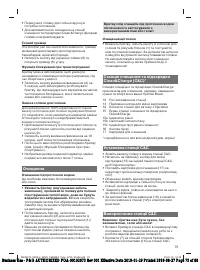
Clean & Charge Station (C & C)*
The Clean & Charge Station has been developed for
cleaning, charging, lubricating, drying and storing
your Braun shaver.
12 Station power socket
13 Lift button for cartridge exchange
14 Station-to-shaver
contacts
15 Clean & Charge Station display
15a Level indicator
15b Status light
15c Cleaning program indicators*
16 Start
button
17 Cleaning
cartridge
* not with all models (see display box)
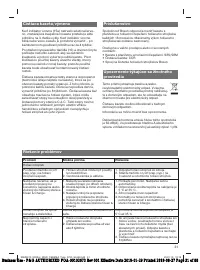
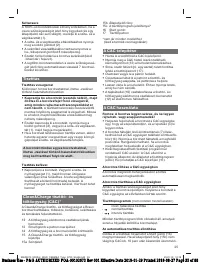
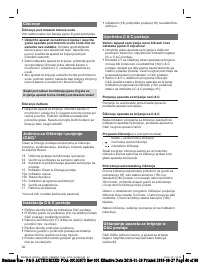
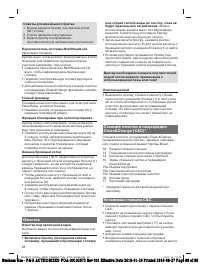
C & C Installation
•
Remove the protection foil from the C & C display.
•
Press the lift button (13) at the rear side of the
C & C to lift the housing.
•
Hold the cleaning cartridge (17) down on a flat,
stable surface (e.g. table).
•
Carefully remove the lid from the cartridge.
•
Slide the cartridge from the rear side into the base
of the station until it snaps in.
•
Slowly close the housing by pushing it down until it
locks.
•
Using the power supply (10), connect the station
power socket (12) to an electrical outlet.
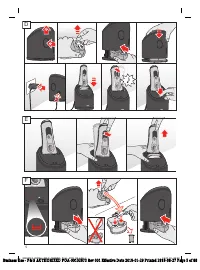
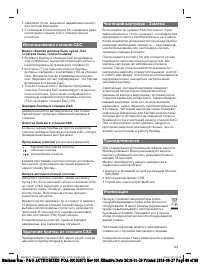
C & C Usage
Important: The shaver needs to be dry and free
from any foam, gel or soap residue!
•
Insert the shaver in the C & C upside down, with
the front showing and head lock (3) released.
•
The contacts (7) on the back of the shaver need to
align with the contacts (14) in the C & C. Push the
shaver backwards in the correct position. A beep
sound confirms that the shaver sits properly in the
C & C.
•
Only C & C with cleaning program selection: The
C & C analyses the hygiene status. The status is
shown by the cleaning program indicators (15c) in
the C & C display (15).
Charging the shaver in the C & C
Charging will start automatically when the shaver
has been inserted properly.
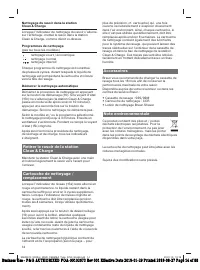
Cleaning the shaver in the C & C
When the cleaning indicator lights up on the shaver
display, insert the shaver into the C & C, as
described above.
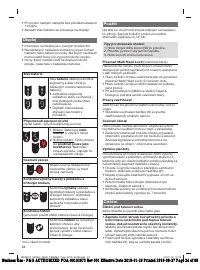
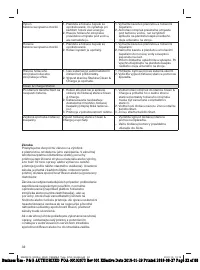
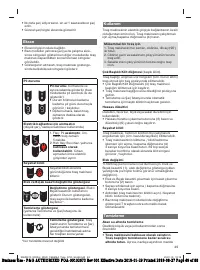
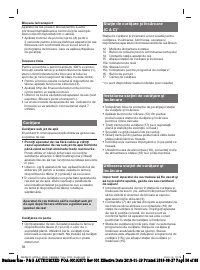
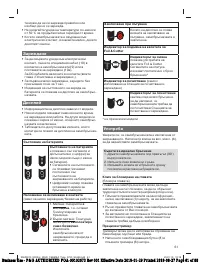
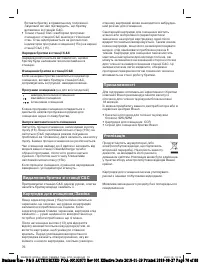
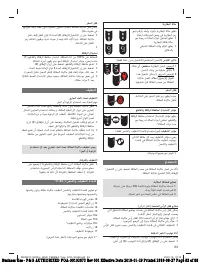
Cleaning programs
(not with all models)
short / economical cleaning
normal level of cleaning
intensive cleaning
Each cleaning program consists of several cycles,
where cleaning fluid is flushed through the shaver
head.
Start automatic cleaning
Start the cleaning process by pressing the start
button (16). If status light (15b) does not shine (C & C
switches to stand-by after ca. 10 minutes), press
start button twice. Otherwise, cleaning will not start.
Depending on your model and / or program
selected, the cleaning time takes up to 3 minutes
and afterwards a fan runs. During this time the
status light (15b) blinks.
After cleaning, drying and charging is completed, all
indicators turn off.
Removing the shaver from the C & C
Hold the C & C with one hand and tilt the shaver
slightly to the front to release it.
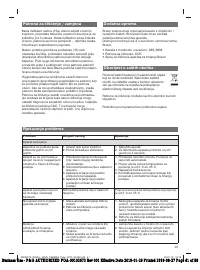
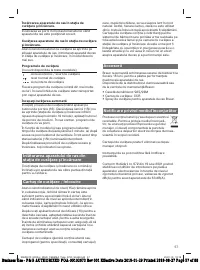
Cleaning cartridge / replacement
When the level indicator (15a) lights up permanently
red, the remaining fluid in the cartridge is sufficient
for about 3 more cycles. When the level indicator
blinks red, the cartridge needs to be replaced –
about every 4 weeks when used daily.
After having pressed the lift button (13) to open the
housing, wait for a few seconds before removing the
used cartridge to avoid any dripping. Before
discarding the used cartridge, make sure to close
the openings using the lid of the new cartridge,
since the used cartridge will contain contaminated
cleaning solution.
The hygienic cleaning cartridge contains ethanol or
isopropanol (specification see cartridge), which
once opened will naturally evaporate slowly.
Therefore, each cartridge, if not used daily, should
be replaced after approximately 8 weeks. The
cleaning cartridge also contains lubricants for the
shaving system, which may leave residual marks on
the outer foil frame and the cleaning chamber of the
C & C. These marks can be removed easily by wiping
gently with a damp cloth and do not impact the
shaver and its performance in any way.
90605013_93XXcc_W&D_CEEMEA_Type_5793_S6-88.indd 8
90605013_93XXcc_W&D_CEEMEA_Type_5793_S6-88.indd 8
23.01.19 12:18
23.01.19 12:18
Business Use - P&G AUTHORIZED POA-00102673 Rev 001 Effective Date 2019-01-29 Printed 2019-08-27 Page 8 of 88
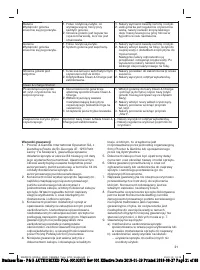
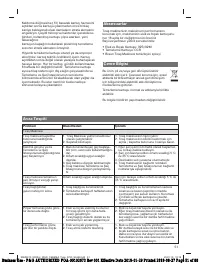
Характеристики

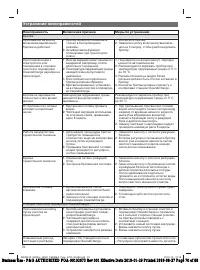
Остались вопросы?Не нашли свой ответ в руководстве или возникли другие проблемы? Задайте свой вопрос в форме ниже с подробным описанием вашей ситуации, чтобы другие люди и специалисты смогли дать на него ответ. Если вы знаете как решить проблему другого человека, пожалуйста, подскажите ему :)


Станция очистки для Бритва Braun 9390cc Series 9 не работает сушка, после сушки головка остаётся влажной, станцию вытер на сухо, сливное отверстие не засорено, подскажите пожалуйста что делать?