
Диспенсеры для воды Profi Cook PC-HWS 1168 - инструкция пользователя по применению, эксплуатации и установке на русском языке. Мы надеемся, она поможет вам решить возникшие у вас вопросы при эксплуатации техники.
Если остались вопросы, задайте их в комментариях после инструкции.
"Загружаем инструкцию", означает, что нужно подождать пока файл загрузится и можно будет его читать онлайн. Некоторые инструкции очень большие и время их появления зависит от вашей скорости интернета.


PC-HWS1168_IM
12.10.18
39
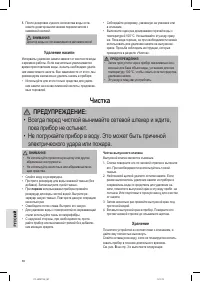
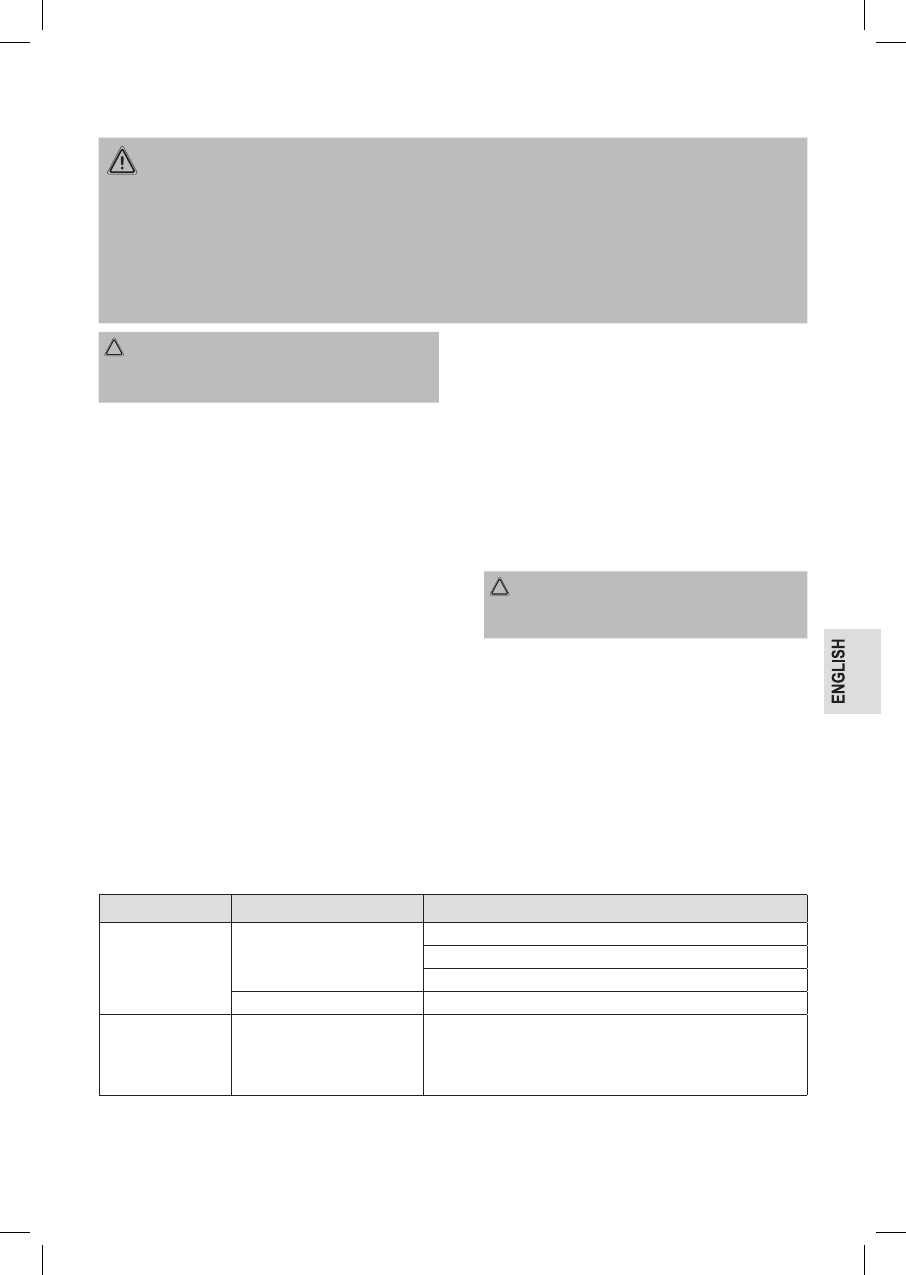
Cleaning
WARNING:
•
Before cleaning, always remove the mains plug and wait until
the appliance has cooled down.
• Do not immerse the appliance in water. Otherwise this might
result in an electric shock or fire.
CAUTION:
•
Do not use a wire brush or any abrasive items.
•
Do not use any acidic or abrasive detergents.
•
Empty the water tank completely.
• Wipe out the water tank with a damp cloth (without addi-
tives). Then wipe it with a dry cloth.
• When using the appliance for the first time rinse the wa-
ter tank with clean water. Use a cloth to wipe the water
tank dry. Repeat this step several times.
•
Empty the drip tray. Wipe it dry.
•
Use a microfibre cloth to remove water stains on the
stainless steel plating.
• The exterior of the appliance should be cleaned as nec-
essary with a slightly damp cloth - without any additives.
Cleaning the Water Faucet
The water faucet is removable.
1.
Slightly turn it clockwise and pull it off. If necessary, use a
thin cloth to do this.
2.
Remove possible scale residues with a nylon brush. In
case you previously de-scaled the appliance and kept
the hot water with the de-scaling agent put the water
faucet in this water for approx. half an hour. Or prepare a
hot de-scaling bath.
3. Then rinse the water faucet under running water several
times.
4. Put the water faucet back onto the appliance. Turn it
anticlockwise until it clicks into place.
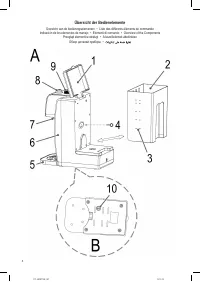
Storage
Clean the appliance as described and let it dry completely.
Additionally drain the remaining water if you do not intend
to use it for a longer period of time. For this purpose refer to
figure
B
on page 3 and proceed as follows:
1. Put the appliance on one side.
CAUTION:
Do
not
turn the appliance upside down. The lid of the
water tank may break off.
2. Turn the drain closure anticlockwise e. g. with a small
coin.
3. Put the appliance upright. The drainage will be emptied.
4. Use the closure to lock the drainage again. Tighten the
closure by turning it clockwise.
•
We recommend that you store the appliance in its
original packaging when it is not to be used for a longer
period.
•
Always store the appliance at a well ventilated and dry
place outside the reach of children.
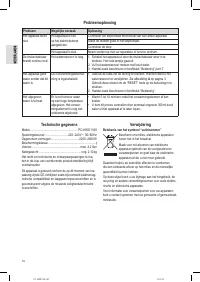
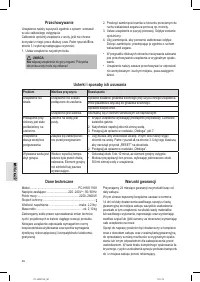
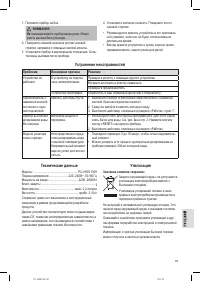
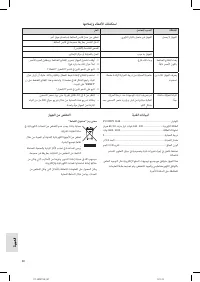
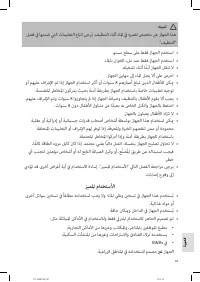
Troubleshooting
Problem
Possible Cause
Solution
The appliance does
not work.
The appliance is not connected
to mains power.
Check the wall outlet with a different appliance.
Insert the plug properly in the wall outlet.
Check the fuse.
The appliance is defective.
Contact our service or a repair centre.
The push-button
switch is perma-
nently illuminated
in red.
The water tank is empty.
1.
Turn the appliance off by disengaging the push-button switch.
The red lighting goes out.
2.
Fill the water tank with cold water immediately.
3.
Proceed as described under chapter “Operation” point 7.
Содержание
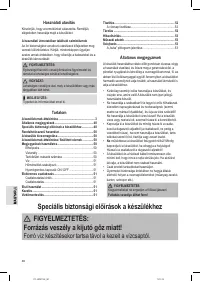
- 54 Специальные указания по безопасности; Во время нагрева воды не касайтесь выпускного крана.
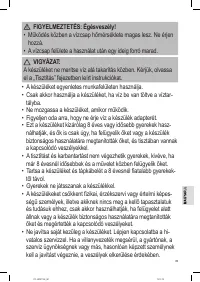
- 55 ПРЕДУПРЕЖДЕНИЕ: Опасность ожога
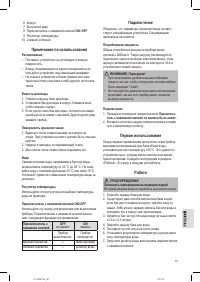
- 56 Назначение; не; Распаковка устройства
- 57 Примечания по использования; Подключение
- 58 Удаление накипи; Чистка; Всегда перед чисткой вынимайте сетевой штекер и ждите,; Хранение
- 59 Устранение неисправностей; Технические данные
Характеристики

Остались вопросы?Не нашли свой ответ в руководстве или возникли другие проблемы? Задайте свой вопрос в форме ниже с подробным описанием вашей ситуации, чтобы другие люди и специалисты смогли дать на него ответ. Если вы знаете как решить проблему другого человека, пожалуйста, подскажите ему :)


