Tefal RG6875WH X-PLORER SERIE 20 - инструкции и руководства
Пылесос Tefal RG6875WH X-PLORER SERIE 20 - инструкции пользователя по применению, эксплуатации и установке на русском языке читайте онлайн в формате pdf
Инструкции:
Инструкция по эксплуатации Tefal RG6875WH X-PLORER SERIE 20


Краткое содержание
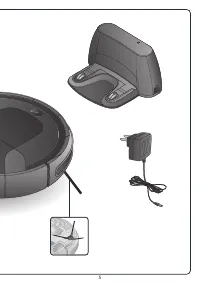
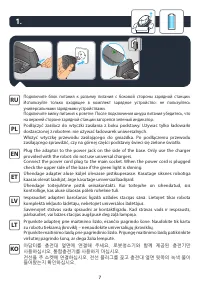
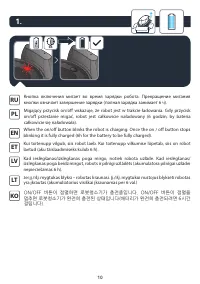
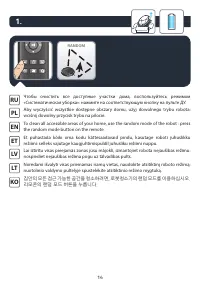
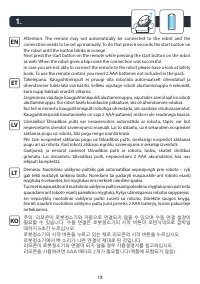
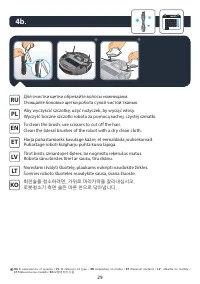
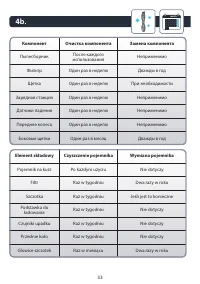
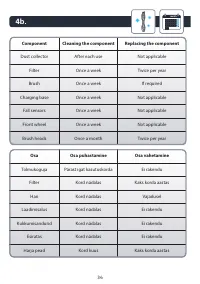
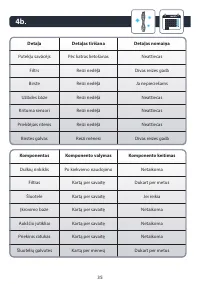
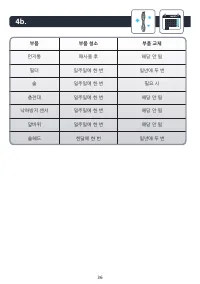
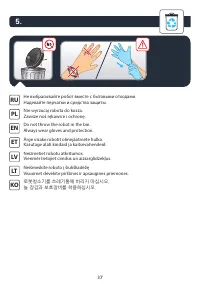
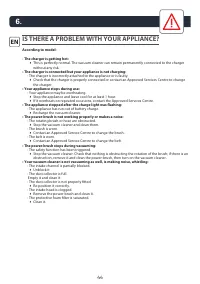
9 To charge the robot turn it on by pushing the on / off button for 3 seconds. Place the robot on the docking station: the charging plates on the robot must touch those on the docking station. EN Lai uzlādētu robotu, ieslēdziet to, uz 3 sekundēm nospiežot ieslēgšanas / izslēgšanas pogu. Novietojiet ...
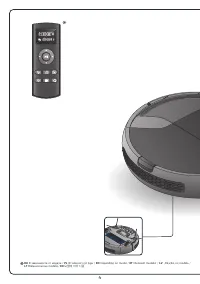
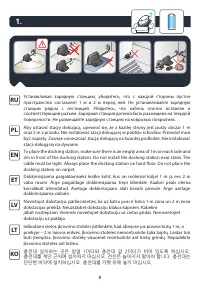
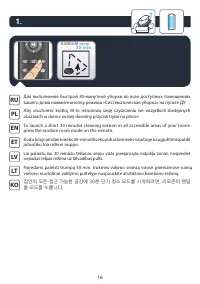
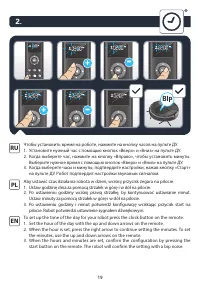
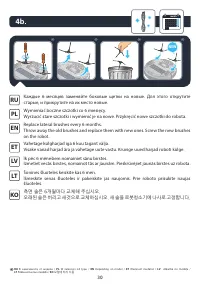
19 To set up the time of the day for your robot press the clock button on the remote. 1. Set the hour of the day with the up and down arrows on the remote. 2. When the hour is set, press the right arrow to continue setting the minutes. To set the minutes, use the up and down arrows on the remote. 3....
21 Для настройки времени ежедневной уборки нажмите на кнопку расписания на пульте ДУ. 1. С помощью кнопок «Вверх» и «Вниз» на пульте ДУ выберите час начала уборки. 2. Когда выберете час, нажмите на кнопку «Вправо», чтобы установить минуты. Выберите нужное время с помощью кнопок «Вверх» и «Вниз» на п...
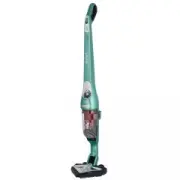
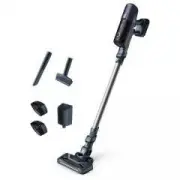
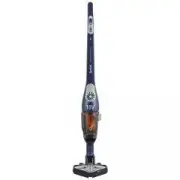
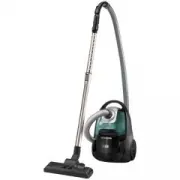
Tefal Пылесосы Инструкции
-
 Tefal Air Force (TY8970RO)
Инструкция по эксплуатации
Tefal Air Force (TY8970RO)
Инструкция по эксплуатации
-
 Tefal Air Force 160 Blue TY7231WO
Инструкция по эксплуатации
Tefal Air Force 160 Blue TY7231WO
Инструкция по эксплуатации
-
 Tefal Air Force 160 Red TY7233WO
Инструкция по эксплуатации
Tefal Air Force 160 Red TY7233WO
Инструкция по эксплуатации
-
 Tefal Air Force 360 All in one 21,9V TY9266WO
Инструкция по эксплуатации
Tefal Air Force 360 All in one 21,9V TY9266WO
Инструкция по эксплуатации
-
 Tefal Air Force 360 Flex Ultimate TY9571WO
Инструкция по эксплуатации
Tefal Air Force 360 Flex Ultimate TY9571WO
Инструкция по эксплуатации
-
 Tefal Air Force Extreme Silence (TY8995RO)
Инструкция по эксплуатации
Tefal Air Force Extreme Silence (TY8995RO)
Инструкция по эксплуатации
-
 Tefal Air Force Extreme TY8818RH
Инструкция по эксплуатации
Tefal Air Force Extreme TY8818RH
Инструкция по эксплуатации
-
 Tefal Air Force Flex 360 Blue TY9471WO
Инструкция по эксплуатации
Tefal Air Force Flex 360 Blue TY9471WO
Инструкция по эксплуатации
-
 Tefal Air Force Flex 360 Green TY9472WO
Инструкция по эксплуатации
Tefal Air Force Flex 360 Green TY9472WO
Инструкция по эксплуатации
-
 Tefal Air Force Serenity (TY9133WH)
Инструкция по эксплуатации
Tefal Air Force Serenity (TY9133WH)
Инструкция по эксплуатации
-
 Tefal Air Force Serenity (TY9171WO)
Инструкция по эксплуатации
Tefal Air Force Serenity (TY9171WO)
Инструкция по эксплуатации
-
 Tefal Air Force TY8812RH
Инструкция по эксплуатации
Tefal Air Force TY8812RH
Инструкция по эксплуатации
-
 Tefal Air Force TY8875RO
Инструкция по эксплуатации
Tefal Air Force TY8875RO
Инструкция по эксплуатации
-
 Tefal Allergy TY6837WO
Инструкция по эксплуатации
Tefal Allergy TY6837WO
Инструкция по эксплуатации
-
 Tefal Balai Air Force Extreme TY8751RH
Инструкция по эксплуатации
Tefal Balai Air Force Extreme TY8751RH
Инструкция по эксплуатации
-
 Tefal City Space Cyclonic (TW2715EA)
Инструкция по эксплуатации
Tefal City Space Cyclonic (TW2715EA)
Инструкция по эксплуатации
-
 Tefal City Space TW2522RA
Инструкция по эксплуатации
Tefal City Space TW2522RA
Инструкция по эксплуатации
-
 Tefal Compact Power Cyclonic TW3731RA
Инструкция по эксплуатации
Tefal Compact Power Cyclonic TW3731RA
Инструкция по эксплуатации
-
 Tefal Compact Power XXL TW4826EA
Инструкция по эксплуатации
Tefal Compact Power XXL TW4826EA
Инструкция по эксплуатации
-
 Tefal Compact Power XXL TW4873EA
Инструкция по эксплуатации
Tefal Compact Power XXL TW4873EA
Инструкция по эксплуатации