
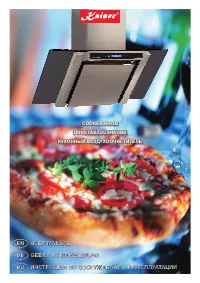
Вытяжки Kaiser AT 6408 F - инструкция пользователя по применению, эксплуатации и установке на русском языке. Мы надеемся, она поможет вам решить возникшие у вас вопросы при эксплуатации техники.
Если остались вопросы, задайте их в комментариях после инструкции.
"Загружаем инструкцию", означает, что нужно подождать пока файл загрузится и можно будет его читать онлайн. Некоторые инструкции очень большие и время их появления зависит от вашей скорости интернета.


EN
6
1
3
4
2
5
6
7
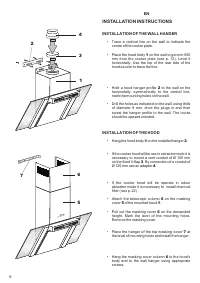
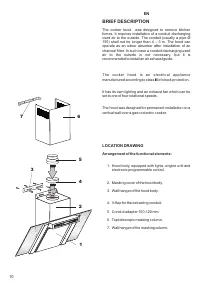
INSTALLATION INSTRUCTIONS
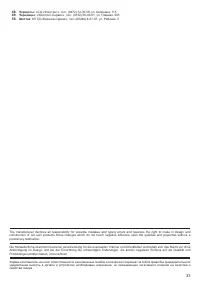
INSTALLATION OF THE WALL HANGER
INSTALLATION OF THE HOOD
•
Trace a vertical line on the wall to indicate the
centre of the cooker plate.
•
Place the hood body
on the wall to get min 650
mm from the cooker plate (see p. 12). Level it
horizontally. Use the top of the rear side of the
hood as ruler to trace the line.
•
Hold a hood hanger profile
to the wall on the
horizontally, symmetrically to the central line,
mark the mounting holes on the wall.
•
Drill the holes as indicated on the wall, using drills
of diameter 8 mm, drive the plugs in and then
screw the hanger profile to the wall. The hooks
should be upward oriented.
•
.
•
If the cooker hood will be use in extractor mode it is
necessary to mount a vent conduit of Ø 150 mm
on the fixed V-flap . By connection of a conduit of
Ø 120 mm use an adapter .
•
f the cooker hood will be operate in odour
absorber mode it is necessary to install charcoal
filter ( see p. 22).
•
.
•
P
•
Place
.
•
Hang
1
2
3
4
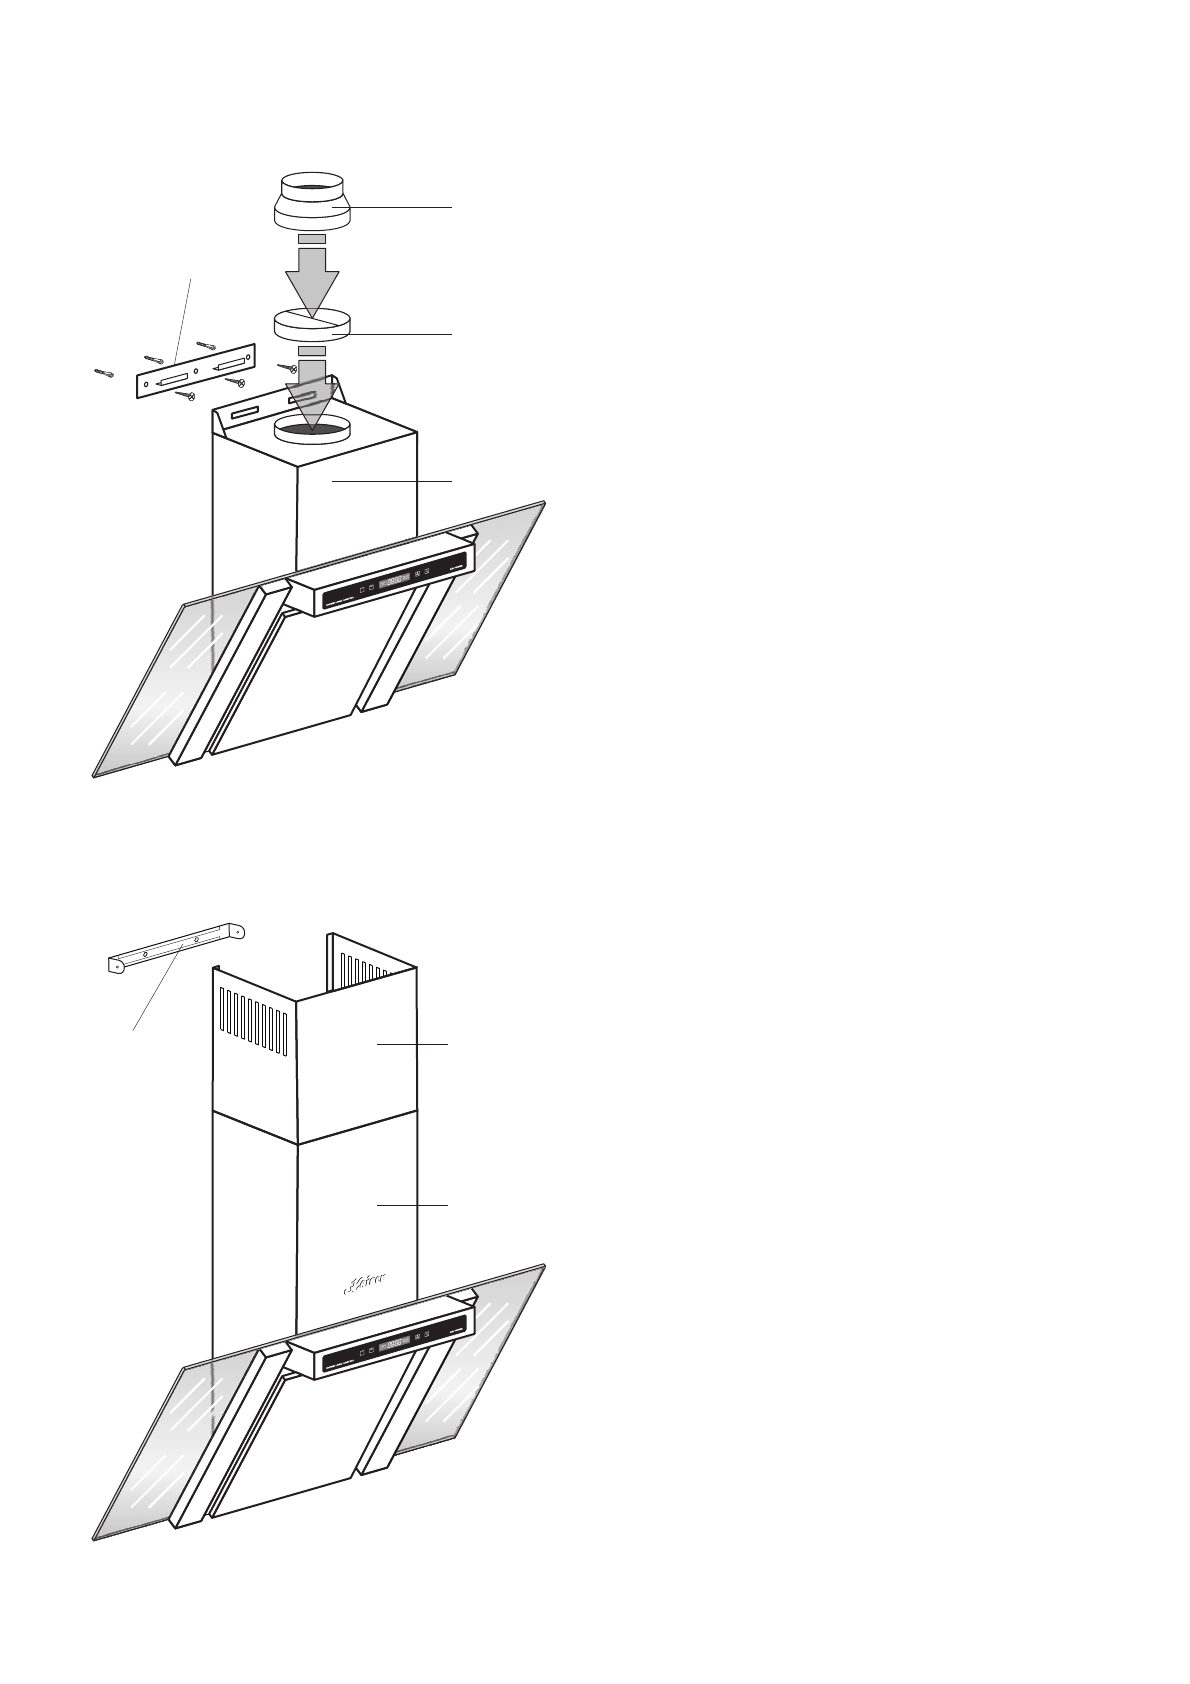
Hang the hood body
on the installed hanger
I
Attach the telescopi column
the masking
cover
the mounted hood
masking cover
the hanger of the top masking cover
at
the level of mounting holes and install the hanger
the masking cover column
the
hanger using appropriate
screws.
1
2
6
5
1
7
6
c
on
of
to the hood’s
body and to
wall
ull out the
on the demanded
height. Mark the level of the mounting holes.
Remove the masking cover.
6
Содержание
- 3 УВАЖАЕМЫЙ ПОКУПАТЕЛЬ
- 5 INHALTSVERZEICHNIS; ОГЛАВЛЕНИЕ
- 7 FÜR DEN INSTALLATEUR; MONTAGE DER WANDHALTERUNG; ИНСТРУКЦИЯ ПО МОНТАЖУ; МОНТАЖ НАСТЕННОГО КРОНШТЕЙНА
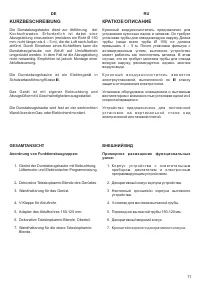
- 11 KURZBESCHREIBUNG; GESAMTANSICHT; Anordnung von Funktionsbaugruppen:; КРАТКОЕ ОПИСАНИЕ; II; ВНЕШНИЙ ВИД; ронштейн верхнего декоративного кожуха.
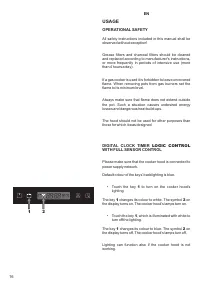
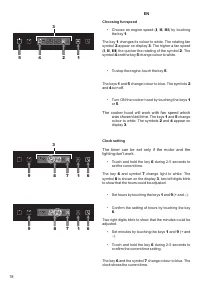
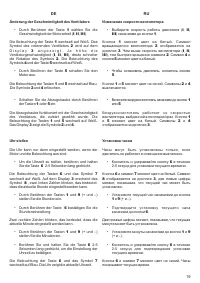
- 17 ИСПОЛЬЗОВАНИЕ; L O G I C; BENUTZUNG; LOGIC
- 19 I II; Änderung der Geschwindigkeit des Ventilators
- 21 Установка таймера; Einstellung der Schaltuhr
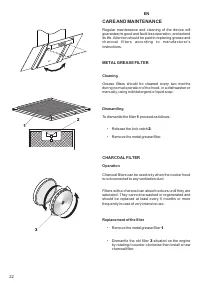
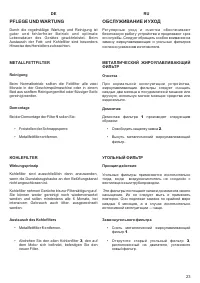
- 23 PFLEGE UND WARTUNG; METALLFETTFILTER; ОБСЛУЖИВАНИЕ И УХОД; УГОЛЬНЫЙ ФИЛЬТР; соедин н с
- 25 Austausch; sollen Sie ver meiden; Замена; не следует
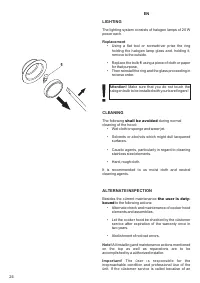
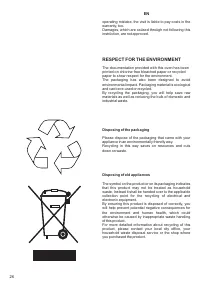
- 27 UMWELTVERTRÄGLICHKEIT; Verpackungs-Entsorgung; ОХРАНА ОКРУЖАЮЩЕЙ СРЕДЫ; Утилизация упаковки
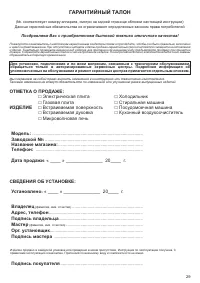
- 29 ГАРАНТИЙНЫЙ ТАЛОН; ИЗДЕЛИЕ
Характеристики

Остались вопросы?Не нашли свой ответ в руководстве или возникли другие проблемы? Задайте свой вопрос в форме ниже с подробным описанием вашей ситуации, чтобы другие люди и специалисты смогли дать на него ответ. Если вы знаете как решить проблему другого человека, пожалуйста, подскажите ему :)


