
Вытяжки Falmec Mare isola 66 ECP - инструкция пользователя по применению, эксплуатации и установке на русском языке. Мы надеемся, она поможет вам решить возникшие у вас вопросы при эксплуатации техники.
Если остались вопросы, задайте их в комментариях после инструкции.
"Загружаем инструкцию", означает, что нужно подождать пока файл загрузится и можно будет его читать онлайн. Некоторые инструкции очень большие и время их появления зависит от вашей скорости интернета.


16
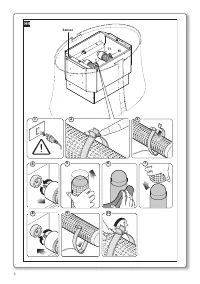
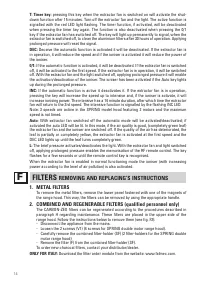
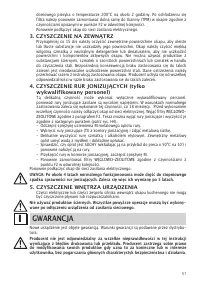
sheath using water and soap and rinse it carefully.
- Ensure that the sheath is FULLY DRY (put it in the oven at 50°C for 10 min) and then place
it back in the pipes.
- Re-activate the pipes in the ionising chamber and re-hook spring M.
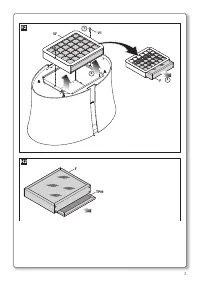
- Re-install the CARBON-ZEO filters by following the inverse operation described in sec-
tion F2.
- Reconnect the range hood to the mains.
After approximately 4 years of normal use, the efficiency of the ionising pipes can gradually
reduce. Therefore, we recommend replacing them after 5 years.
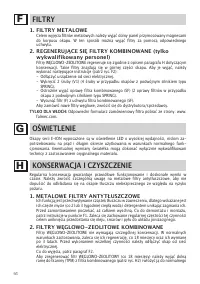
5. CLEANING THE INSIDE OF THE APPLIANCE
The electrical parts or parts of the motor assembly inside the range hood must not be
cleaned using liquids or solvents.
Do not use abrasive products. All the above operations must be performed after having dis-
connected the appliance from the mains power supply.
WARRANTY
I
The new equipment is covered by warranty. The warranty conditions are provided by the
distributor.
The manufacturer is not liable for any inaccuracies in this booklet resulting from printing or
transcription errors. The manufacturer reserves the right to modify its products as it consid-
ers necessary or in the interests of the user, without compromising their essential safety and
operating characteristics.
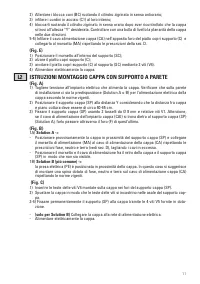
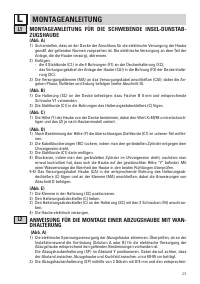
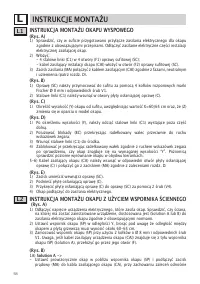
ASSEMBLY INSTRUCTIONS
L
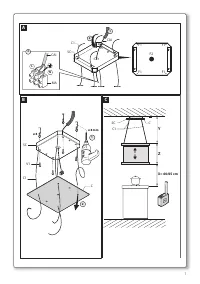
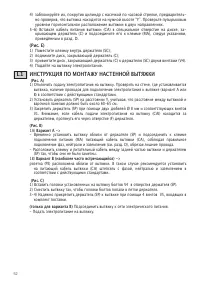
L1 SUSPENDED ISLAND HOOD ASSEMBY INSTRUCTIONS
(Fig. A)
1) Verify that the ceiling is arranged for installing the hood range power supply, according to
the standards in force. Disconnect the power supply of the electrical system that powers
the range hood.
2) Insert:
- the 4 steel cords (C1) in the 4 holes (F1) of the ceiling support (SC);
- The power cable of the range hood system (CAI) inside the hole (F2) of the ceiling support
(SC).
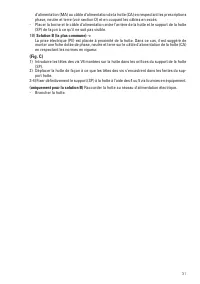
3) Connect the power supply terminal (MA) to the power cable (CAI) complying with the phase
provisions, neutral and earth (see sect. D).
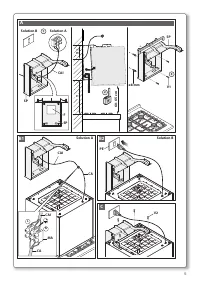
(Fig. B)
1) Fasten the support (SC) to the ceiling using 4 fischer of Ø 8 mm and relative screws V1.
2) Insert the steel cords (C1) inside the holes of the support cover plate (C).
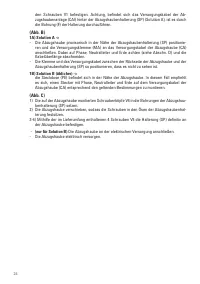
(Fig. C)
1) Detect the height (Y) of the range hood from the ceiling, considering the height X=60/65 cm
and that (Z) varies depending on the model of the range hood.
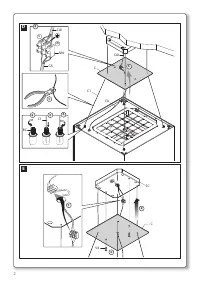
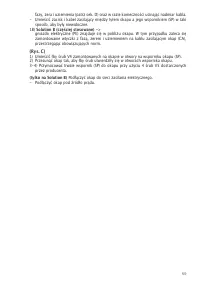
(Fig. D)
1) After having determined the height (Y), cut the lower part of the steel cords (C1) in excess.
2) Loosen the cable-lock (BC) by rotating the knurled cylinder anti-clockwise;
3) insert the steel cords (C1) inside;
4) lock them rotating the knurled cylinder clockwise, after having controlled that the range
hood is at the required height “Y”. Use a spirit level to verify the range hood planarity in the
two directions.
Характеристики

Остались вопросы?Не нашли свой ответ в руководстве или возникли другие проблемы? Задайте свой вопрос в форме ниже с подробным описанием вашей ситуации, чтобы другие люди и специалисты смогли дать на него ответ. Если вы знаете как решить проблему другого человека, пожалуйста, подскажите ему :)


