
Вытяжки Falmec Horizon 90 ix (800) - инструкция пользователя по применению, эксплуатации и установке на русском языке. Мы надеемся, она поможет вам решить возникшие у вас вопросы при эксплуатации техники.
Если остались вопросы, задайте их в комментариях после инструкции.
"Загружаем инструкцию", означает, что нужно подождать пока файл загрузится и можно будет его читать онлайн. Некоторые инструкции очень большие и время их появления зависит от вашей скорости интернета.


29
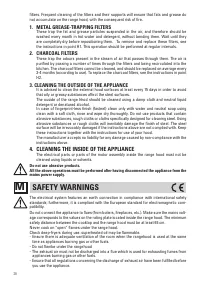
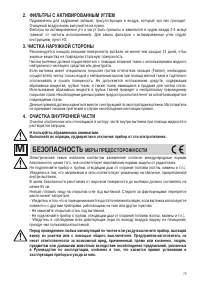
Before performing any cleaning or maintenance operations, disconnect the appliance by un-
plugging it or using the main switch. The manufacturer disclaims all liability for any damage
that may be directly or indirectly caused to people, things and animals due to the failure to
follow all the instructions provided in this booklet and above all the warnings relating to the
installation, operation and maintenance of the appliance.
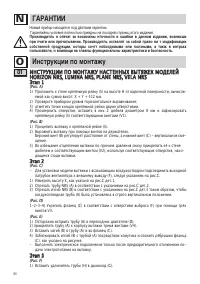
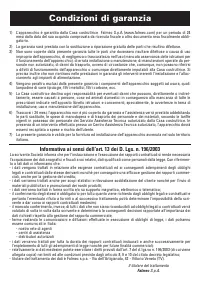
WARRANTY
N
The new equipment is covered by warranty. The warranty conditions are provided by the
distributor.
The manufacturer is not liable for any inaccuracies in this booklet resulting from printing or
transcription errors. The manufacturer reserves the right to modify its products as it consid-
ers necessary or in the interests of the user, without compromising their essential safety and
operating characteristics.
O
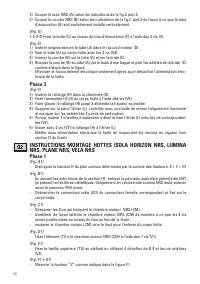
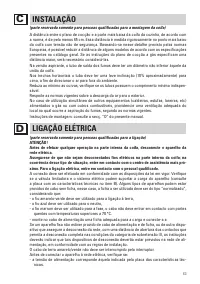
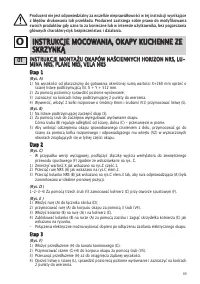
MOUNTING INSTRUCTIONS
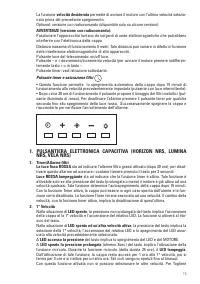
O1 INSTRUCTIONS FOR WALL-MOUNTING OF HORIZON NRS, LUMINA
NRS, PLANE NRS, VELA NRS HOODS
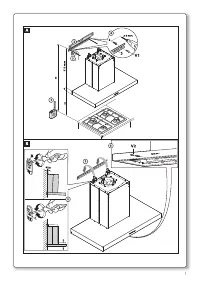
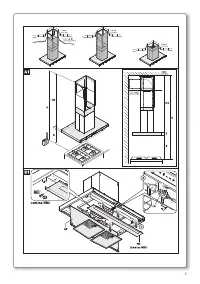
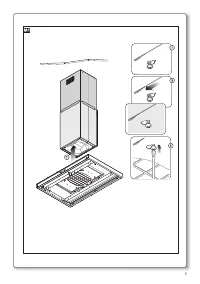
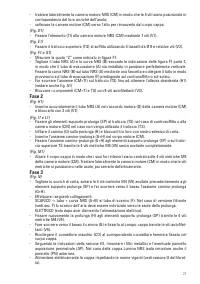
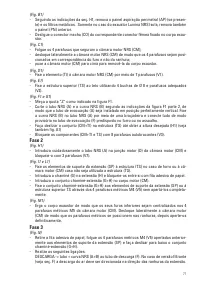
Phase 1
(Fig. A)
1) Place the support bar (S) on the wall at a height H from cooker resulting from the sum of
the quotas: X + Y + 512 mm.
2) With a spirit level, verify the horizontal alignment;
3) mark 2 drilling points at the ends of support bar.
4) Drill, insert 2 ø 8mm expansion plugs and fasten the support bar (S) with the relative screws (V1).
(Fig. B)
1) Hook the hood on the support bar (S).
2) Adjust the alignment of the hood, using the fixing screws. The upper screw (B) adjusts the
distance from the wall, the lower one (C) the vertical scrolling.
3) To prevent the hood from falling due to a pressure below, fasten it to the wall with an ex-
pansion plug and relative screw (V2) using the appropriate holes on the back of the hood.
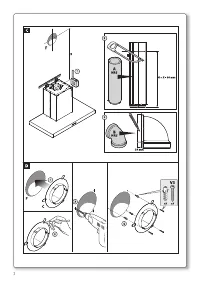
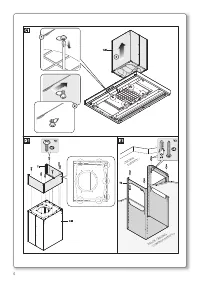
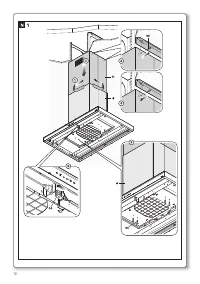
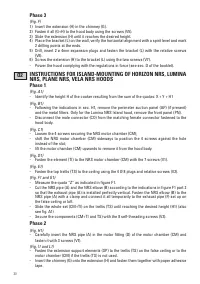
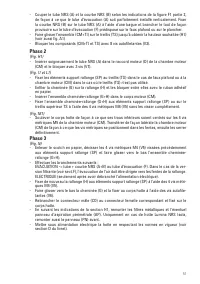
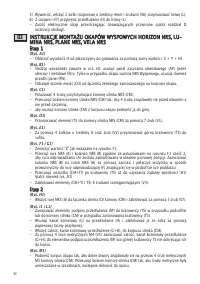
Phase 2
(Fig. C)
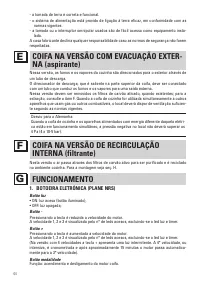
- In case of exhaust version, connect the output fitting of the fan to the external exhaust (F)
following the indications in fig. C.
1) Measure the quota X as indicated in fig.C detail1.
2) Cut the NRS pipe (A) according to the indication in fig.C detail 2.
3) Cut the NRS elbow (B) according to the indications in fig.C detail 3 so that the exhaust pipe
(A) is installed perfectly vertical.
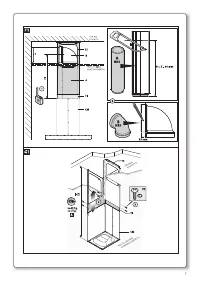
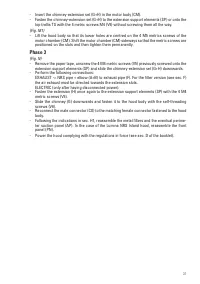
(Fig. D)
1-2-3-4) Fasten the flange (C) at the exhaust hole (F) with the 3 screws V3.
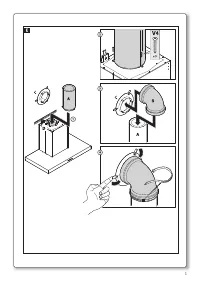
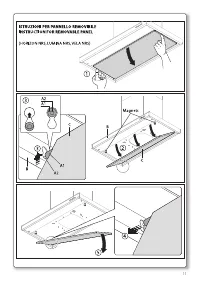
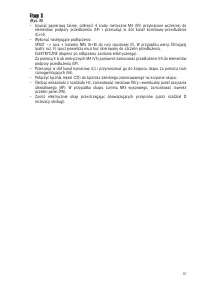
(Fig. E)
1) Carefully insert the pipe (A) in the motor fitting (D);
2) Fasten the pipe (A) to the hood body with the 3 screws (V4).
3) Insert the elbow (B) onto the pipe (A) and flange (C).
4) Secure the elbow (B) to the pipe (A) with a clamp and bend the flaps of the flange (C) as
indicated in the figure.
- Carry out the electric connection only after having disconnected the electric power supply
of the hood.
Содержание
- 78 рис
- 79 îàãúíêõ; åÖíÄããàóÖëäàÖ îàãúíêõ
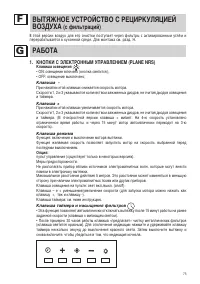
- 80 îàãúíêõ ë ÄäíàÇàêéÇÄççõå ìÉãÖå; éëÇÖôÖçàÖ; ÉÄãéÉÖççéÖ éëÇÖôÖçàÖ; ФЛУОРЕСЦЕНТНАЯ; óàëíäÄ à ìïéÑ; åÖíÄããàóÖëäàÖ îàãúíêõ Ñãü áÄÑÖêÜÄçàü ÜàêÄ
- 83 Этап
Характеристики

Остались вопросы?Не нашли свой ответ в руководстве или возникли другие проблемы? Задайте свой вопрос в форме ниже с подробным описанием вашей ситуации, чтобы другие люди и специалисты смогли дать на него ответ. Если вы знаете как решить проблему другого человека, пожалуйста, подскажите ему :)


