
Вытяжки Elica Wave UX BL MAT/F/51 - инструкция пользователя по применению, эксплуатации и установке на русском языке. Мы надеемся, она поможет вам решить возникшие у вас вопросы при эксплуатации техники.
Если остались вопросы, задайте их в комментариях после инструкции.
"Загружаем инструкцию", означает, что нужно подождать пока файл загрузится и можно будет его читать онлайн. Некоторые инструкции очень большие и время их появления зависит от вашей скорости интернета.


18
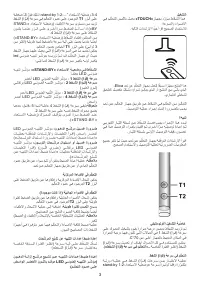
WARNING!
• Failure to install the screws or fixing device in
accordance with these instructions may result in
electrical hazards.
• Do not use with a programmer, timer, separate remote
control system or any other device that switches on
automatically.
• This appliance is marked according to the European
directive 2012/19/EC on Waste Electrical and Electronic
Equipment (WEEE).
• By ensuring this product is disposed of correctly, you will
help prevent potential negative consequences for the
environment and human health, which could otherwise be
caused by inappropriate waste handling of this product.
• The symbol
on the product, or on the documents
accompanying the product, indicates that this appliance may
not be treated as household waste. Instead it should be taken
to the appropriate collection point for the recycling of electrical
and electronic equipment. Disposal must be carried out in
accordance with local environmental regulations for waste
disposal.
• For further detailed information regarding the process,
collection and recycling of this product, please contact the
appropriate department of your local authorities or the local
department for household waste or the shop where you
purchased this product.
Appliance designed, tested and manufactured according to:
• Safety: EN/IEC 60335-1; EN/IEC 60335-2-31, EN/IEC
62233.
• Performance: EN/IEC 61591; ISO 5167-1; ISO 5167-3; ISO
5168; EN/IEC 60704-1; EN/IEC 60704-2-13; EN/IEC 60704-3;
ISO 3741; EN 50564; IEC 62301.
• EMC: EN 55014-1; CISPR 14-1; EN 55014-2; CISPR 14-2;
EN/IEC 61000-3-2; EN/IEC 61000-3-3. Suggestions for a
correct use in order to reduce the environmental impact:
Switch ON the hood at minimum speed when you start
cooking and kept it running for few minutes after cooking is
finished. Increase the speed only in case of large amount of
smoke and vapor and use boost speed(s) only in extreme
situations. Replace the charcoal filter(s) when necessary to
maintain a good odor reduction efficiency. Clean the grease
filter(s) when necessary to maintain a good grease filter
efficiency. Use the maximum diameter of the ducting system
indicated in this manual to optimize efficiency and minimize
noise.
Use
The hood has been made for use in the internal recirculating
filtering version.
Cooking fumes and steam are aspirated inside the hood,
filtered and cleaned, passing through the fat filter/s and the
carbon filter/s that MUST be supplied with the hood.
Attention! If the hood is not supplied with carbon filter,
then it must be ordered and mounted.
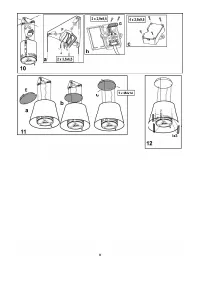
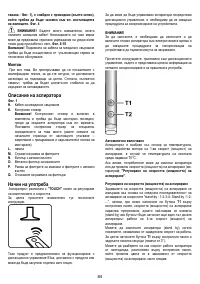
Installation
Specialised personnel must carry out both the electrical
and the mechanical installation.
The minimum distance between the supporting surface for the
cooking equipment on the hob and the lowest part of the
range hood must be not less than 50cm from electric cookers
and 65cm from gas or mixed cookers.
If the instructions for installation for the gas hob specify a
greater distance, this must be adhered to.
Electrical connection
The mains tension must correspond to the tension shown on
the characteristic label situated inside the hood.
The product is meant for connecting directly to the mains
supply, therefore apply a regulation bipolar switch that
ensures complete disconnection from the mains in the
conditions of category III over-tension, conforming to the
installation rules.
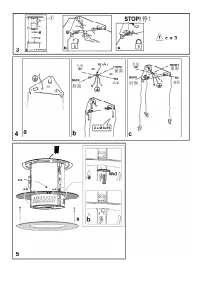
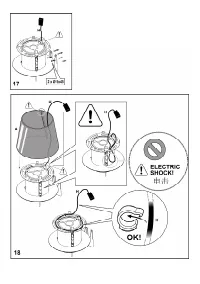
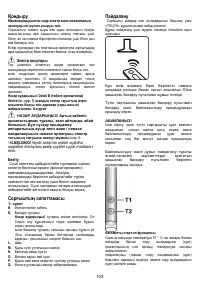
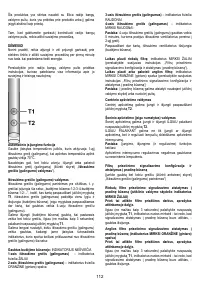
Warning! Detail B (fixing bracket to the ceiling - Fig. 1) is
equipped with a conductor (yellow-green) that must be
connected to the earth of the domestic electrical plant.
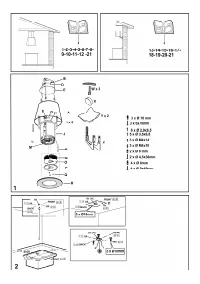
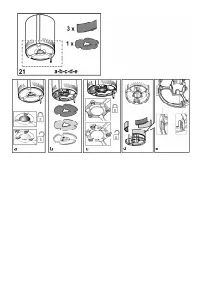
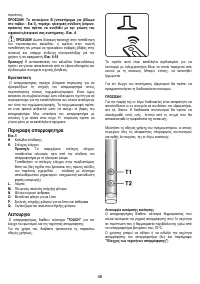
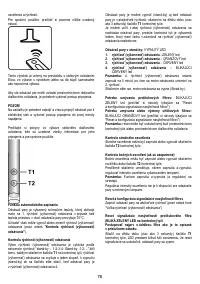
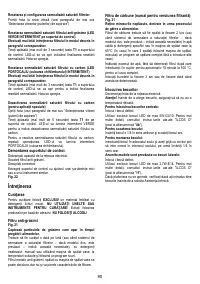
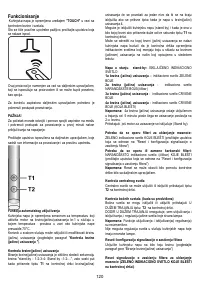
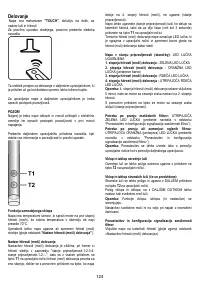
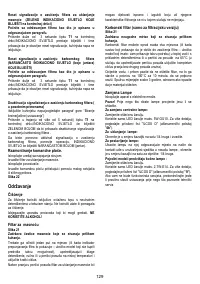
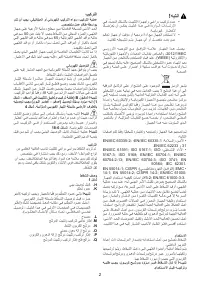
Fig. 4
ATTENTION!
Be particularly careful about positioning
the excess cable. Failure to observe this indication could
cause grave damage to the apparatus and/or an electric
shock to the user or the installer.
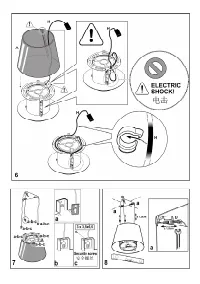
Fig. 6-18
Warining!
Changing the interconnection cable must be
carried out by the authorised technical assistance service.
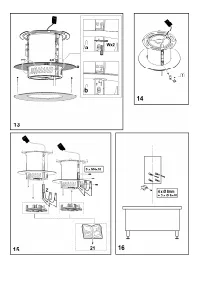
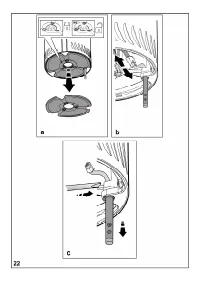
Mounting
Expansion wall plugs are provided to secure the hood to
most types of walls/ceilings. However, a qualified technician
must verify suitability of the materials in accordance with the
type of wall/ceiling. The wall/ceiling must be strong enough to
take the weight of the hood.
Do not tile, grout or silicone this appliance to the wall.
Surface mounting only.
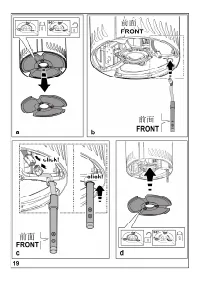
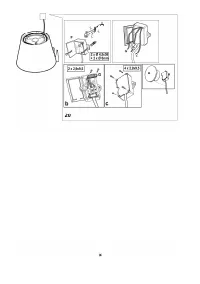
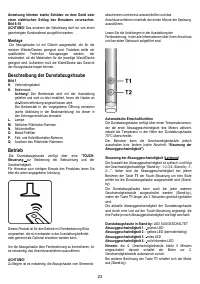
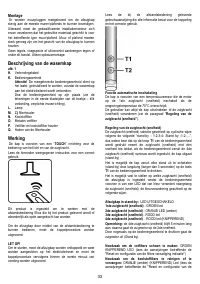
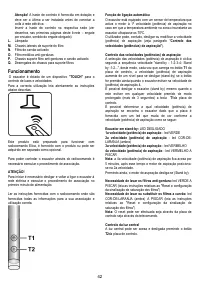
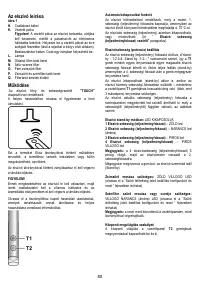
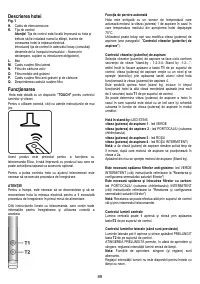
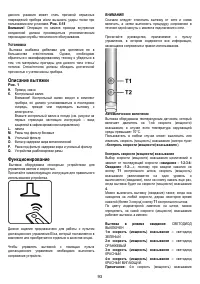
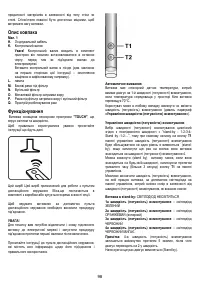
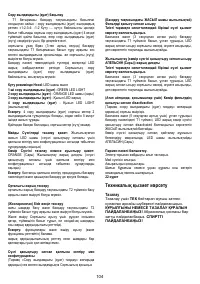
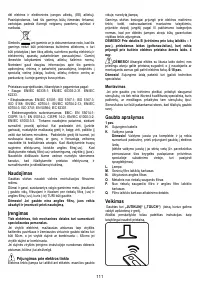
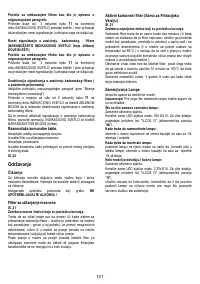
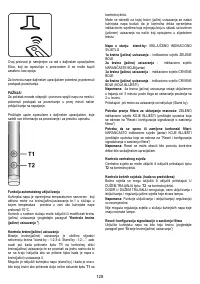
Description of the hood
Fig. 1
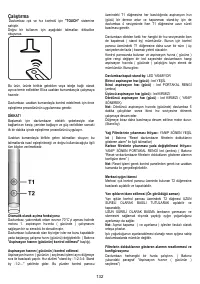
H.
Interconnection
cable
K.
Control
lever
Attention!
The control lever is already supplied. It is to
be installed last, before connecting the hood to the
mains.
Insert the control lever into the apposite housing (see
drawings on the first pages of this booklet - triggered
connection, compulsory direction.
L.
Lamp
M.
Lateral filter holder frame
N.
Active carbon filter
O.
Metal anti-fat filter
P.
Anti-fat and carbon filters holder frame
Q.
Filter holder frame releases


