
Вытяжки Elica WAVE BL/F/51 - инструкция пользователя по применению, эксплуатации и установке на русском языке. Мы надеемся, она поможет вам решить возникшие у вас вопросы при эксплуатации техники.
Если остались вопросы, задайте их в комментариях после инструкции.
"Загружаем инструкцию", означает, что нужно подождать пока файл загрузится и можно будет его читать онлайн. Некоторые инструкции очень большие и время их появления зависит от вашей скорости интернета.


19
Installation
Specialised personnel must carry out both the electrical
and the mechanical installation.
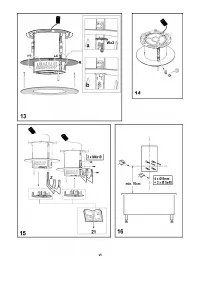
The minimum distance between the supporting surface for the
cooking equipment on the hob and the lowest part of the
range hood must be not less than 50cm from electric cookers
and
65
cm from gas or mixed cookers.
If the instructions for installation for the gas hob specify a
greater distance, this must be adhered to.
Electrical connection
The mains tension must correspond to the tension shown on
the characteristic label situated inside the hood.
The product is meant for connecting directly to the mains
supply, therefore apply a regulation bipolar switch that
ensures complete disconnection from the mains in the
conditions of category III over-tension, conforming to the
installation rules.
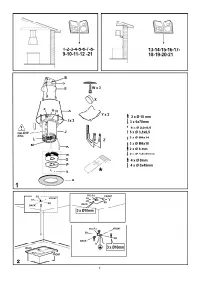
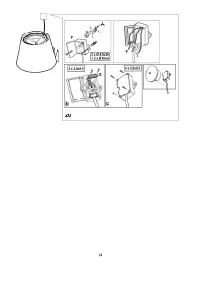
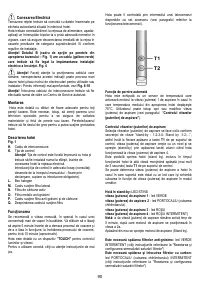
Warning! Detail B (fixing bracket to the ceiling - Fig. 1) is
equipped with a conductor (yellow-green) that must be
connected to the earth of the domestic electrical plant.
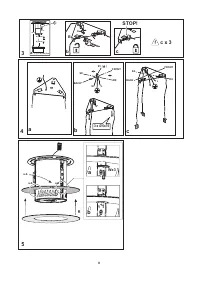
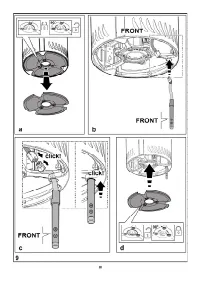
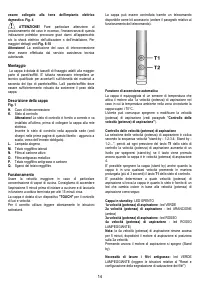
Fig. 4
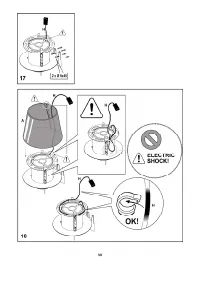
ATTENTION!
Be particularly careful about positioning
the excess cable. Failure to observe this indication could
cause grave damage to the apparatus and/or an electric
shock to the user or the installer. For further details see
Fig.
6-18
Warining!
Changing the interconnection cable must be
carried out by the authorised technical assistance service.
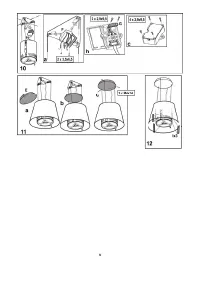
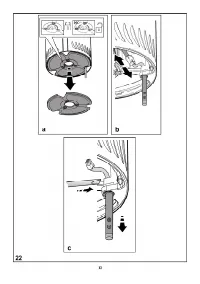
Mounting
Expansion wall plugs are provided to secure the hood to
most types of walls/ceilings. However, a qualified technician
must verify suitability of the materials in accordance with the
type of wall/ceiling. The wall/ceiling must be strong enough to
take the weight of the hood.
Do not tile, grout or silicone
this appliance to the wall. Surface mounting only.
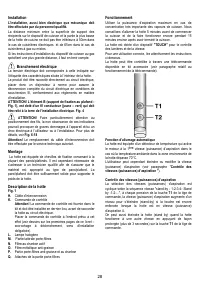
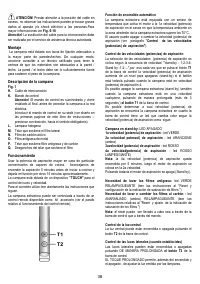
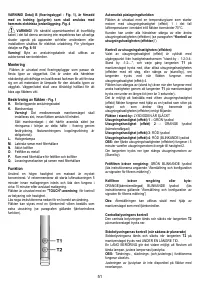
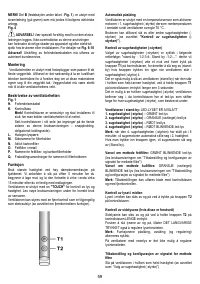
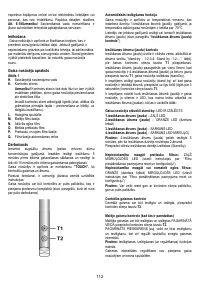
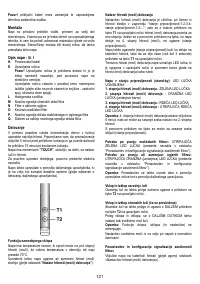
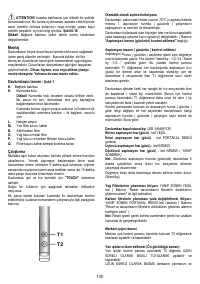
Description of the hood
Fig. 1
H.
Interconnection
cable
K.
Control
lever
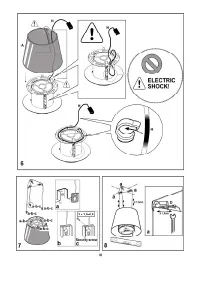
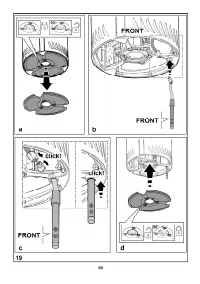
Attention!
The control lever is already supplied. It is to
be installed last, before connecting the hood to the
mains.
Insert the control lever into the apposite housing (see
drawings on the first pages of this booklet - triggered
connection, compulsory direction.
L.
Halogen bulb
M.
Lateral filter holder frame
N.
Active carbon filter
O.
Metal anti-fat filter
P.
Anti-fat and carbon filters holder frame
Q.
Filter holder frame releases
Operation
Use the high suction speed in cases of concentrated kitchen
vapours. It is recommended that the cooker hood suction is
switched on for 5 minutes prior to cooking and to leave in
operation during cooking and for another 15 minutes
approximately after terminating cooking.
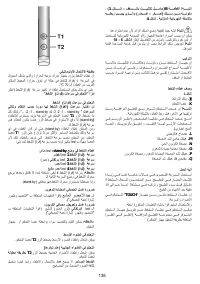
The hood is equipped with a
“TOUCH”
device to control the
lights and speed.
For the correct use please carefully read the intructions below.
The cooker hood can be controlled through a remote control
available as accessory kit (see the paragraph relating to the
functioning of the remote control).
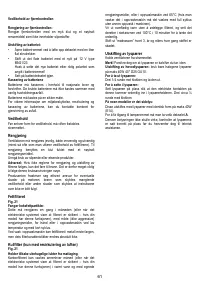
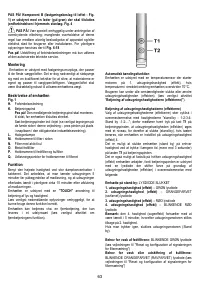
Automatic start-up function
The hood is equipped with a temperature sensor which
activates the motor to the first suction speed (power) in the
event that the temperature in the surrounding area is higher
than 70°C.
The user may switch off or modify the suction speed (power)
(
see paragraph “suction speed (power) control”
).
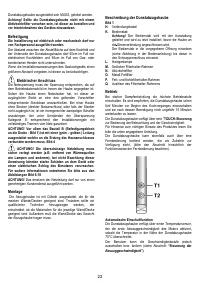
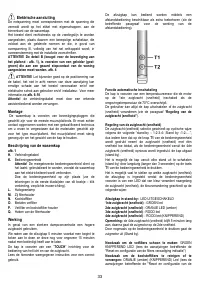
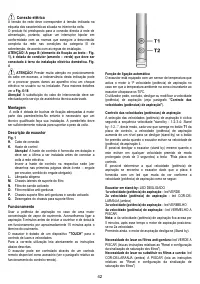
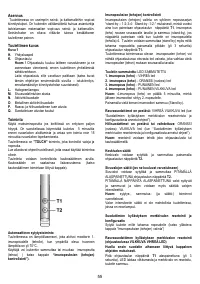
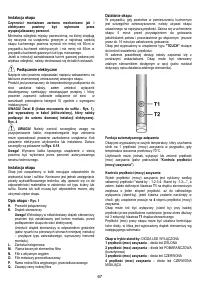
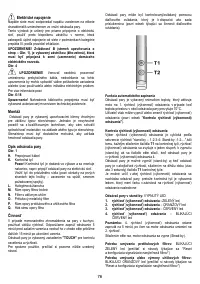
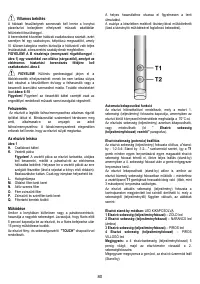
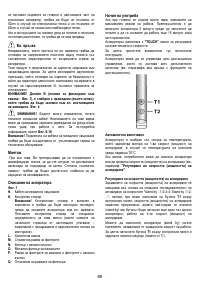
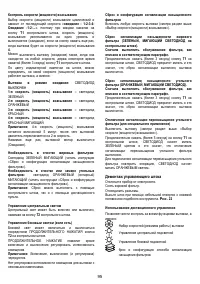
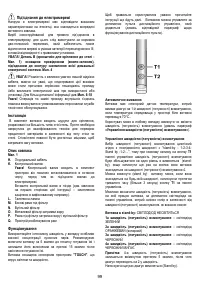
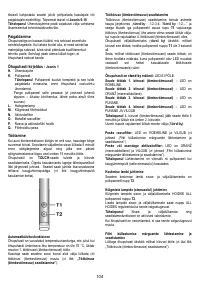
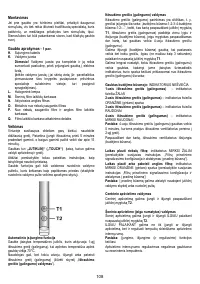
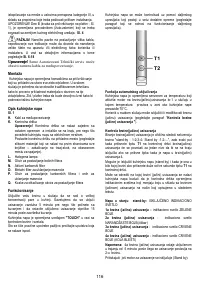
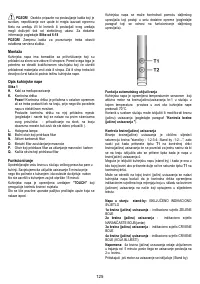
Suction speed (power) control
The suction speed (power) is cyclical depending on the speed
sequence “stand-by – 1-2-3-4- Stand by -1-2-...” therefore
every time the
T1
button
is pressed on the control panel, the
suction speed (power) is increased by one level, in order to
switch off (stand-by) if the button is pressed again when the
hood is in suction speed (power) 4.
The hood may be switched off (stand-by) while the hood is set
on any speed by holding down the
T1
button on the control
panel for a bit longer (more than 3 seconds).
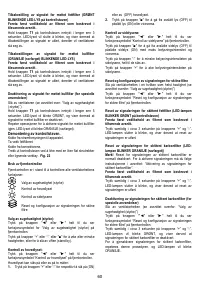
The hood's suction speed (power) may be determined as the
control panel is equipped with a LED light that changes colors
as follows, depending on the suction speed (power):
Hood in stand-by:
LED LIGHT SWITCHED OFF
1st suction speed (power)
-GREEN LED LIGHT
2nd suction speed (power)
– ORANGE LED LIGHT (amber)
3rd suction speed (power)
- RED LED LIGHT
4th suction speed (power)
- RED LED LIGHT (FLASHING)
Note:
The 4th suction speed (power) stays on for 5 minutes,
after which the suction motor will position itself on the 2nd
speed.
If pressed again, the suction motor will switch off (stand-by).
Характеристики

Остались вопросы?Не нашли свой ответ в руководстве или возникли другие проблемы? Задайте свой вопрос в форме ниже с подробным описанием вашей ситуации, чтобы другие люди и специалисты смогли дать на него ответ. Если вы знаете как решить проблему другого человека, пожалуйста, подскажите ему :)


