
Вытяжки Elica APLOMB-RS BL/A/60 - инструкция пользователя по применению, эксплуатации и установке на русском языке. Мы надеемся, она поможет вам решить возникшие у вас вопросы при эксплуатации техники.
Если остались вопросы, задайте их в комментариях после инструкции.
"Загружаем инструкцию", означает, что нужно подождать пока файл загрузится и можно будет его читать онлайн. Некоторые инструкции очень большие и время их появления зависит от вашей скорости интернета.


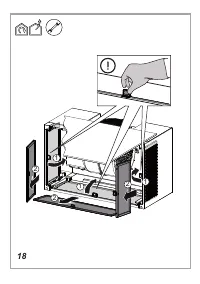


18
Use
The hood is conceived for the suction of cooking fumes and steam
and is destined only for domestic use.
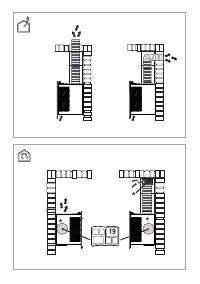
The hood is designed to be used either for exhausting or filter
version.
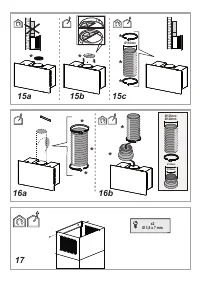
Extraction version
In this case the fumes are conveyed outside of the building by
means of a special pipe connected with the connection ring
located on top of the hood.
CAUTION
!
The exhausting pipe is not supplied and must be purchased apart.
Diameter of the exhausting pipe must be equal to that of the
connection ring.
CAUTION
!
If the hood is supplied with active charcoal filter, then it must be
removed.
Connect the hood and discharge holes on the walls with a
diameter equivalent to the air outlet (connection flange).
Using the tubes and discharge holes on walls with smaller
dimensions will cause a diminution of the suction performance and
a drastic increase in noise.
Any responsibility in the matter is therefore declined.
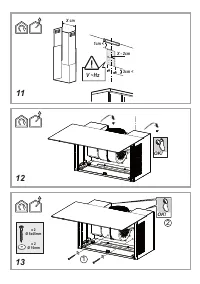
!
Use a duct of the minimum indispensable length.
!
Use a duct with as few elbows as possible (maximum elbow
angle: 90°).
!
Avoid drastic changes in the duct cross-section.
Filtration version
The aspirated air will be degreased and deodorised before being
fed back into the room.
In order to use the hood in this version, you have to install a
system of additional filtering based on activated charcoal.
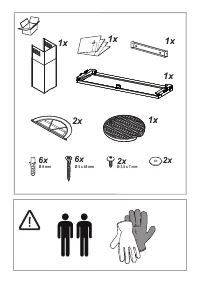
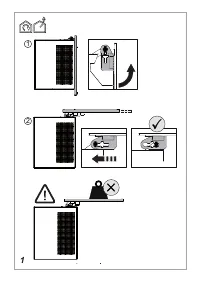
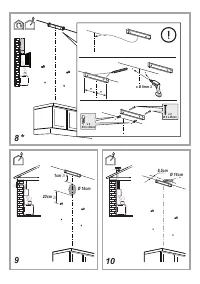
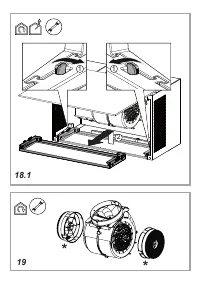
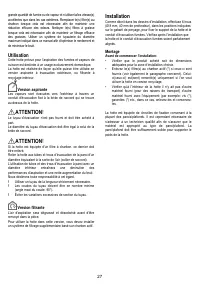
Installation
As described in the installation drawings perform 6 holes (8 mm
diameter, 40 mm deep), in the positions shown in the drilling
template, to fix the hood support bracket and the exhaust flue.
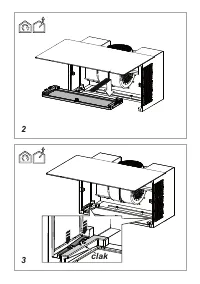
After installation, check that the hood and exhaust flue are
perfectly aligned.
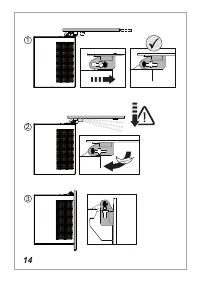
Mounting
Before beginning installation:
•
Check that the product purchased is of a suitable size for the
chosen installation area.
•
Remove the charcoal (*) filter/s if supplied (see also relative
paragraph). This/these is/are to be mounted only if you want
lo use the hood in the filtering version.
•
Check (for transport reasons) that there is no other supplied
material inside the hood (e.g. packets with screws (*),
guarantees (*), etc.), eventually removing them and keeping
them.
Expansion wall plugs are provided to secure the hood to most
types of walls/ceilings. However, a qualified technician must verify
suitability of the materials in accordance with the type of
wall/ceiling. The wall/ceiling must be strong enough to take the
weight of the hood.
Do not tile, grout or silicone this appliance to the wall. Surface
mounting only.
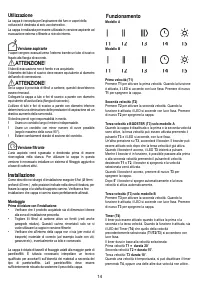
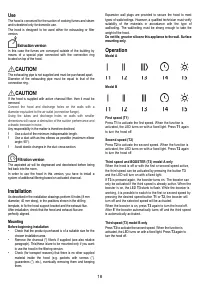
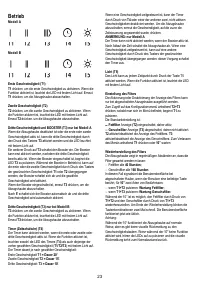
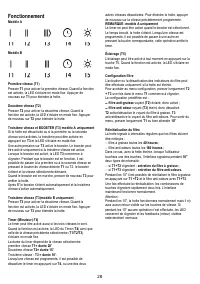
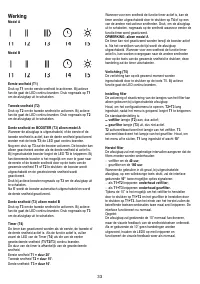
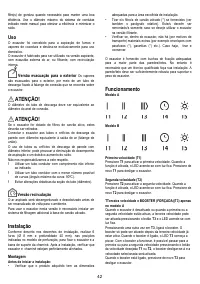
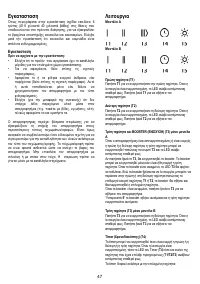
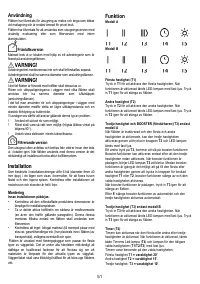
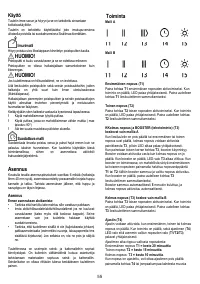
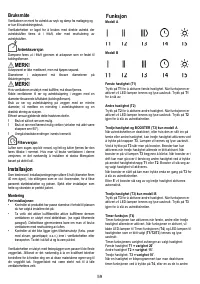
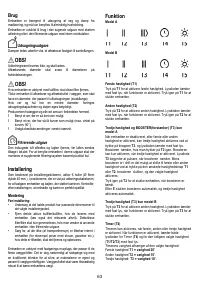
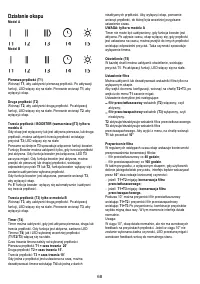
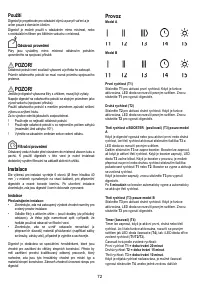
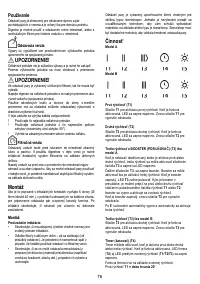
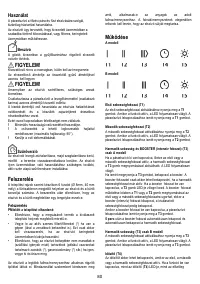
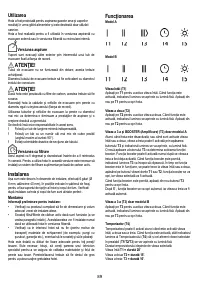
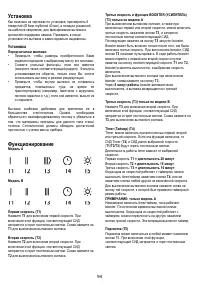
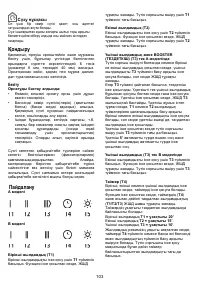
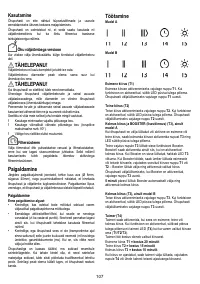
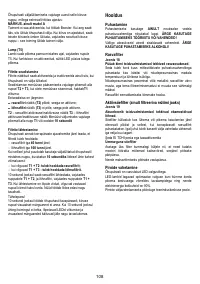
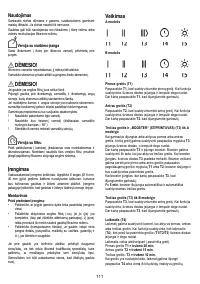
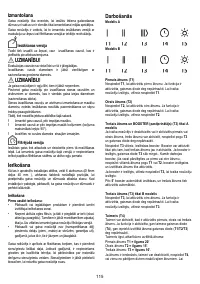
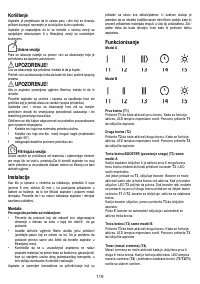
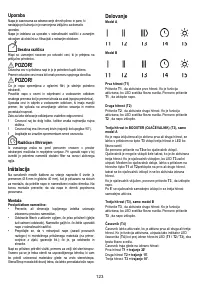
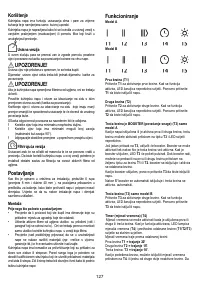
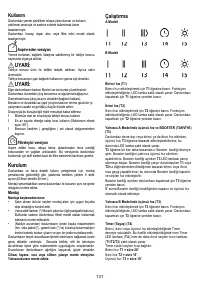
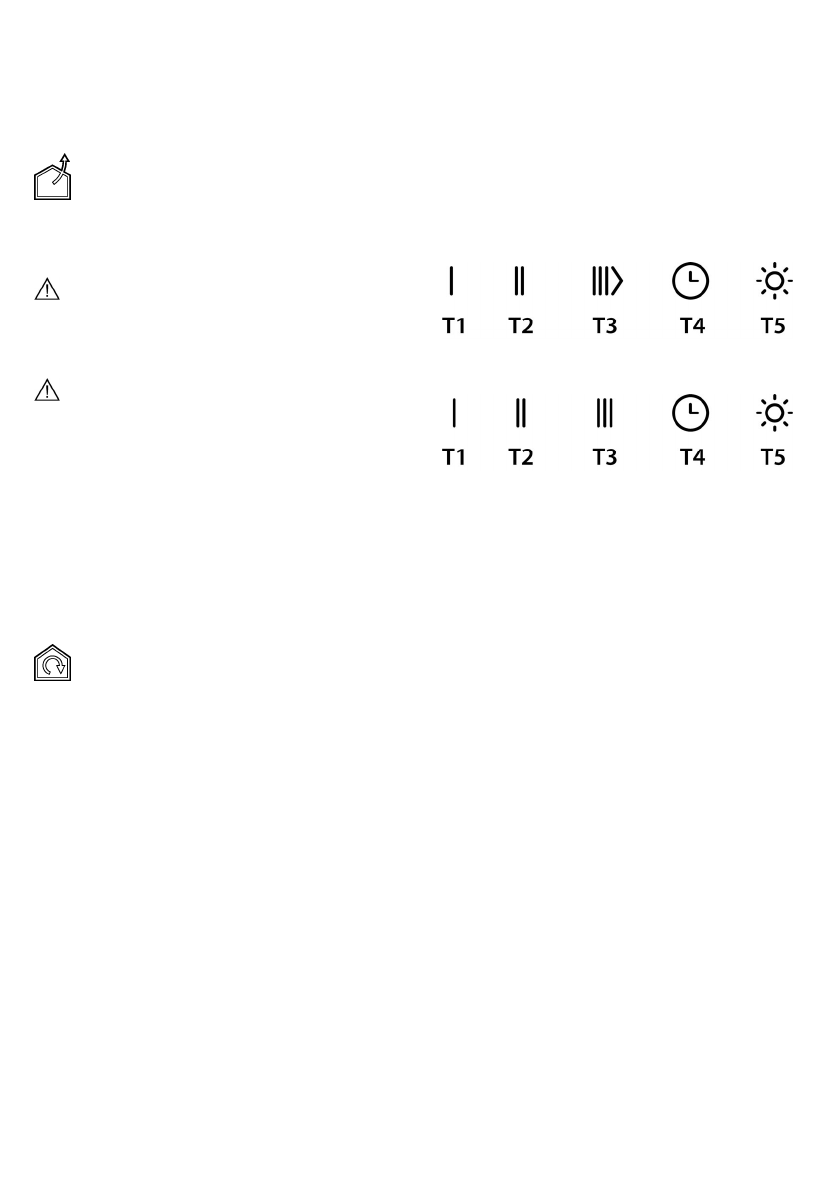
Operation
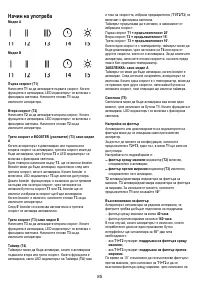
Model A
Model B
First speed (T1)
Press
T1
to activate the first speed. When the function is
activated, the LED turns on with a fixed light. Press
T1
again
to turn the hood off.
Second speed (T2)
Press
T2
to activate the second speed. When the function is
activated, the LED turns on with a fixed light. Press
T2
again
to turn the hood off.
Third speed and BOOSTER (T3) model A only
When the hood is off or with the first or second speed active,
the third speed can be activated by pressing the button
T3
and the LED will turn on with a fixed light.
If
T3
is pressed again, the booster turns on. The booster can
only be activated if the third speed is already active. When the
booster is on, the LED
T3
starts to flash. While the booster is
working, it is possible to switch to the first or second speed by
pressing the desired speed button
T1
or
T2
, the booster will
turn off and the selected speed will be activated.
When the booster is on, press
T3
again to turn the hood off.
After
5’
the booster automatically turns off and the third speed
is automatically activated.
Third speed (T3) model B only
Press
T3
to activate the second speed. When the function is
activated, the LED turns on with a fixed light. Press
T3
again to
turn the hood off.


