
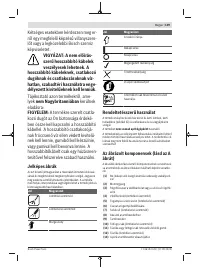
Воздуходувки Bosch UniversalGardenTidy 3000 - инструкция пользователя по применению, эксплуатации и установке на русском языке. Мы надеемся, она поможет вам решить возникшие у вас вопросы при эксплуатации техники.
Если остались вопросы, задайте их в комментариях после инструкции.
"Загружаем инструкцию", означает, что нужно подождать пока файл загрузится и можно будет его читать онлайн. Некоторые инструкции очень большие и время их появления зависит от вашей скорости интернета.


18
| English
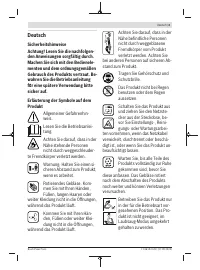
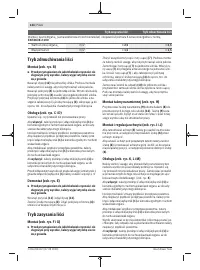
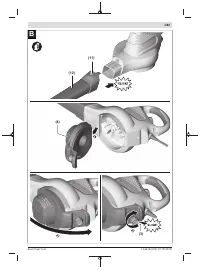
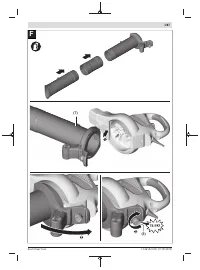
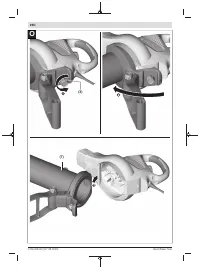
Disassembling (see figure E)
u
Before any work on the product, disconnect supply
cord from the mains.
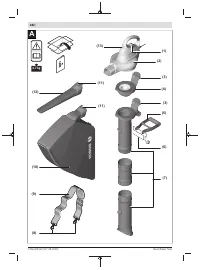
Press button
(11)
in and remove the nozzle
(12)
.
Loosen the fastening screw
(3)
. Remove the safety cover
(4)
and store it securely.
Vacuum Mode
Assembling (see figures F and G)
u
Before any work on the product, disconnect supply
cord from the mains.
Connect the three parts of the vacuum tube
(7)
. Take care
not to pinch your fingers during assembly.
Mount the vacuum tube
(7)
onto the motor unit. Insert the
vacuum tube
(7)
into the hinge on the motor unit. Raise the
vacuum tube
(7)
to align the fastening screw with main hous-
ing, and screw in the fastening screw
(3)
until fully tight and
clicks are heard to secure the vacuum tube.
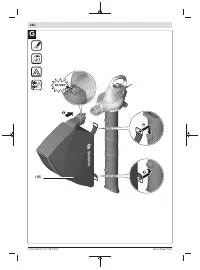
Mount the collection bag
(10)
to the motor unit and attach
the bag clips to the hooks on the vacuum tube. Take care not
to pinch your fingers during assembly.
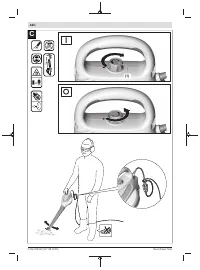
Mounting the shoulder strap (see figure H)
Fasten the shoulder strap
(9)
with both hooks
(8)
to the
shoulder strap loops
(13)
, Adjust the shoulder strap
(9)
so
that it comfortably carries the weight of the product and can
be guided easily.
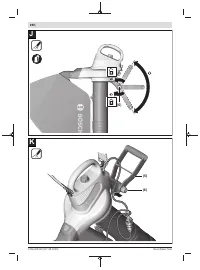
Mounting and Adjusting the handle (see figures I
and J)
To attach the handle, place the handle
(5)
over the holders
on the tube, then insert the screw
(6)
though the handle and
tighten.
To adjust the angle, loosen the screw
(6)
, move the handle
(5)
up or down to the desired working position and then
tighten the screw
(6)
again.
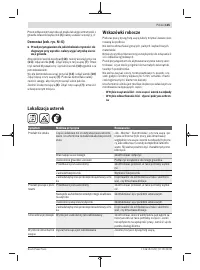
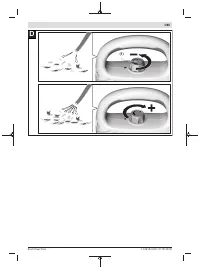
Operating (see figures K, L and M)
Beware of trip hazards such as the supply cable or unatten-
ded product. Make sure that the cable is not in your way
while working. Fasten the cable in the cable holder on the
side of the auxiliary handle. (see figure
K
)
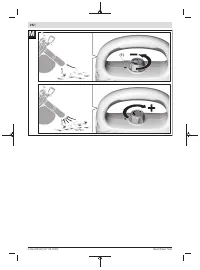
To
switch on
, turn the On/Off switch
(1)
clockwise until it
clicks.
The airflow speed is variable. To increase the airflow speed,
turn the On/Off switch
(1)
clockwise.
To reduce the speed, turn the On/Off switch
(1)
anticlock-
wise.
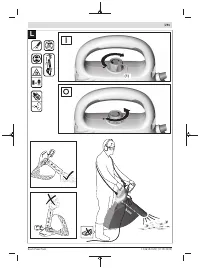
Direct the vacuum tube towards the debris that you want to
collect. If no debris is collected/moved, increase the airflow
speed.
To
switch off
, turn the On/Off switch
(1)
anticlockwise until
it clicks.
Set the On/Off switch
(1)
of the product to "0" before dis-
connecting the mains voltage or pulling the mains plug.
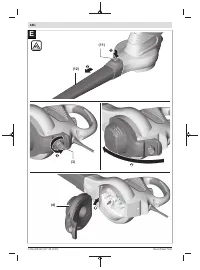
Disassembling (see figures N and O)
u
Before carrying out any work on the product, discon-
nect supply cord from the mains.
To empty the collection bag
(10)
, press button
(11)
and re-
move the collection bag
(10)
. Remove the clips from the va-
cuum tube
(7)
. Open the zip and empty the collection bag
(10)
as required.
To disassemble, press button
(11)
and remove the collec-
tion bag
(10)
. Remove the clips from the vacuum tube
(7)
.
Take care not to pinch your fingers during disassembly.
Loosen the fastening screw
(3)
. Remove the vacuum tube
(7)
and store it securely.
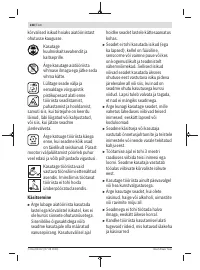
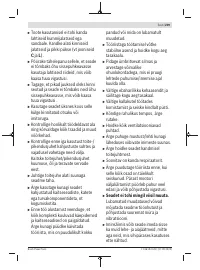
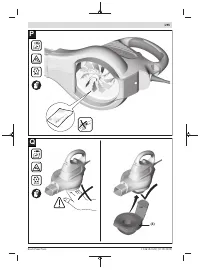
Working Advice
When operating, always point the nozzle/vacuum tube to-
wards the ground.
Do not blow hot, flammable or explosive material.
The product is only suitable for foliage and garden waste.
Please inspect the area for little animals and hard objects be-
fore using the product.
Do not vacuum liquids, plastic bags, cans, pine cones,
branches larger than 5 mm (Ø > 5 mm), cloth, tissues and
pegs.
The motor will only start, if the following parts are assembled
correctly:
–
vacuum tube and collection bag in vacuum mode
–
nozzle and safety cover in blow mode
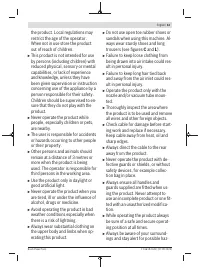
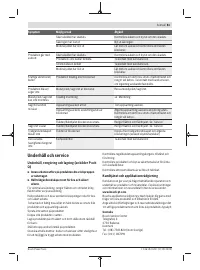
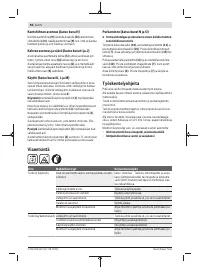
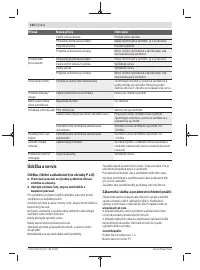
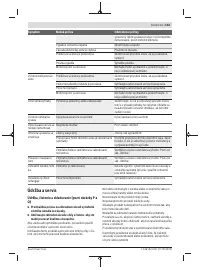
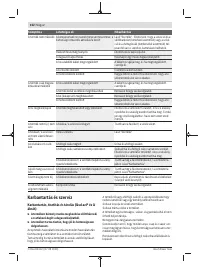
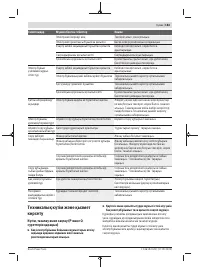
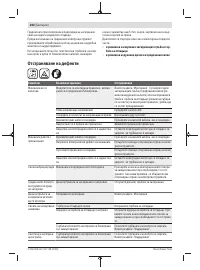
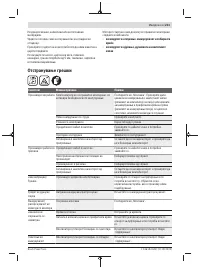
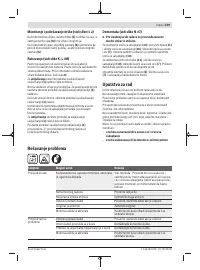
Troubleshooting
Problem
Possible Cause
Corrective Measure
Product does not run
Components not assembled correctly, safety in-
terlock activated
See “assembly”. Check that the tube and the
safety cover (Blow Mode) or the tube and the col-
lection bag (Vacuum Mode) are fully assembled,
clicks are heard.
F 016 L94 042 | (17.09.2020)
Bosch Power Tools
Содержание
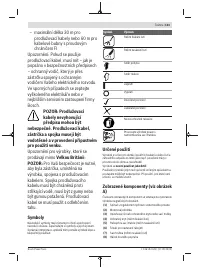
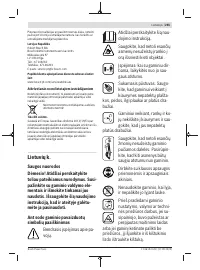
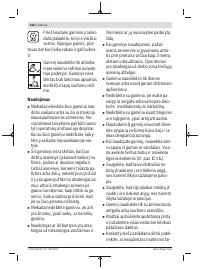
- 154 Пояснения к символам на изделии; дящихся поблизости людей.
- 155 Эксплуатация
- 156 Не переносите изделие за шнур.; Ничего не меняйте в изделии.
- 157 Извлекайте штепсель из розетки:; – всегда, когда оставляете изделие; Электроподключение
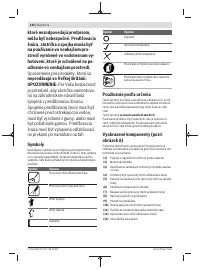
- 159 британии; В интересах Вашей; Символы; Применение по назначению
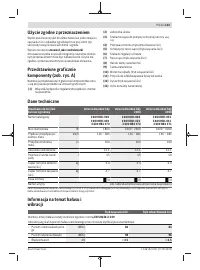
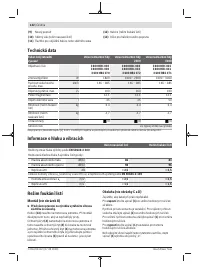
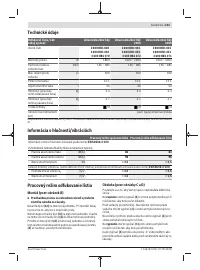
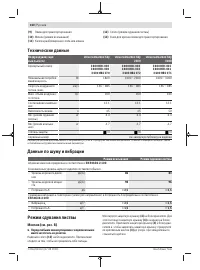
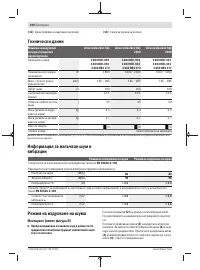
- 160 Технические данные; Данные по шуму и вибрации; Режим сдувания листвы
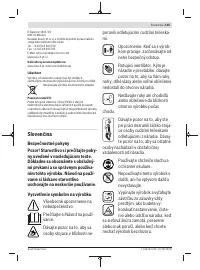
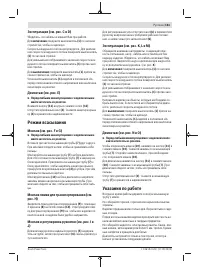
- 161 Указания по работе
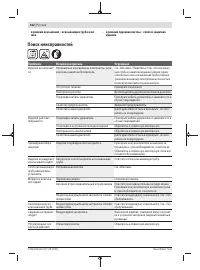
- 162 Поиск неисправностей
- 163 Техобслуживание и сервис; Утилизация; Українська
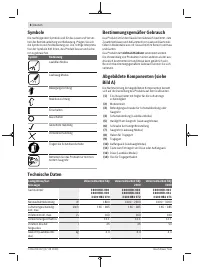
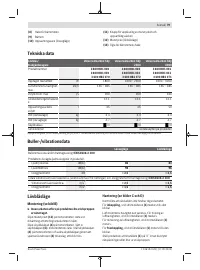
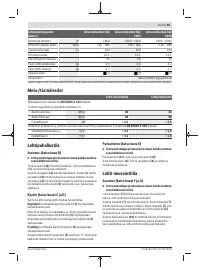
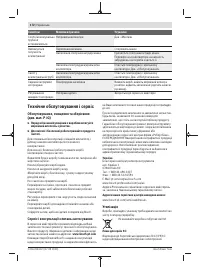
Характеристики

Остались вопросы?Не нашли свой ответ в руководстве или возникли другие проблемы? Задайте свой вопрос в форме ниже с подробным описанием вашей ситуации, чтобы другие люди и специалисты смогли дать на него ответ. Если вы знаете как решить проблему другого человека, пожалуйста, подскажите ему :)


