
Водонагреватели Timberk T-WSS80-FS40D-V - инструкция пользователя по применению, эксплуатации и установке на русском языке. Мы надеемся, она поможет вам решить возникшие у вас вопросы при эксплуатации техники.
Если остались вопросы, задайте их в комментариях после инструкции.
"Загружаем инструкцию", означает, что нужно подождать пока файл загрузится и можно будет его читать онлайн. Некоторые инструкции очень большие и время их появления зависит от вашей скорости интернета.


IM2021
26
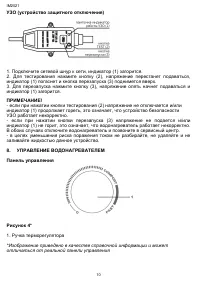
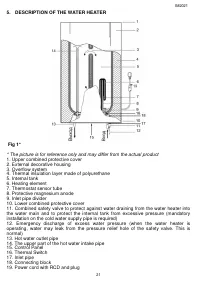
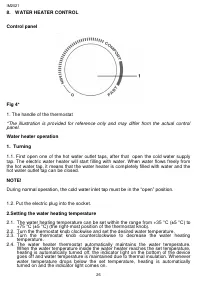
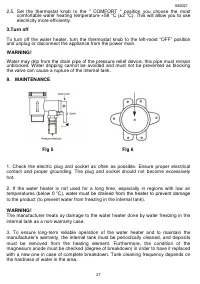
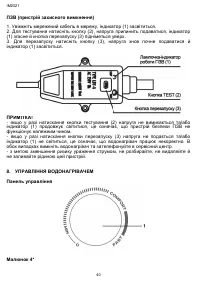
8. WATER HEATER CONTROL
Control panel
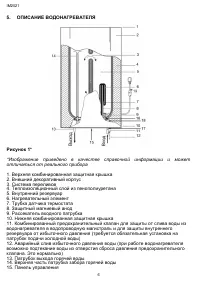
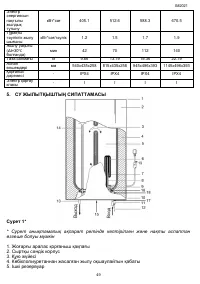
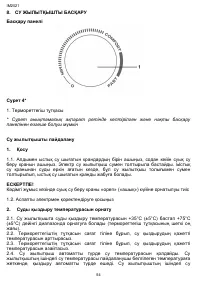
Fig 4*
1. The handle of the thermostat
*The illustration is provided for reference only and may differ from the actual control
panel.
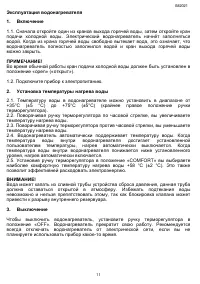
Water heater operation
1. Turning
1.1. First open one of the hot water outlet taps, after that open the cold water supply
tap. The electric water heater will start filling with water. When water flows freely from
the hot water tap, it means that the water heater is completely filled with water and the
hot water outlet tap can be closed.
NOTE!
During n
ormal operation, the cold water inlet tap must be in the “open” position.
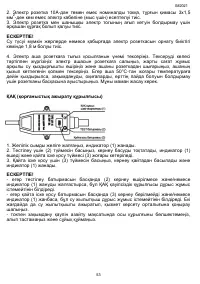
1.2. Put the electric plug into the socket.
2.Setting the water heating temperature
2.1. The water heating temperature can be set within the range from +35
°C (±5 °C) to
+75
°C (±5 °C) (the right-most position of the thermostat knob).
2.2. Turn the thermostat knob clockwise and set the desired water temperature.
2.3. Turn the thermostat knob counterclockwise to decrease the water heating
temperature.
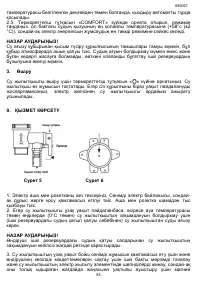
2.4. The water heater thermostat automatically maintains the water temperature.
When the water temperature inside the water heater reaches the set temperature,
heating is automatically turned off, the indicator light on the bottom of the device
goes off and water temperature is maintained due to thermal insulation. Whenever
water temperature drops below the set temperature, heating is automatically
turned on and the indicator light comes on.
Содержание
- 4 НАЗНАЧЕНИЕ ПРИБОРА
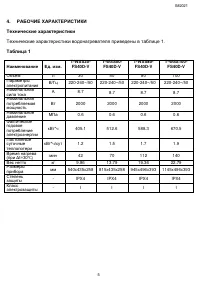
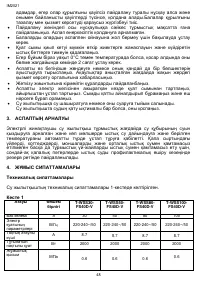
- 5 РАБОЧИЕ ХАРАКТЕРИСТИКИ; Наименование
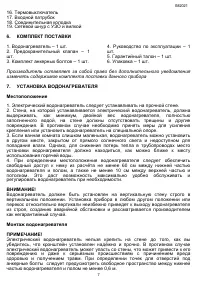
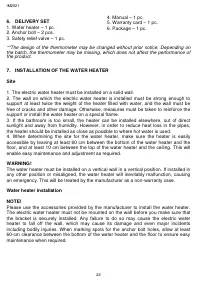
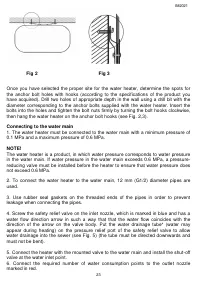
- 7 КОМПЛЕКТ ПОСТАВКИ; изменять содержимое комплекта поставки данного прибора; УСТАНОВКА ВОДОНАГРЕВАТЕЛЯ
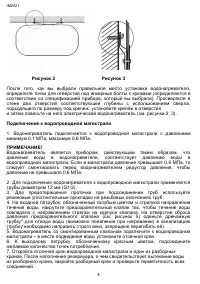
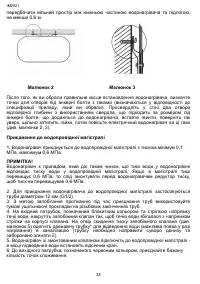
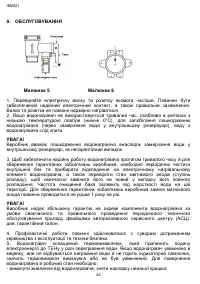
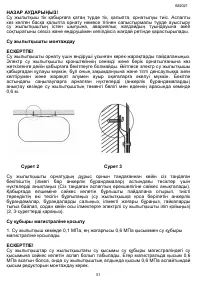
- 8 Рисунок 2 Рисунок 3; определите точки для отверстий под анкерные болты с крюками
- 9 повторное использование старых шлангов не допускается
- 10 Ручка терморегулятора
- 11 Включение
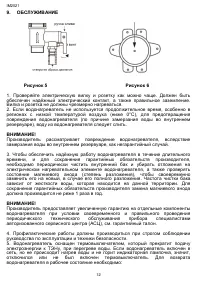
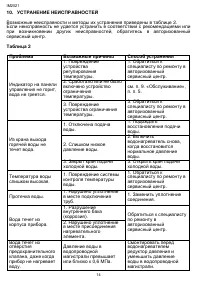
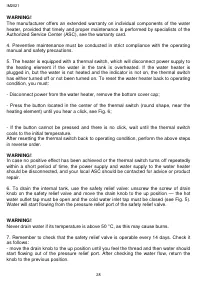
- 12 ОБСЛУЖИВАНИЕ
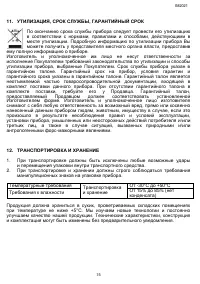
- 15 УТИЛИЗАЦИЯ, СРОК СЛУЖБЫ, ГАРАНТИЙНЫЙ СРОК
Характеристики

Остались вопросы?Не нашли свой ответ в руководстве или возникли другие проблемы? Задайте свой вопрос в форме ниже с подробным описанием вашей ситуации, чтобы другие люди и специалисты смогли дать на него ответ. Если вы знаете как решить проблему другого человека, пожалуйста, подскажите ему :)


