
Видеорегистратор Soundmax SM-DVR55FHD - инструкция пользователя по применению, эксплуатации и установке на русском языке. Мы надеемся, она поможет вам решить возникшие у вас вопросы при эксплуатации техники.
Если остались вопросы, задайте их в комментариях после инструкции.
"Загружаем инструкцию", означает, что нужно подождать пока файл загрузится и можно будет его читать онлайн. Некоторые инструкции очень большие и время их появления зависит от вашей скорости интернета.


3
Instruction manual
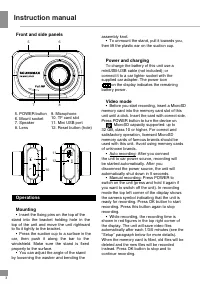
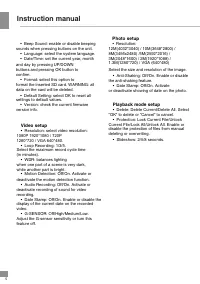
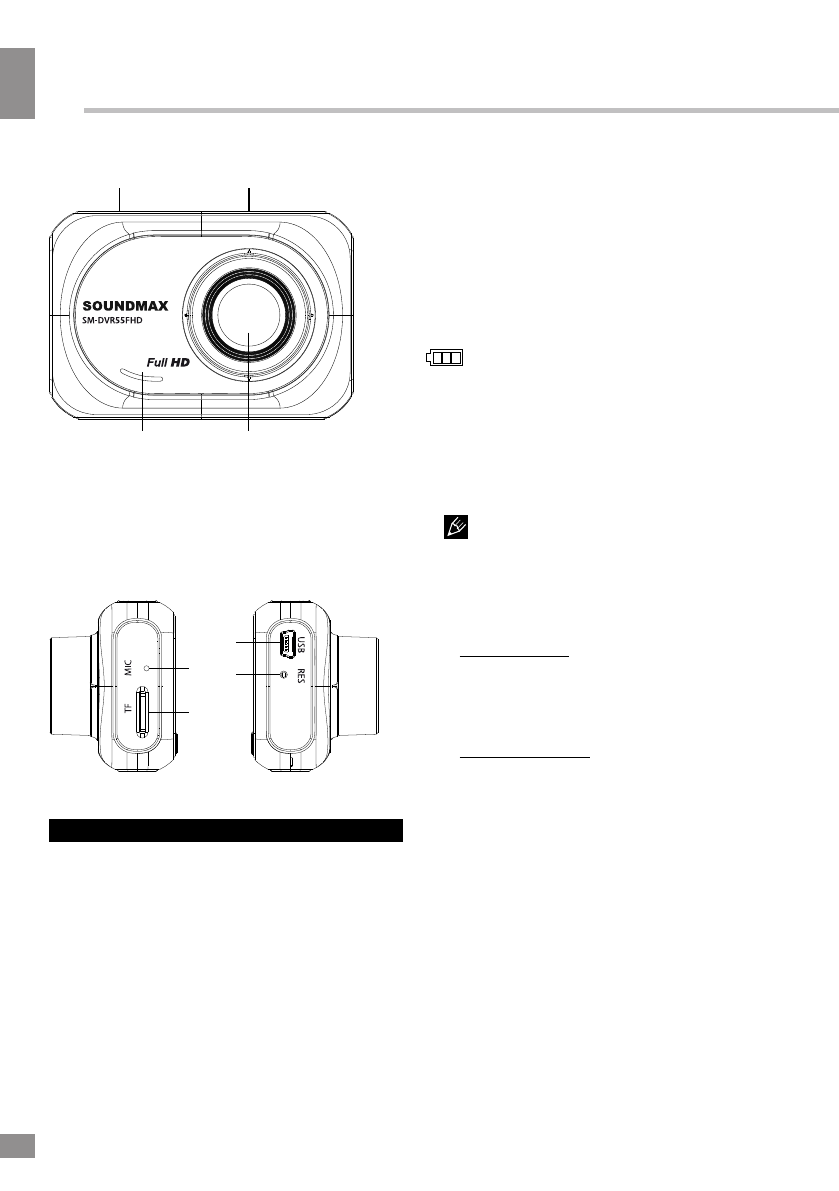
Front
and side
panel
s
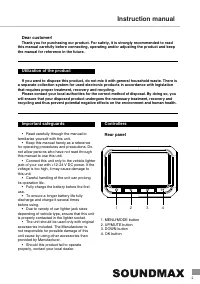
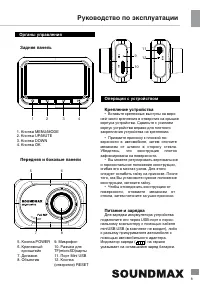
5. POWER button
6. Mount socket
7. Speaker
8. Lens
Operations
Mounting
•
Insert the fixing pins on the top of the
stand into the bracket holding hole in the
top of the unit and move the unit
right
ward
to fix it tightly to the bracket.
• Press the suction cup to a surface in the
car, then push it along the bar to the
windshield. Make sure the stand is fixed
properly to the surface.
• You can adjust the angle of the stand
by loosening the washer and bending the
assembly knot.
• To unmount the stand,
pull it towards you,
then lift the plastic ear on the suction cup.
Power and charging
To charge the battery of this unit
use a
miniUSB-
USB cable
(not included)
; or
connect it to a car lighter socket with the
supplied car adapter. The power icon
on the display indicates the remaining
battery power.
Video mode
• Before you start recording, insert a MicroSD
memory card into the memory card slot of this
unit until a click. Insert the card with correct side.
Press POWER button to turn
the device
on.
MicroSD capacity supported: up to
32
GB, class
10
or higher. For correct and
satisfactory operation, licensed MicroSD
memory cards of famous brands should be
used with this unit. Avoid using memory cards
of unknown brands.
• Auto recording: After you connect
the unit to car power source, recording will
be started automatically. After you
disconnect the power source, the unit
will
automatically shut down in 5 seconds
.
• Manual recording: Press
POWER
to
switch on the unit (press and hold it again if
you want to switch off the unit). In recording
mode the top left corner of the display shows
the camera symbol indicating that the unit is
ready for recording. Press OK button to start
recording. Press this button again to stop
recording.
• While recording, the recording time is
shown in red figures in the top
right
corner of
the display. The unit will save video files
automatically after each 1/3/5 minutes (see the
"Setup" paragraph below for more details).
When the memory card is filled, old files will be
deleted and the new files will be recorded
instead. Press OK button to stop and to
continue recording.
5
6
7
8
9.
Microphone
10.
TF card slot
11.
Mini USB port
12.
Reset button (hole)
9
10
11
12
Содержание
- 8 Органы управления; вправо; Питание и зарядка; Для зарядки аккумулятора устройства; Кнопка
- 9 Режим видео; секунд; Режим фото; ми
- 10 Воспроизведение; мите и удерживайте кнопку; Подключение к ПК; Нажмите; Общие настройки системы; жения даты с помощью кнопок UP/DOWN и
- 11 Настройки в режиме записи видео; . Разрешение влияет на; Настройки фото; ить
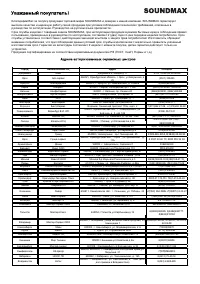
- 12 Комплект поставки; Крепление; Технические характеристики; питания; «ТЕХНО ЭЛЕКТРИК ЛИМИТЕД»; Сделано в Китае
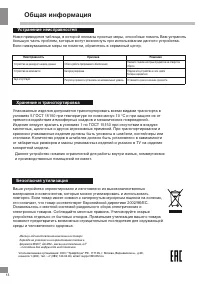
- 13 Устранение неисправностей; которые могут; Общая информация


