
Варочная панель Barazza 1PIDC120N - инструкция пользователя по применению, эксплуатации и установке на русском языке. Мы надеемся, она поможет вам решить возникшие у вас вопросы при эксплуатации техники.
Если остались вопросы, задайте их в комментариях после инструкции.
"Загружаем инструкцию", означает, что нужно подождать пока файл загрузится и можно будет его читать онлайн. Некоторые инструкции очень большие и время их появления зависит от вашей скорости интернета.


21
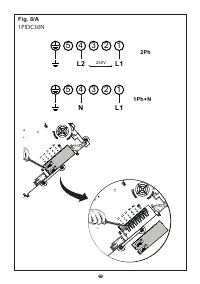
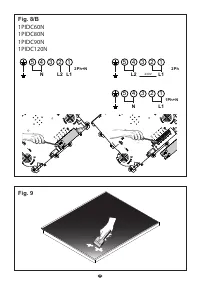
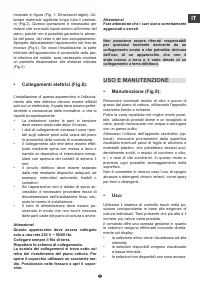
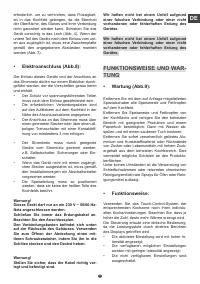
• Electric connections (Fig.8):
•
The installation of this appliance and the
connection to the electrical network should
be entrusted only to an electrician perfectly
to the fact of the normative regulations and
which respects them scrupulously.
•
Protection against the parts under tension
must be ensured after the building-in.
•
The data of connection necessary are on the
stickers place on the hob casing near the
connection box.
•
The connection to the main must be made
using an earthed plug or via an omnipolar
circuit breaking device with a contact
opening of at least 3 mm.
•
The electrical circuit must be separated from
the network by adapted devices, for example:
circuit breakers, fuses or contactors.
•
If the appliance is not fitted with an
accessible plug, disconnecting means must
be incorporated in the fixed installation, in
accordance with the installation regulations.
•
The inlet hose must be positioned so that it
does not touch any of the hot parts of the
hob or even.
Caution!
This appliance has only to be connected to a
network 230 V~ 50/60 Hz.
Connect always the earth wire.
Respect the connection diagram.
The connection box is located underneath at
the back of the hob casing. To open the cover
use a medium screwdriver. Place it in the slits
and open the cover.
Caution!
Be careful that the cables are correctly
engaged and tightenet.
We cannot be held responsible for any incident
resulting from incorrect connection or which
could arise from the use of an appliance which
has not been earthed or has been equipped
with a faulty earth connection.
USE AND MAINTENANCE
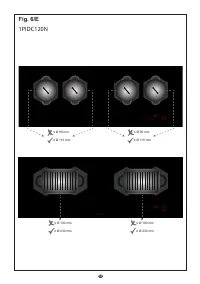
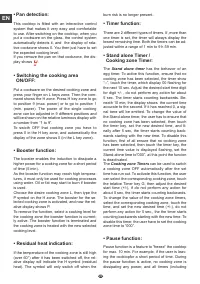
• Maintenance (Fig.9):
Remove any food residue and grease drops from
the cooking surface, by using the special scraper
provided on request.
Clean the heated area in the best way possible,
using suitable products and a paper towel, then
rinse with water and wipe away with a clean cloth.
Through the use of the special scraper (optional),
promptly remove any pieces of aluminum foil and
plastic material, which might have accidentally
melted, or sugar or food remains, and/or remains
of sugary foods, from the heated surface. In this
way, any possible damage to the surface is pre-
vented.
The use of abrasive sponges or irritating chemical
cleaners, such as sprays for ovens or cleaning
agents is not allowed under any circumstance.
• Use:
Use the touch control system in the correspond-
ing position according to individual cooking
needs. Keep in mind that the higher the number,
the more heat is produced.
The command offer a convenient handling as se-
lections are performed by touching directly on the
display:
•
the acitive selection is displayed with high
intensity;
•
avaible selections are displayed with a low
intensity;
•
unavaible selections are not lighted.
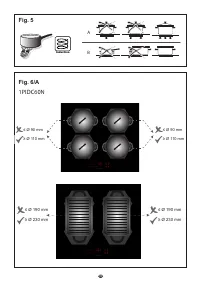
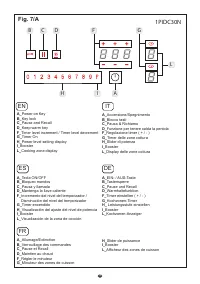
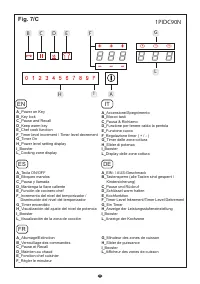
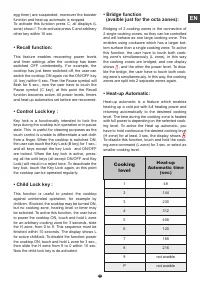
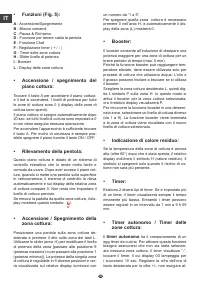
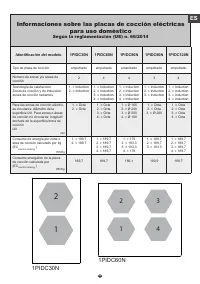
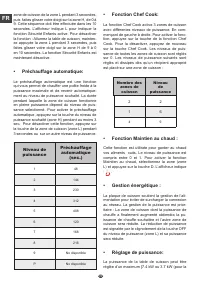
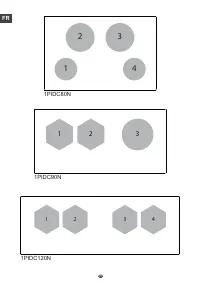
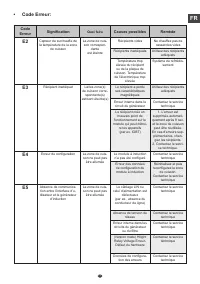
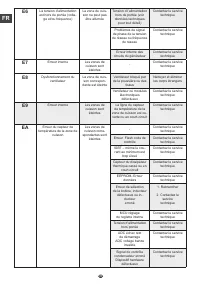
• Function (Fig.7):
A -
On/Off key
B -
Control Lock key
C -
Pause/recall key
D -
Keep warm key
E -
Chef Cook
F -
Timer level increment / Timer level decrement
G -
Timer On
H -
Power level setting display
I -
Booster
L -
Cooking zone display
• Switching the cooking top ON/OFF:
Touch A key to switch the top on, the power led
lights up. The power levels for all cooking zones is
0 (the cooking zone displays are OFF).
The cooktop switches OFF automatically after 20
sec. if all cooking levels are set to 0 and no op-
eration is performed. To switch the appliance you
have to just touch the A Key. For safety reasons,
switching OFF the cooktop via the ON/OFF key is
always possible.
EN
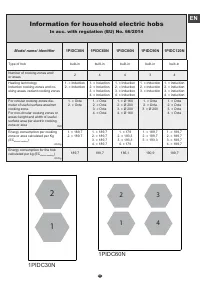
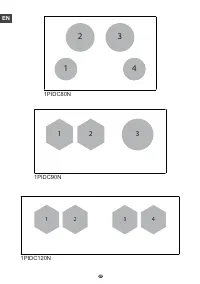
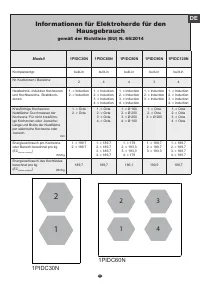
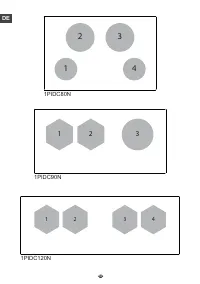
Характеристики

Остались вопросы?Не нашли свой ответ в руководстве или возникли другие проблемы? Задайте свой вопрос в форме ниже с подробным описанием вашей ситуации, чтобы другие люди и специалисты смогли дать на него ответ. Если вы знаете как решить проблему другого человека, пожалуйста, подскажите ему :)


