
Варочная панель Teka VR 90 4G AI TR AL NAT - инструкция пользователя по применению, эксплуатации и установке на русском языке. Мы надеемся, она поможет вам решить возникшие у вас вопросы при эксплуатации техники.
Если остались вопросы, задайте их в комментариях после инструкции.
"Загружаем инструкцию", означает, что нужно подождать пока файл загрузится и можно будет его читать онлайн. Некоторые инструкции очень большие и время их появления зависит от вашей скорости интернета.


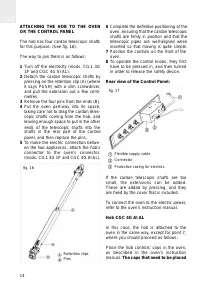
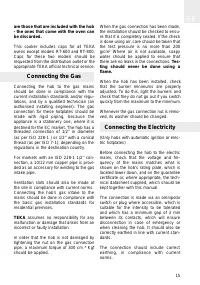


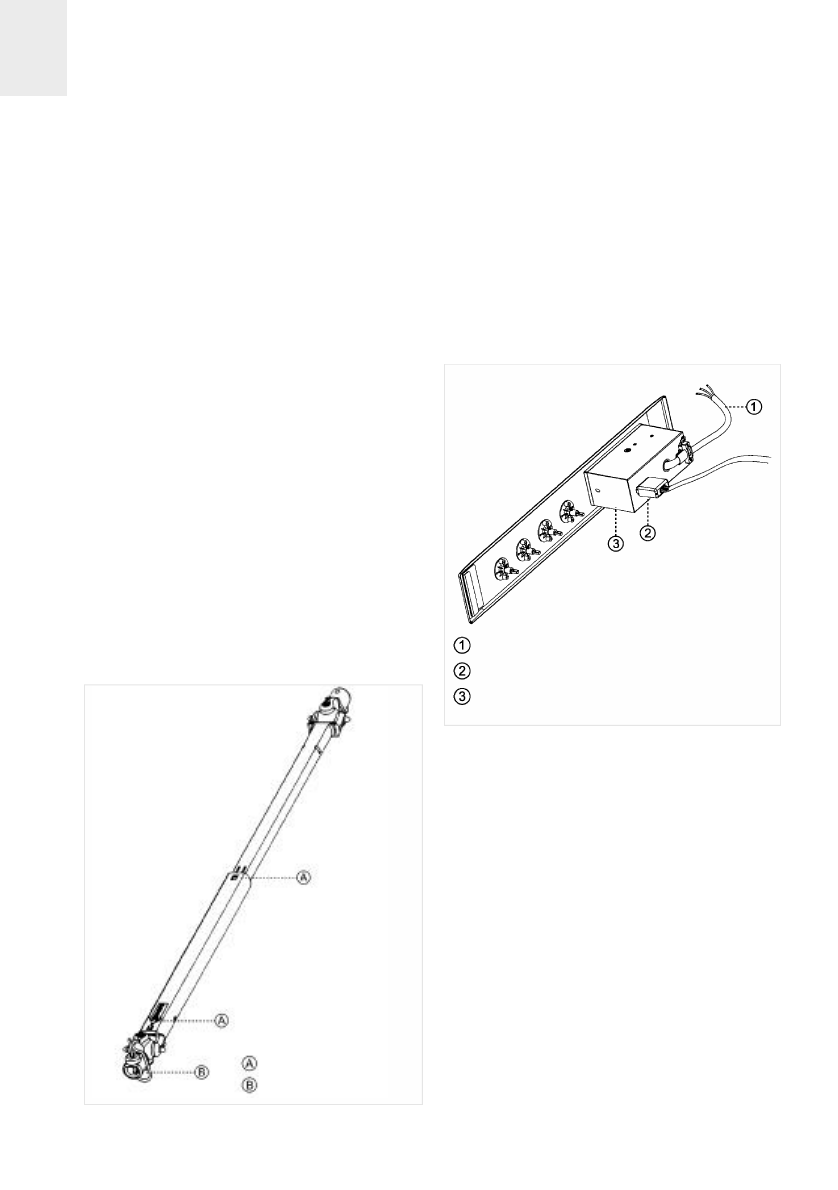
ATTACHING THE HOB TO THE OVEN
OR THE CONTROL PANEL
The hob has four cardan telescopic shafts
for this purpose. (See fig. 16).
The way to join them is as follows:
1
Turn off the electricity (mods. CG.1 3G
1P and CGC 4G AI AL).
2
Detach the cardan telescopic shafts by
pressing on the retention clip (A) (where
it says PUSH) with a slim screwdriver,
and pull the extension out a few centi-
metres.
3
Remove the four pins from the ends (B).
4
Put the oven part-way into its space,
taking care not to drag the cardan teles-
copic shafts coming from the hob, and
leaving enough space to put in the other
ends of the telescopic shafts into the
shafts in the rear part of the control
panel, and then replace the pins.
5
To make the electric connection betwe-
en the two appliances, attach the hob’s
connector to the oven’s connector.
(mods. CG.1 3G 1P and CGC 4G AI AL).
6
Complete the definitive positioning of the
oven, ensuring that the cardan telescopic
shafts are firmly in position and that the
telescopic pipes are well-aligned when
inserted so that moving is quite simple.
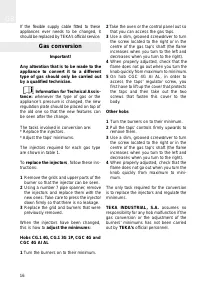
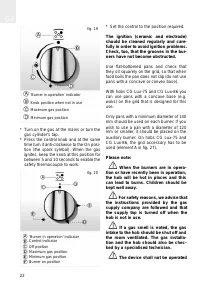
7
Position the controls on the front of the
oven.
8
To operate the control knobs, they first
have to be pressed in, and then turned
in order to release the safety device.
Rear view of the Control Panel:
If the cardan telescopic shafts are too
small, the extensions can be added.
These are added by pressing, and they
are fixed by the cover that is included.
To connect the oven to the electric power,
refer to the oven’s instruction manual.
Hob CGC 4G AI AL
In this case, the hob is attached to the
oven in the same way, except for point 7,
where you should proceed as follows:
Place the hob controls’ caps in the oven,
as described in the oven’s instruction
manual.
The caps that need to be placed
GB
14
fig. 16
fig. 17
Flexible supply cable
Connector
Protective casing for electrics
Retention clips
Pins
Характеристики

Остались вопросы?Не нашли свой ответ в руководстве или возникли другие проблемы? Задайте свой вопрос в форме ниже с подробным описанием вашей ситуации, чтобы другие люди и специалисты смогли дать на него ответ. Если вы знаете как решить проблему другого человека, пожалуйста, подскажите ему :)


