Точки доступа NETGEAR WAC104 AC1200, 4xGE LAN. - инструкция пользователя по применению, эксплуатации и установке на русском языке. Мы надеемся, она поможет вам решить возникшие у вас вопросы при эксплуатации техники.
Если остались вопросы, задайте их в комментариях после инструкции.
"Загружаем инструкцию", означает, что нужно подождать пока файл загрузится и можно будет его читать онлайн. Некоторые инструкции очень большие и время их появления зависит от вашей скорости интернета.
NETGEAR, Inc.
350 East Plumeria Drive
San Jose, CA 95134, USA
© NETGEAR, Inc., NETGEAR and the NETGEAR
Logo are trademarks of NETGEAR, Inc. Any
non‑NETGEAR trademarks are used for reference
purposes only.
July
2021
NETGEAR INTERNATIONAL LTD
Floor 1,
Building 3,
University Technology Centre
Curraheen Road, Cork,
T12EF21, Ireland
Installation Guide
AC1200 Dual Band Wireless Access Point
Model WAC104
5
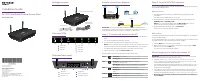
Access Point Model WAC104
Package contents
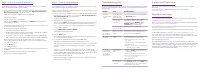
Overview LEDs
Power adapter
(varies by region)
During installation and setup, the AP’s LEDs can light in these colors:
Power
Solid green
. The AP is ready.
Blinking green
. The AP is starting or is updating firmware.
WPS
Solid green
. Wi‑Fi Protected Setup (WPS) is ready for use.
By default, the WPS LED is off.
Blinking green
. Someone pressed the WPS button on the AP so their
WiFi‑enabled computer or mobile device can join the WiFi network.
WiFi
Solid green
. One or both WiFi radios are operating.
Blinking green
. One or both WiFi radios are sending or receiving
traffic.
LAN 1–4
Solid green
. The LAN port detects a link with a LAN device.
Blinking green
. The LAN port is transmitting or receiving data.
5
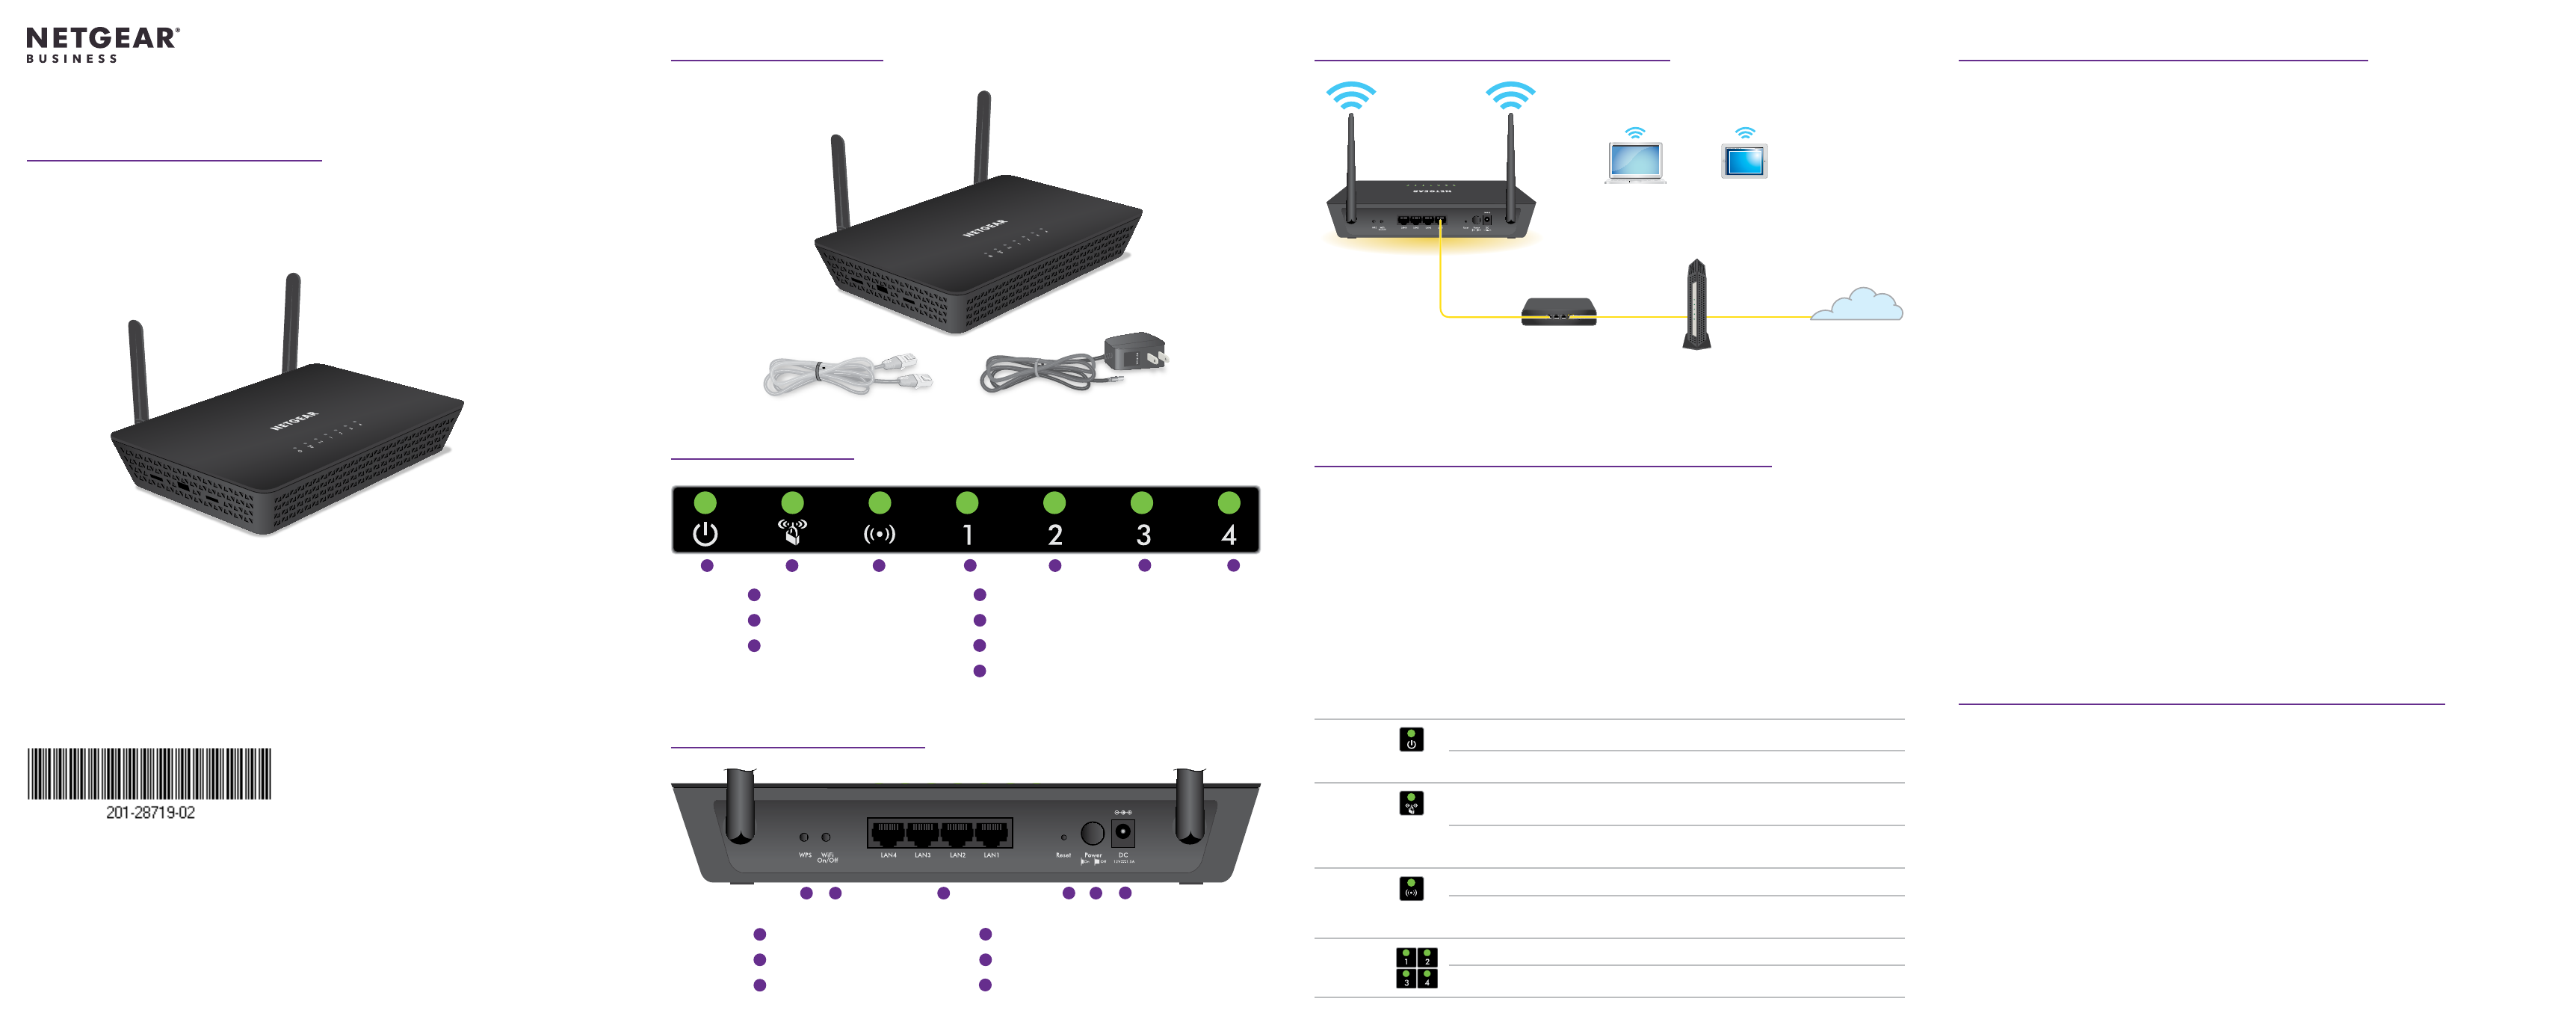
1. Connect the Ethernet cable that came in the package to one of the AP’s Ethernet
ports.
You can use any of the four LAN ports on the AP.
2. Connect the other end of the cable to a LAN port on your router.
NOTE:
Do
not
connect the AP to your modem. The AP must connect to your router.
The AP uses a DHCP client that is enabled by default. Almost any router functions
as a DHCP server, allowing the AP to receive an IP address from the router.
3. Power on the AP by pressing the
Power On/Off
button.
Step 1. Connect and power on the AP
Ethernet cable
WAC104
access point
Internet
WiFi devices
Router
Modem
Sample connections diagram
IMPORTANT:
The access point (AP) provides WiFi and LAN connectivity but is a
bridge and not a router. Connect the AP to a router that is connected to a modem. Do
not
connect the AP directly to a modem such as a DSL or cable modem.
Step 2. Join the AP’s WiFi network
You can connect a WiFi‑enabled computer or mobile device manually or use the Wi‑Fi
Protected Setup (WPS) method.
Manual method
1. On a WiFi‑enabled device, open the software utility that manages your WiFi
connections.
The utility scans for all WiFi networks in your area.
2. Find and select one of the AP’s default WiFi network names (SSIDs), which are
NETGEAR_11N
and
NETGEAR_11AC
.
NOTE:
If you cannot find the SSIDs, press the
WiFi On/Off
button, wait one
minute, and see if the utility displays one or both of the SSIDs.
3. Type the default WiFi passphrase, which is
sharedsecret
.
Your device connects to the AP’s WiFi network.
WPS method
If your WiFi‑enabled device supports Wi‑Fi Protected Setup (WPS), you can use WPS to
join the AP’s WiFi network.
For help with the WPS button on your device, check the instructions or online help that
came with that device. Some older equipment cannot use WPS.
1. Press the
WPS
button on the back panel of the AP.
2. Within two minutes, on your computer or mobile device, press its physical
WPS
button or click its onscreen
WPS
button.
Your device connects to the AP’s WiFi network.
1
WPS button
2
WiFi On/Off button
3
LAN ports 1–4
4
Reset button
5
Power On/Off button
6
DC power connector
1
2
3
4
5
6
Overview back panel
1
Power LED
2
WPS LED
3
WiFi LED
4
LAN 1 LED
5
LAN 2 LED
6
LAN 3 LED
7
LAN 4 LED
1
2
3
4
5
6
7
About logging in to the local browser UI
IMPORTANT:
The steps to log in to the local browser user interface (UI) of your AP
depend on the firmware version that your AP is running.
•
Step 3. Log in to the local browser UI
apply
only
if you update your
AP firmware to version 1.0.4.15 or a later
version and then reset the AP to factory defaults.
If you already reset the AP to factory defaults after you updated to version 1.0.4.15,
and you update the AP to a version
later
than 1.0.4.15, you do not need to reset
the AP to factory defaults again.
•
If your
AP is running a firmware version
earlier
than version 1.0.4.15 and you do
not update to version 1.0.4.15 or a later version, see the old installation guide,
which you can download by visiting
https://www.netgear.com/support/download/.
•
We strongly recommend that you download and install the latest firmware as
soon as possible.
Характеристики

Остались вопросы?Не нашли свой ответ в руководстве или возникли другие проблемы? Задайте свой вопрос в форме ниже с подробным описанием вашей ситуации, чтобы другие люди и специалисты смогли дать на него ответ. Если вы знаете как решить проблему другого человека, пожалуйста, подскажите ему :)
