Точки доступа MikroTik Wire Dish - инструкция пользователя по применению, эксплуатации и установке на русском языке. Мы надеемся, она поможет вам решить возникшие у вас вопросы при эксплуатации техники.
Если остались вопросы, задайте их в комментариях после инструкции.
"Загружаем инструкцию", означает, что нужно подождать пока файл загрузится и можно будет его читать онлайн. Некоторые инструкции очень большие и время их появления зависит от вашей скорости интернета.
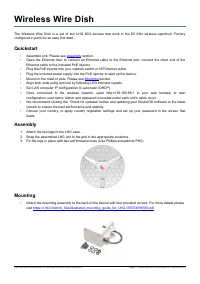


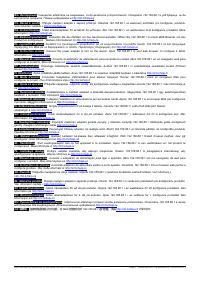
Wireless Wire Dish
The Wireless Wire Dish is a set of two LHG 60G devices that work in the 60 GHz wireless spectrum. Factory
configured in pairs for an easy first start.
Quickstart
•
•
Open the Ethernet door to connect an Ethernet cable to the Ethernet port, connect the other end of the
Ethernet cable to the included PoE injector.
•
Plug the PoE injector into your network switch or ISP internet outlet.
•
Plug the included power supply into the PoE injector to start up the device.
•
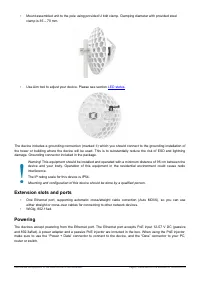
Mount on the mast or pole. Please see
•
Align both units using aim tool by following LED indicator signals.
•
Set LAN computer IP configuration to
automatic
(DHCP).
•
Once connected to the wireless network, open http://192.168.88.1 in your web browser to start
configuration, user name: Admin and password is located under each unit's cable cover.
•
We recommend clicking the “Check for updates” button and updating your RouterOS software to the latest
version to ensure the best performance and stability.
•
Choose your country, to apply country regulation settings and set up your password in the screen that
loads.
Assembly
1. Attach the two legs to the LHG case.
2. Snap the assembled LHG unit to the grid in the appropriate locations.
3. Fix the legs in place with two self thread screws (Use Phillips screwdriver PH2).
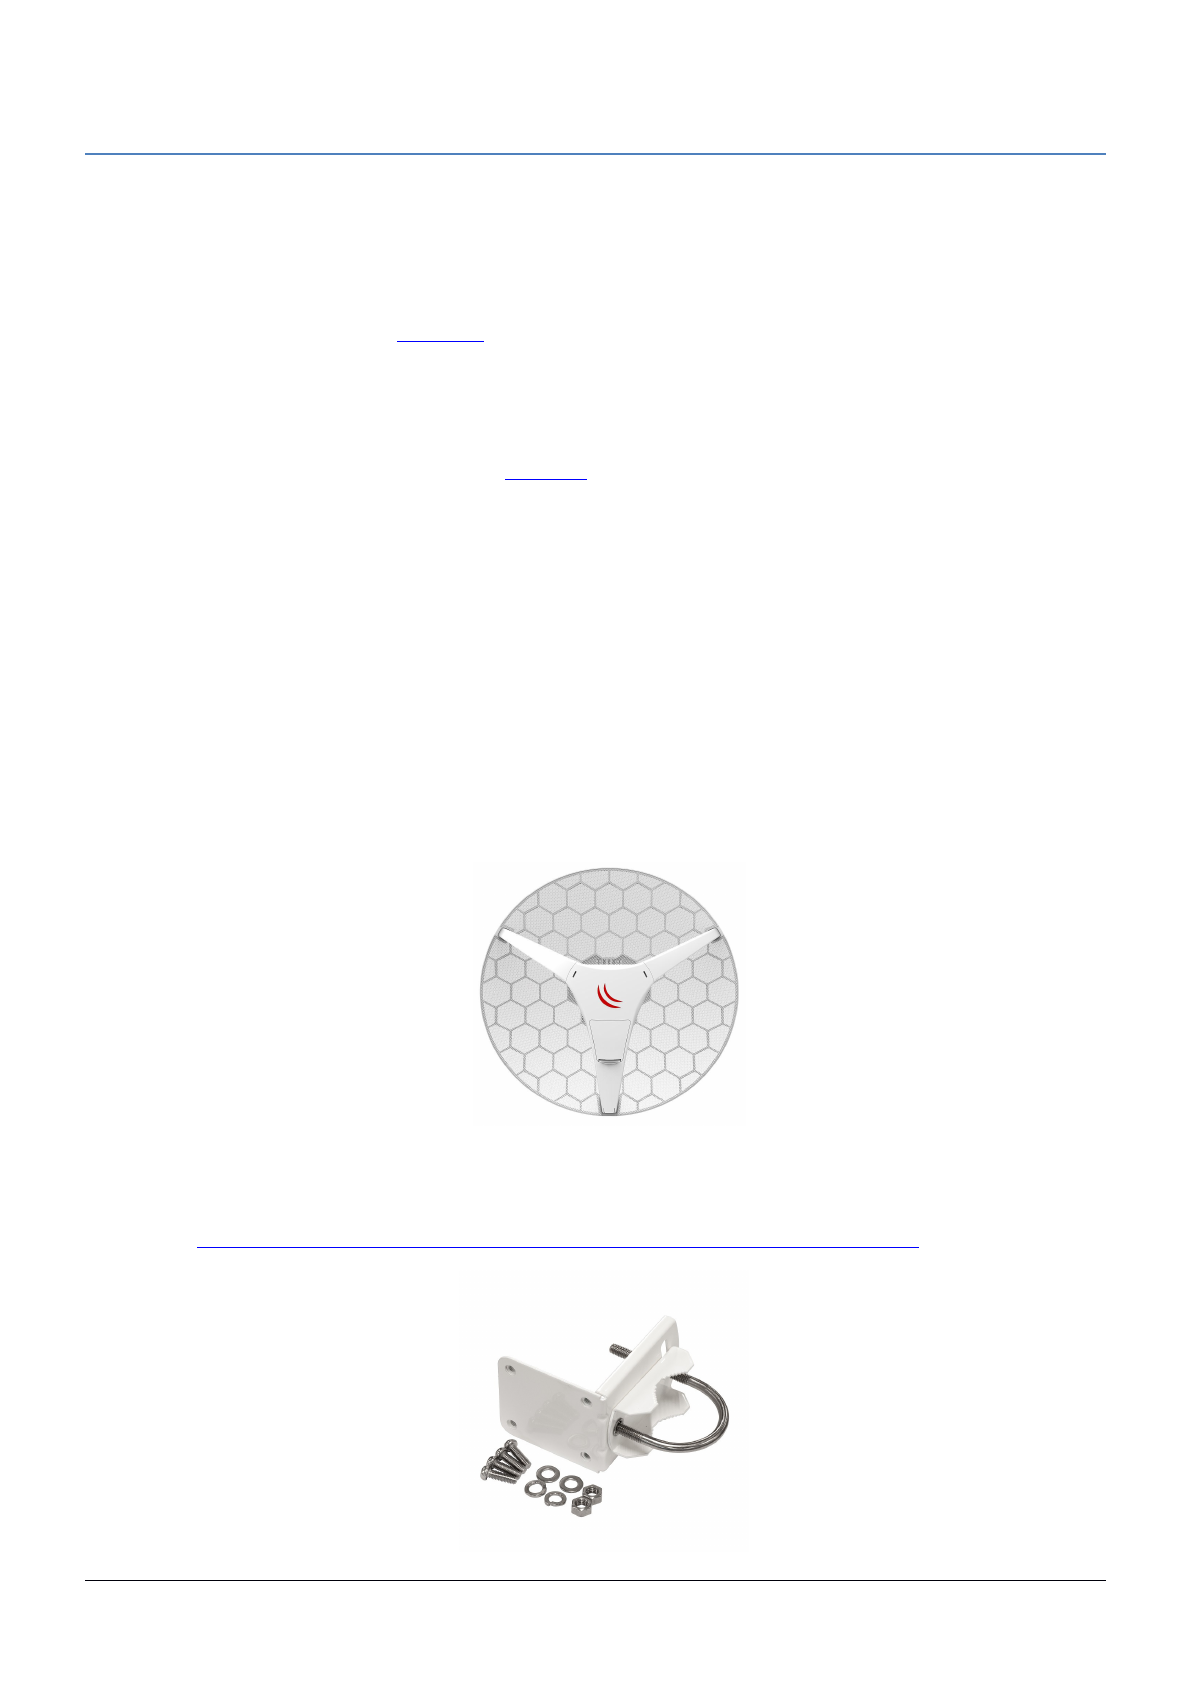
Mounting
•
Attach the mounting assembly to the back of the device with four provided screws. For more details please
visit
https://i.mt.lv/cdn/rb_files/Ilustrated_mounting_guide_for_LHG-180704095554.pdf
See mikrotik.com/products for the latest version of this document.
Page 1, Document #51319 Modified on: 08.AUG.2019
Характеристики

Остались вопросы?Не нашли свой ответ в руководстве или возникли другие проблемы? Задайте свой вопрос в форме ниже с подробным описанием вашей ситуации, чтобы другие люди и специалисты смогли дать на него ответ. Если вы знаете как решить проблему другого человека, пожалуйста, подскажите ему :)
