Телевизоры Telefunken TF-LED28S18 - инструкция пользователя по применению, эксплуатации и установке на русском языке. Мы надеемся, она поможет вам решить возникшие у вас вопросы при эксплуатации техники.
Если остались вопросы, задайте их в комментариях после инструкции.
"Загружаем инструкцию", означает, что нужно подождать пока файл загрузится и можно будет его читать онлайн. Некоторые инструкции очень большие и время их появления зависит от вашей скорости интернета.


Before you start
5
5
Before you start
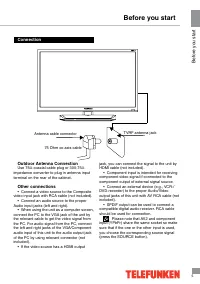
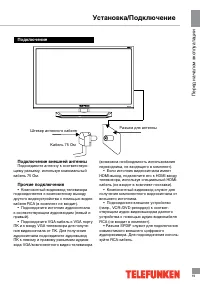
Connection
Outdoor Antenna Connection
Use 75
Ω
coaxial cable plug or 300-75
Ω
impedance converter to plug in antenna input
terminal on the rear of the cabinet.
Other connections
• Connect a video source to the Composite
video input jack with RCA cable (not included).
• Connect an audio source to the proper
Audio input jacks (left and right).
• When using the unit as a computer screen,
connect the PC to the VGA jack of the unit by
the relevant cable to get the video signal from
the PC. For audio signal from the PC, connect
the left and right jacks of the VGA/Component
audio input of this unit to the audio output jack
of the PC by using relevant connector (not
included).
• If the video source has a HDMI output
jack, you can connect the signal to the unit by
HDMI cable (not included).
• Component input is intended for receiving
component video signal if connected to the
component output of external signal source.
• Connect an external device (e.g., VCR-/
DVD-recorder) to the proper Audio/Video
output jacks of this unit with AV RCA cable (not
included).
• SPDIF output can be used to connect a
compatible digital audio receiver. RCA cable
should be used for connection.
Please note that AV2 and component
input (YPbPr) share the same socket so make
sure that if the one or the other input is used,
you choose the corresponding source signal
(press the SOURCE button).
75 Ohm co-axis cable
TVRF antenna jack
Antenna cable connector
Содержание
- 16 Перед началом эксплуатации; Утилизация изделия
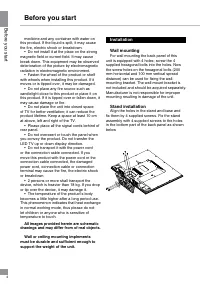
- 18 Установка/Подключение; Установка; Для крепления на стену на задней панели; Средства для монтажа аппаратуры на; Установка на подставку; Совместите крепежные отверстия на
- 19 Подключение
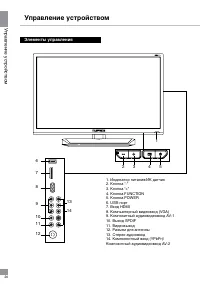
- 20 Управление устройством; Элементы управления
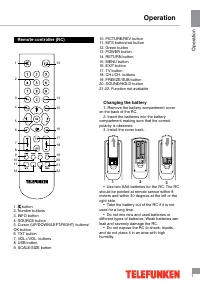
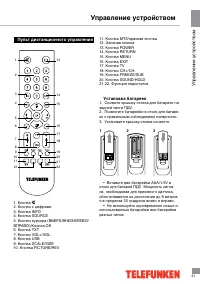
- 21 Пульт дистанционного управления; Установка батареек; • Не используйте одновременно новые и
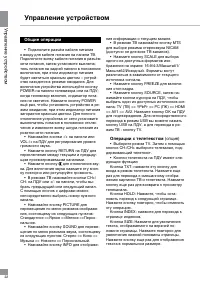
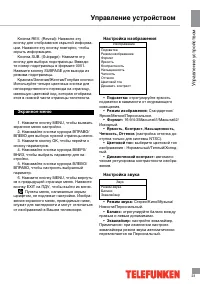
- 22 Общие операции
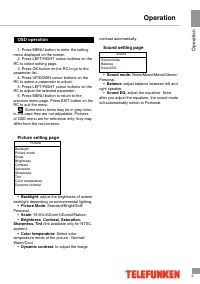
- 23 Экранное меню; Режим изображения; Настройка звука
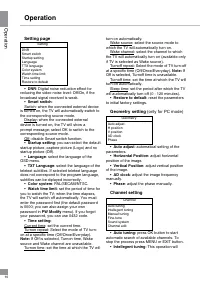
- 24 Общие настройки; Настройка экрана
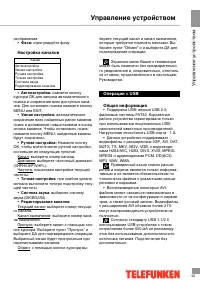
- 25 Настройка каналов; Точная настройка; Операции c USB
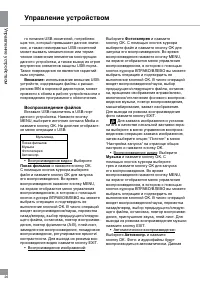
- 26 Воспроизведение файлов; Показ фильмов
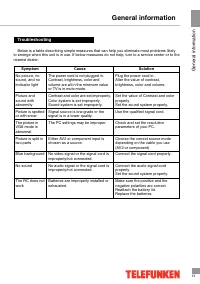
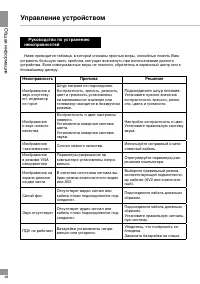
- 28 Общая информация; Руководство по устранению; Неисправность; Подсоедините шнур питания.
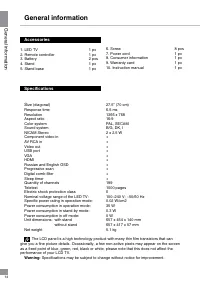
- 29 Источники помех; В Вашем телевизоре приняты все самые; Комплект поставки; Информация для потребителя
- 30 Технические характеристики


