Строительные пылесосы Karcher WD 6 - инструкция пользователя по применению, эксплуатации и установке на русском языке. Мы надеемся, она поможет вам решить возникшие у вас вопросы при эксплуатации техники.
Если остались вопросы, задайте их в комментариях после инструкции.
"Загружаем инструкцию", означает, что нужно подождать пока файл загрузится и можно будет его читать онлайн. Некоторые инструкции очень большие и время их появления зависит от вашей скорости интернета.


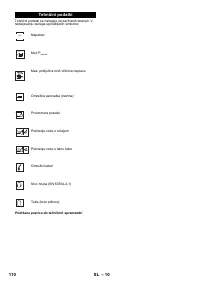


– 7
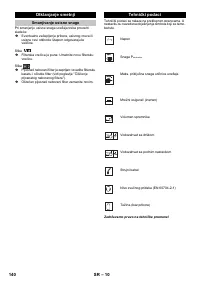
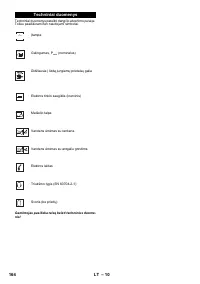
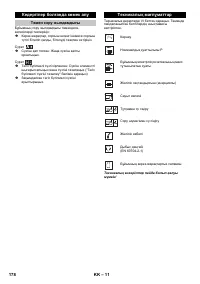
몇
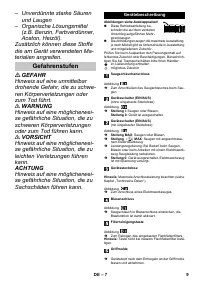
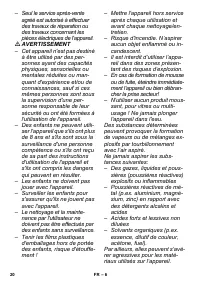
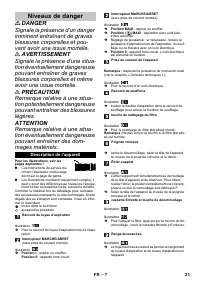
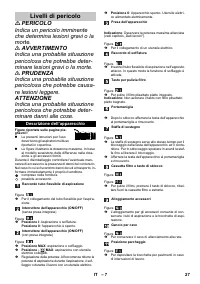
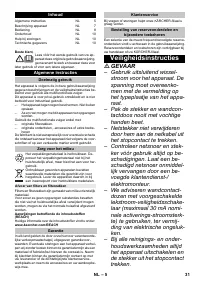
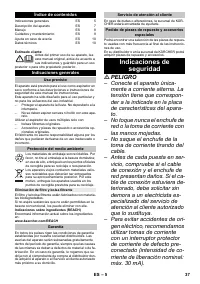
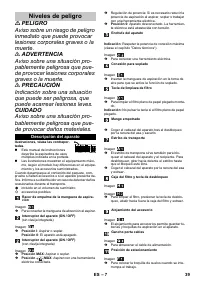
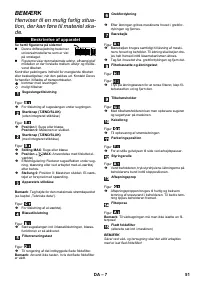
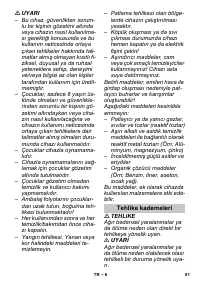
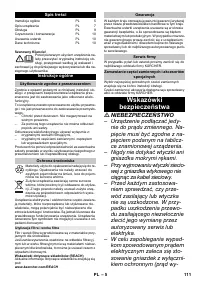
CAUTION
Pointer to a possibly dangerous
situation, which can lead to mi-
nor injuries.
ATTENTION
Pointer to a possibly dangerous
situation, which can lead to
property damage.
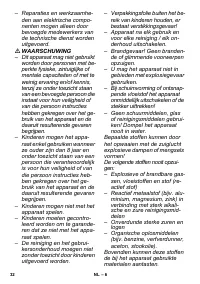
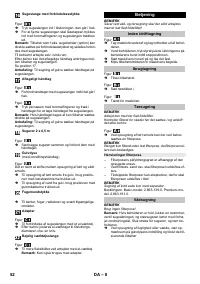
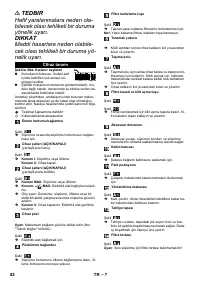
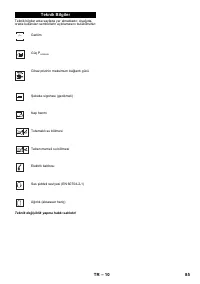
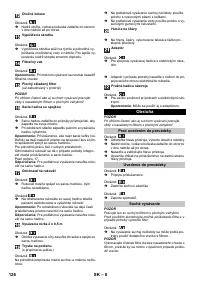
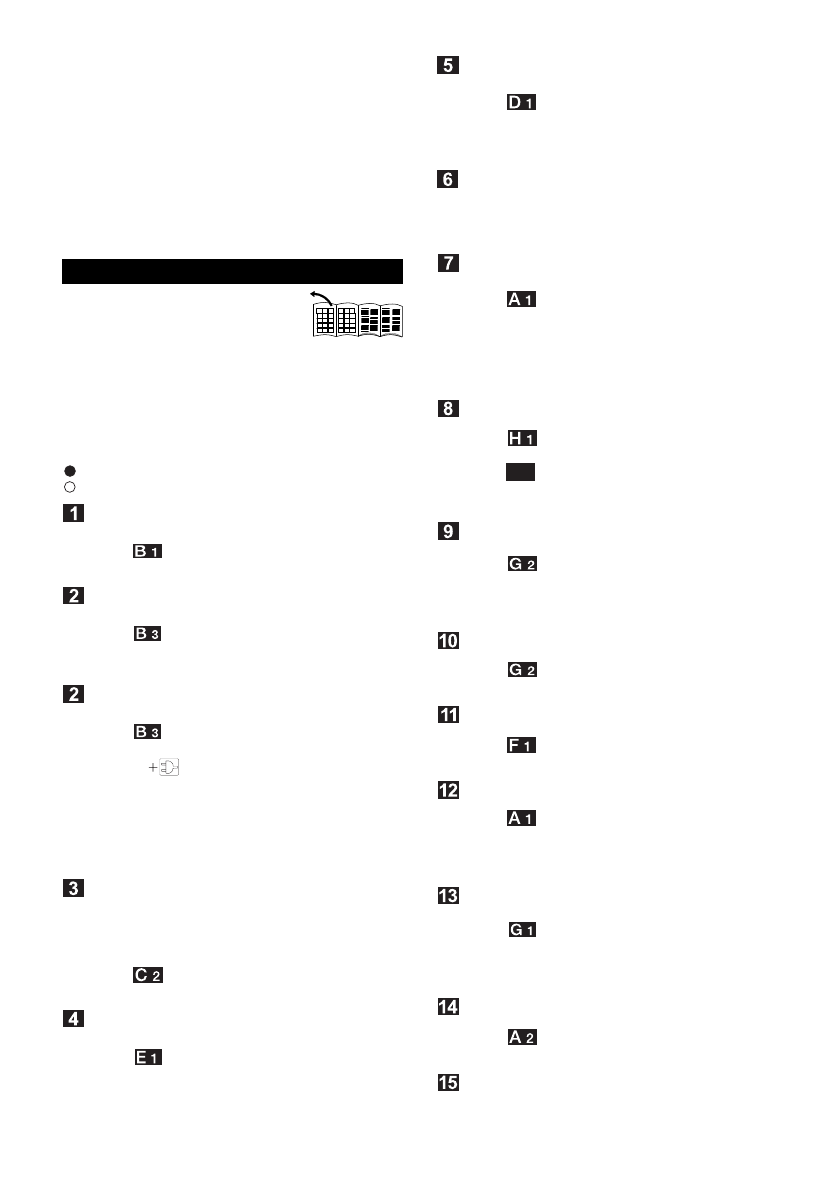
Illustrations on fold-out pages!
These operating instructions de-
scribe the multi-purpose vacuum
cleaners listed on the front cover.
The illustrations show the maximum equipment;
depending on the model, there are differences in
equipment and supplied accessories.
When unpacking the product, make sure that no acces-
sories are missing and that none of the package con-
tents have been damaged. If you detect any transport
damages please contact your dealer.
included in the scope of delivery
possible accessories
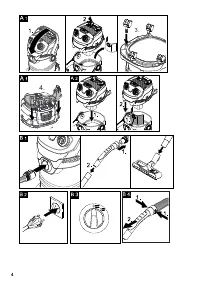
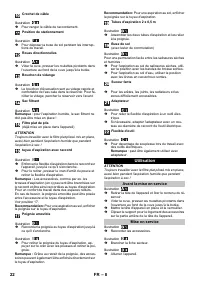
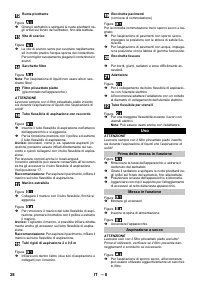
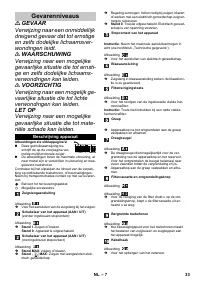
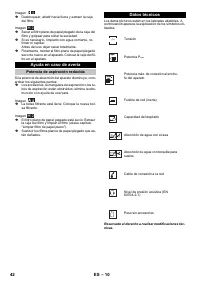
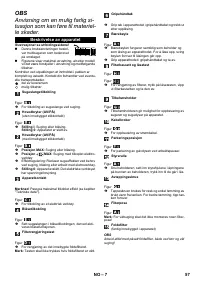
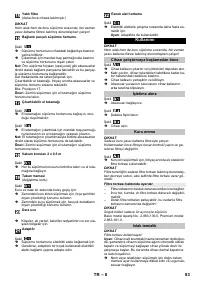
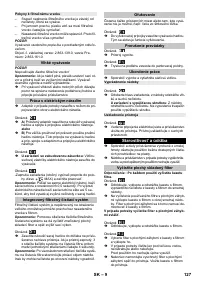
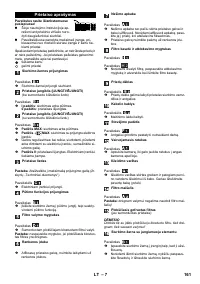
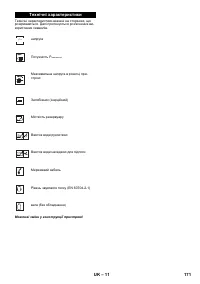
Illustration
To connect the suction hose during vacuuming.
Illustration
Position I
: Suction or blowing
Position 0
: Appliance is switched off
Illustration
Position MAX
: Vacuuming or blowing.
Position
MAX
: Vacuuming with connected
electric tool
Performance regulation: Reduce the suction if nec-
essary during vacuuming, blowing or when working
with an electric tool.
Position 0
: The appliance is switched off. Electric
tool is supplied with voltage.
Note
: Observe the maximum connected load (see
Chapter "Technical data").
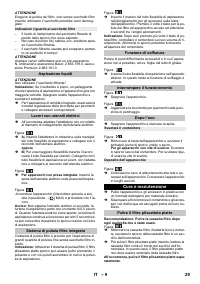
Illustration
To connect an electric tool.
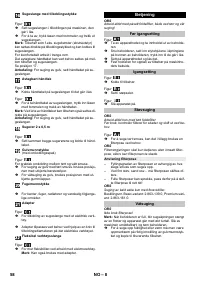
Illustration
Connect the suction hose to the blower connection,
this will activate the blower function.
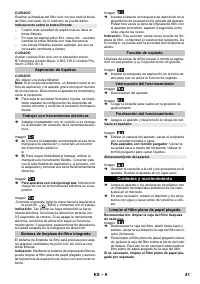
Illustration
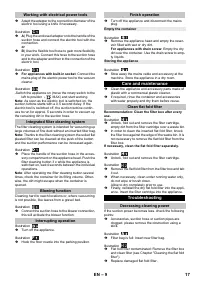
For cleaning the flat pleated filter fitted.
Note:
Do not operate the button when the flat pleated fil-
ter is wet.
After unlocking it, grab the appliance head by the
handle recess and remove it.
Illustration
The carrying handle is also used to lock the appli-
ance head and the container. To unlock, push the
bow all the way forward until you clear the lock.
Grab the appliance head by the handle recess and
remove it.
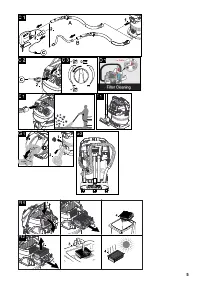
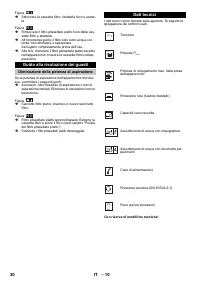
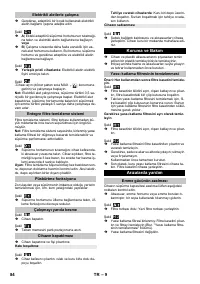
Illustration
Illustration
In order to clean the filter, press the release key,
fold out and remove the filter box.
Illustration
The accessories compartment allows the storage
of suction pipes and suction nozzles on the appli-
ance.
Illustration
To store the mains cable.
Illustration
To rest the floor nozzle during work interruptions.
Illustration
Turn the container, press in the steering roller in the
openings at the base of the container till the end-
point.
Illustration
The drain screw is used to quickly and comfortably
empty wastewater in the container. Tilt the contain-
er forward for easier emptying.
Illustration
Note
: Do not use a filter bag for wet vacuuming!
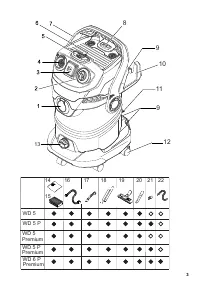
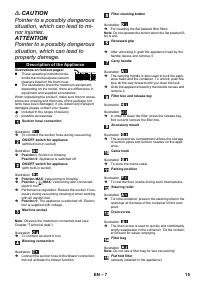
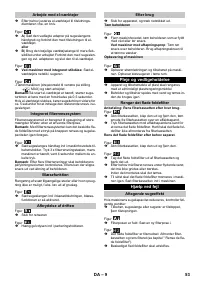
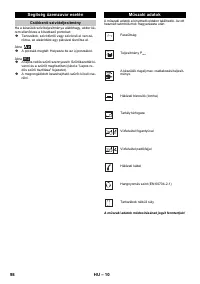
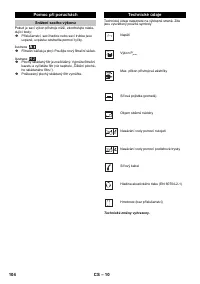
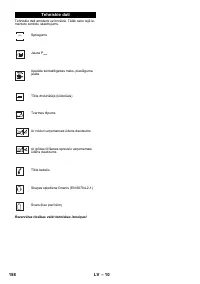
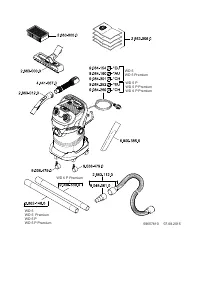
Description of the Appliance
Suction hose connection
ON/OFF switch for appliance
(without built-in socket)
ON/OFF switch for appliance
(with built-in socket)
Machine socket
Blowing connection
Filter cleaning button
Recessed grip
Carry handle
Filter box and release key
Accessory mount
Cable hook
Parking position
Steering roller
Drain screw
Filter bag
Flat fold filter
(already installed in the appliance)
H
2
15
EN
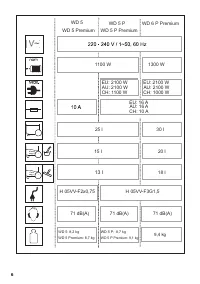
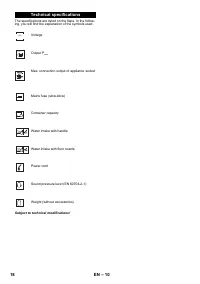
Характеристики

Остались вопросы?Не нашли свой ответ в руководстве или возникли другие проблемы? Задайте свой вопрос в форме ниже с подробным описанием вашей ситуации, чтобы другие люди и специалисты смогли дать на него ответ. Если вы знаете как решить проблему другого человека, пожалуйста, подскажите ему :)


